
The Metallurgical Reality of Silver Soldering Copper
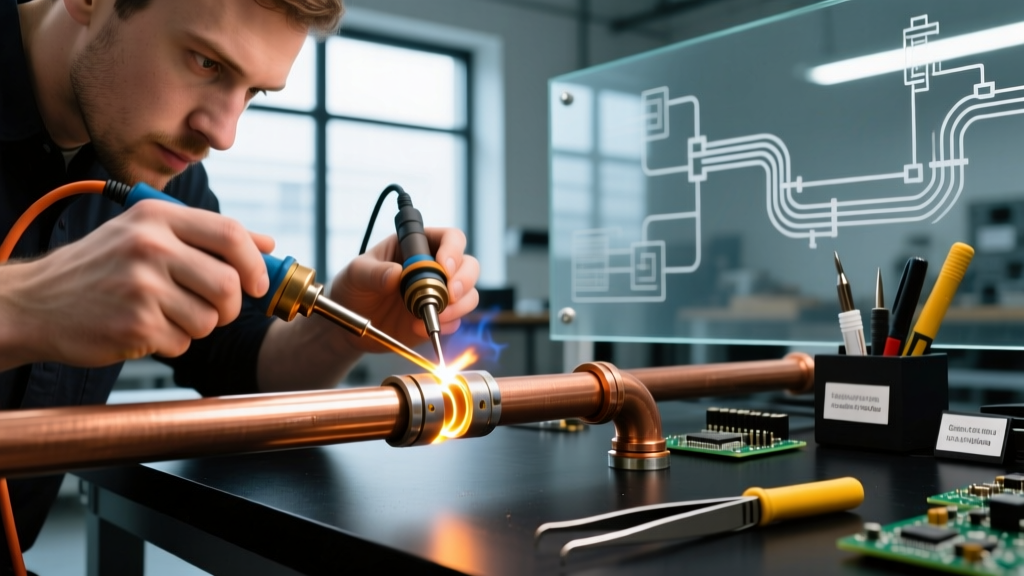
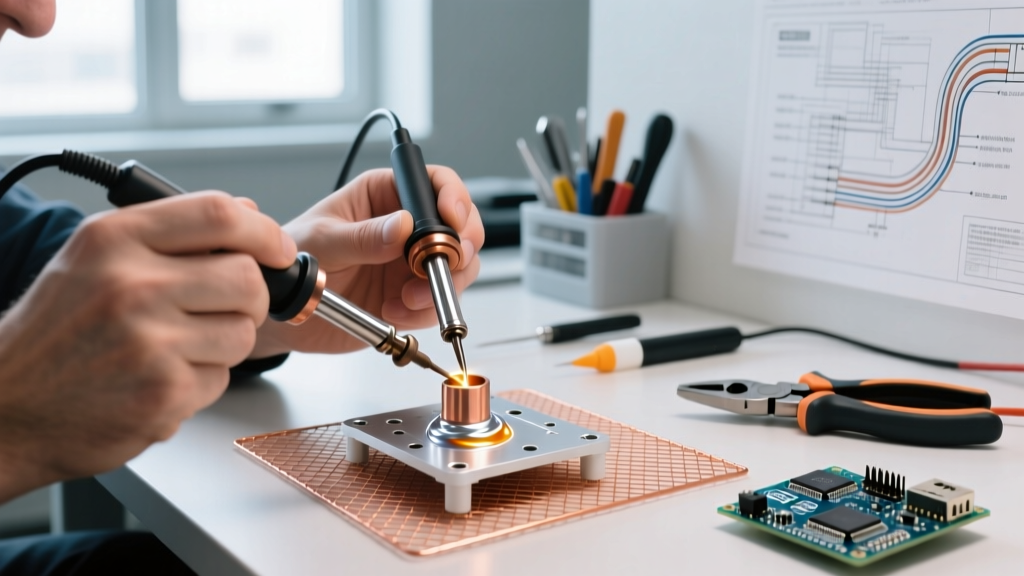
While often colloquially called 'silver soldering,' joining copper with silver-based filler metals is technically silver brazing. Unlike soft lead or tin solders that melt below 800°F and rely on surface adhesion, silver brazing operates between 1100°F and 1500°F. At these temperatures, the silver alloy melts and is drawn into the joint via capillary action, creating a deep metallurgical bond that can exceed the tensile strength of the base copper itself.
Whether you are fabricating high-voltage electrical busbars, repairing HVAC refrigeration lines, or building custom liquid cooling loops, copper is the ideal candidate for silver brazing. However, the margin for error is razor-thin. A joint that fails under pressure or electrical load usually traces back to one of five fundamental mistakes. Here is how to identify and solve them.
Pro Insight: The strength of a silver-brazed copper joint does not come from the filler metal acting as a 'glue.' It comes from the capillary draw and the microscopic diffusion of silver into the copper grain structure. If capillary action fails, the joint fails.
Mistake 1: Using the Wrong Flux (and Burning It Out)
Flux is a chemical cleaning agent designed to dissolve copper oxides and prevent new oxides from forming while the base metal is heated. The most common error is using a standard white brazing flux for heavy, high-heat applications, resulting in 'flux exhaustion.'
Standard white fluxes (like Harris Stay-Silv White) are borax-based and effective between 1050°F and 1450°F. If you are brazing thick copper busbars or large-diameter pipes that require prolonged heating, the white flux will burn out, turning into a hard, glassy slag. Once this happens, the copper rapidly oxidizes, and the silver alloy will ball up and refuse to flow.
The Fix: Match Flux to Thermal Mass
- For standard HVAC and thin-wall copper: Use a standard white flux (e.g., Harris Stay-Silv White Flux, approx. $15/pint). It provides excellent wetting for quick joints.
- For heavy busbars, thick-walled pipe, or prolonged heating: Switch to a black flux (e.g., Harris Stay-Silv Black Flux, approx. $25/pint). Black flux contains elemental boron, which raises its active temperature range up to 1600°F and gives it a much longer active lifespan before vitrifying.
According to technical guidelines from Lucas-Milhaupt, applying flux as a thick paste rather than a dry powder ensures a continuous chemical barrier that outlasts the heating cycle.
Mistake 2: Ignoring Thermal Expansion in Joint Clearance
Capillary action requires a very specific gap between the mating copper surfaces. If the gap is too wide, the alloy will not draw upward; if it is too tight, the flux cannot enter the joint to clean it, and the alloy will be blocked. Many DIYers measure their joint clearance at room temperature, completely ignoring thermal expansion.
Copper has a relatively high coefficient of thermal expansion. A slip-fit joint that measures 0.004 inches at room temperature might expand to 0.010 inches when heated to 1300°F, destroying the capillary draw.
The Fix: Calculate Clearance at Brazing Temperature
The American Welding Society (AWS) and brazing authorities recommend designing clearances based on the metal's state at the brazing temperature. For copper-to-copper joints, the optimal clearance at brazing temperature is generally between 0.002' and 0.005'.
| Base Metal | Brazing Temp Range | Target Clearance (at Temp) | Recommended Room-Temp Fit |
|---|---|---|---|
| Copper to Copper | 1100°F - 1300°F | 0.002' - 0.005' | Slip-fit to Light Press (0.001' - 0.003') |
| Copper to Brass | 1300°F - 1450°F | 0.003' - 0.006' | Snug Slip-fit (0.002' - 0.004') |
| Copper to Steel | 1300°F - 1500°F | 0.004' - 0.008' | Loose Slip-fit (0.004' - 0.006') |
Source: Adapted from Lucas-Milhaupt Joint Clearance Guidelines.
Mistake 3: Overheating and Oxidizing the Base Metal
Copper oxidizes rapidly when exposed to high heat and atmospheric oxygen. You will see the metal turn from bright copper to dark brown (cupric oxide) and eventually to a dull, scale-like red (cuprous oxide). While flux is designed to dissolve minor oxides, it cannot penetrate heavy, flaky scale. If you hold an oxy-acetylene torch in one spot until the copper glows cherry red, you have likely ruined the surface chemistry.
The Fix: Heat Management and Flame Chemistry
- Use a Neutral Flame: When using oxy-acetylene, a carburizing (excess acetylene) flame will deposit soot that interferes with wetting, while an oxidizing (excess oxygen) flame will rapidly scale the copper. Adjust your torch to a perfectly neutral flame with a distinct, sharp inner cone.
- Keep the Torch Moving: Never concentrate heat directly on the joint line. Heat the base metals about an inch away from the joint, allowing thermal conductivity to pull the heat into the braze zone. This prevents localized melting and severe oxidation.
- Use Temperature Indicators: Stop guessing. Rub a Tempilstik (temperature-indicating crayon) rated for 1100°F or 1200°F on the copper. When the mark melts, you know the base metal has reached the exact temperature required to melt the silver alloy without risking overheating.
Mistake 4: Choosing the Wrong Silver Alloy for the Application
Not all 'silver solder' is created equal. Alloys are categorized by their silver content, which dictates their melting point, flow characteristics, and cost. Using a 15% silver alloy on a high-vibration mechanical joint, or a 45% alloy on a simple residential water line, is a misallocation of both physics and budget.
The Fix: Select the Alloy Based on Joint Requirements
As of 2026, cadmium-free alloys are the industry standard due to severe toxicity regulations regarding cadmium fumes. Here is how the two most common copper-brazing alloys compare:
| Feature | Harris Stay-Silv 15 (15% Silver) | Harris Safety-Silv 45 (45% Silver) |
|---|---|---|
| Best Use Case | HVAC lines, standard plumbing, static joints | Electrical busbars, high-vibration, high-strength structural |
| Melting Range | 1100°F - 1200°F (Wide range) | 1200°F - 1300°F (Narrow range) |
| Flow CharacteristicsModerate; can 'paste' if heated unevenly | Excellent; highly fluid, fills deep capillaries easily | |
| Approx. 2026 Cost | $45 - $60 per ounce | $130 - $150 per ounce |
Expert Tip: For electrical busbars where conductivity and joint integrity are paramount, the premium paid for Safety-Silv 45 is justified. Its narrow melting range prevents 'liquation' (where the lower-melting-point elements separate from the higher-melting-point elements), ensuring a homogenous, highly conductive joint.
Mistake 5: Quenching Too Quickly (Thermal Shock)
After the silver alloy flows and the joint is complete, the natural instinct is to quench the glowing copper in water to cool it down and inspect the work. This is a critical error. Quenching thick copper assemblies immediately after brazing induces severe thermal shock. This can cause microscopic cracking in the heat-affected zone (HAZ) of the copper or shatter the brittle silver alloy before it has fully crystallized and bonded.
The Fix: Controlled Cooling and Slag Removal
Allow the assembly to air-cool until the copper loses its red glow and turns to a dull, dark black (below 600°F). Once the metal is below this threshold, you can safely quench it in water or use a damp rag. This sudden temperature drop at a safe thermal threshold is actually beneficial: it causes the glassy flux slag to crack and flake off the copper, making post-braze wire-brushing and cleaning significantly easier.
Troubleshooting Quick-Reference Guide
Even with perfect technique, edge cases occur. Use this diagnostic matrix to fix issues on the fly:
- Alloy balls up and refuses to flow: The base metal is oxidized. Remove the torch, let it cool, mechanically clean the copper with 80-grit emery cloth, re-flux, and try again.
- Alloy flows but leaves voids/pinholes: Joint clearance was too tight, trapping flux inside the joint. The expanding flux gases created blowholes. Increase room-temperature clearance by 0.002'.
- Alloy melts but crawls away from the heat source: You are heating the filler rod directly instead of the base metal. Heat the copper; let the copper melt the rod.
- Joint looks grainy and dull: The joint was moved or vibrated while the alloy was in its 'pasty' (semi-solid) phase. Clamp workpieces rigidly before heating.
Final Thoughts on Copper Brazing
Silver soldering copper is a highly rewarding process that yields joints capable of withstanding thousands of PSI of pressure and massive electrical currents. By respecting the chemistry of your flux, calculating clearances for thermal expansion, and managing your heat input, you transition from simply 'melting metal' to engineering reliable, permanent metallurgical bonds. Always refer to the American Welding Society (AWS) A5.8 specifications when selecting filler metals for critical infrastructure or high-liability fabrications.