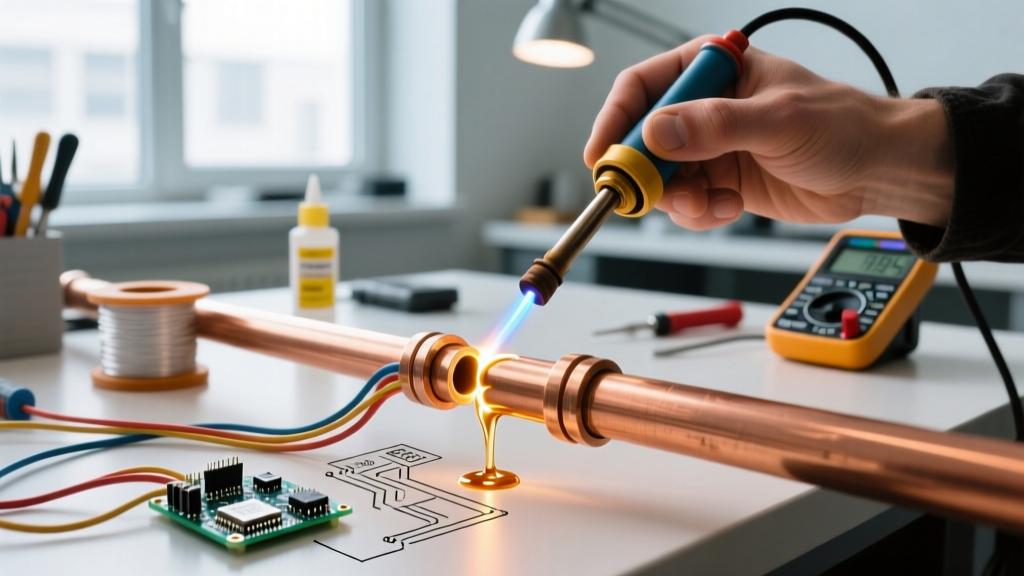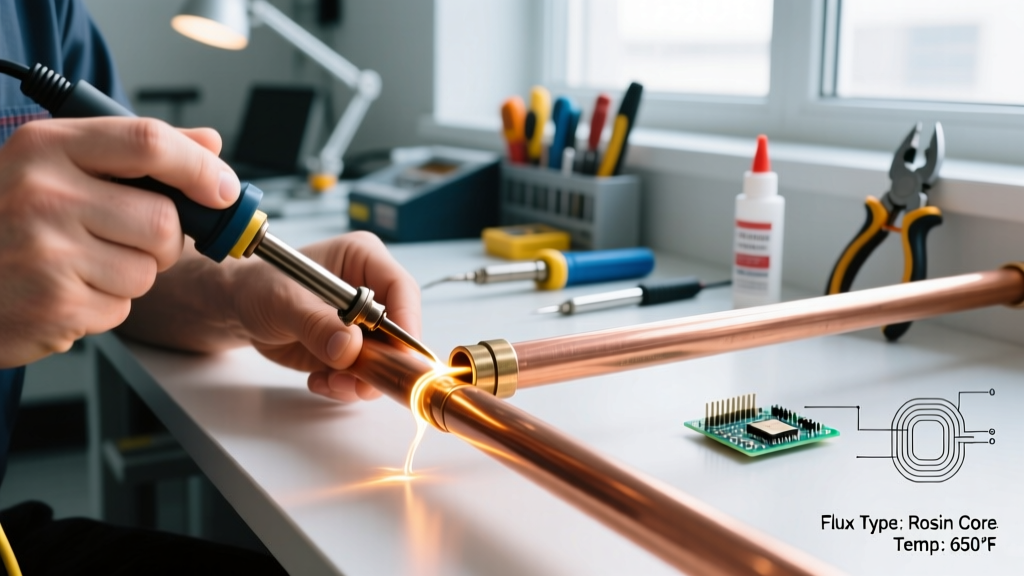

The Metallurgy of Silver Soldering Steel
In the fabrication and repair community, the term 'silver soldering' is frequently used, but metallurgically, you are performing silver brazing. According to the American Welding Society (AWS), any joining process where the filler metal melts above 840°F (450°C) is classified as brazing, not soldering. Silver brazing steel yields joints with tensile strengths often exceeding the base mild steel itself, making it indispensable for high-pressure refrigeration lines, structural bicycle frames, and heavy-duty custom brackets.
Steel presents unique thermal challenges. Its relatively low thermal conductivity compared to copper means heat does not spread rapidly, requiring precise torch manipulation to avoid localized melting or flux burnout. This 2026 guide provides an expert-level, step-by-step framework for executing flawless silver-brazed joints on low-carbon and stainless steels.
Materials and Equipment Matrix
Selecting the correct consumables is the most common point of failure for beginners. Below is the recommended setup for structural steel joints in 2026, factoring in current silver spot prices and modern flux formulations.
| Category | Recommended Product | Specifications & 2026 Pricing |
|---|---|---|
| Filler Metal | Harris Stay-Silv 15 / Lucas-Milhaupt Easy-Flo 3 | 15% Silver, 80% Copper, 5% Zinc. Melts at 1275°F–1390°F. ~$145 per 1/2 lb tube. |
| Flux | Harris Stay-Silv Black Flux | Contains elemental boron. Active up to 1600°F. Essential for steel and carbide. ~$32/pint. |
| Torch Setup | Smith Little Torch (Acetylene/Oxygen) | Provides pinpoint, high-BTU neutral flame. ~$365 for complete outfit. |
| Cleaning Solvent | Reagent-Grade Acetone | Evaporates cleanly without leaving petroleum residue. ~$18/gallon. |
Phase 1: Joint Design and Preparation
Capillary action is the engine of silver brazing. If your joint clearance is incorrect, the filler metal will not draw into the joint, resulting in a superficial, weak bond.
Step 1: Machine to Exact Clearances
For steel-to-steel lap or tee joints, the optimal radial clearance at brazing temperature is 0.002 to 0.005 inches. Because steel expands when heated, you must account for thermal expansion. If you are brazing steel to brass or copper, remember that brass expands faster than steel; design the joint so the brass is the inner member to maintain clearance as it heats.
Expert Insight: According to Lucas-Milhaupt's Joint Design Guidelines, if the clearance exceeds 0.010 inches, capillary force breaks down, and the joint relies on sheer adhesion rather than metallurgical bonding, dropping tensile strength by up to 40%.
Step 2: Mechanical and Chemical Cleaning
Oxides, oils, and drawing compounds will block capillary flow.
- Mechanical: Use 120-grit aluminum oxide sandpaper or a Scotch-Brite pad to polish the mating surfaces to bright metal. Do not use steel wool, as it can leave behind carbon deposits that inhibit wetting.
- Chemical: Wipe the surfaces with acetone. Perform the 'water break test': spray distilled water on the metal. If it beads up, oils remain. If it forms a continuous, unbroken film, the surface is chemically clean.
Phase 2: Fluxing and Heat Management
Step 3: Apply the Black Flux
Standard white flux (potassium fluoroaluminate) burns out at 1400°F, which is too low for silver brazing steel. You must use a black flux containing elemental boron.
Mix the flux paste with a few drops of distilled water to a creamy consistency. Apply a thin, even layer to both mating surfaces using a natural bristle brush. Never use synthetic brushes, as the heat will melt the bristles into your joint.
Flux acts as your primary temperature indicator. As you heat the steel, the flux will first boil off moisture (bubbling), then turn milky white, and finally become clear and glassy. The moment the flux turns completely clear and liquid, the steel is exactly at the correct temperature to accept the filler metal.
Step 4: Broad Preheating
Light your oxy-acetylene torch and adjust to a strictly neutral flame. A carburizing flame (excess acetylene) will introduce carbon into the steel, creating brittle iron carbides at the joint interface.
Do not aim the flame directly at the joint. Instead, use a broad, sweeping motion to heat the entire assembly evenly. Steel's low thermal conductivity means you must 'soak' the heat into the broader mass of the metal, allowing it to conduct inward toward the joint.
Phase 3: Filler Application and Solidification
Step 5: Introduce the Filler Metal
This is where novices fail. Never melt the filler rod in the torch flame.
- Hold the Stay-Silv 15 rod in your off-hand.
- Once the flux turns clear and glassy, withdraw the flame slightly.
- Touch the tip of the filler rod to the edge of the joint.
- If the steel is at the correct temperature (approx. 1300°F), the rod will instantly melt and flash into the joint via capillary action, drawn by the flux.
- If the rod balls up and refuses to flow, the steel is too cold, or the flux has been compromised. Stop, clean, and re-flux.
Step 6: Cooling and Quenching
Once the joint is fully drawn, remove the heat. Allow low-carbon steel to air cool naturally.
Warning for High-Carbon and Tool Steels: Never quench high-carbon steel in water immediately after brazing. The rapid thermal contraction will cause the heat-affected zone (HAZ) to form brittle martensite, leading to microscopic cracking. Allow it to cool to a dull black heat (below 800°F) before quenching in warm oil or water to dislodge the glassy flux scale.
Phase 3: Post-Braze Cleanup and Inspection
Step 7: Pickling the Joint
Black flux leaves a hard, glassy borosilicate slag that is nearly impossible to remove mechanically without damaging the steel. Submerge the cooled assembly in a warm Sparex #2 pickling solution (sodium bisulfate) heated to 140°F for 10-15 minutes. The acid will dissolve the flux scale without attacking the steel or the silver braze alloy. Rinse thoroughly in a baking soda/water bath to neutralize the acid.
Step 8: Visual and Structural Inspection
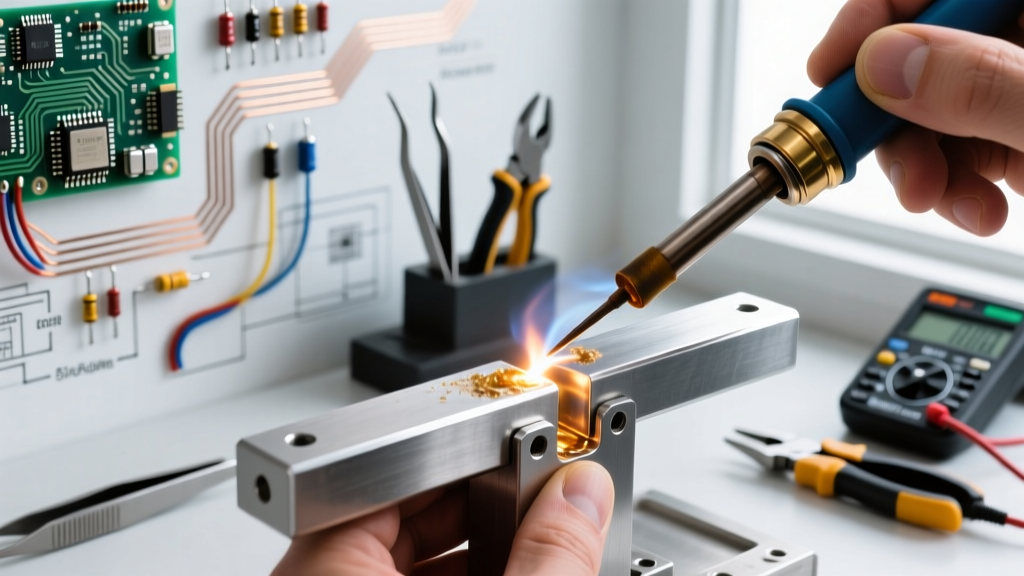
A successful silver-brazed steel joint should exhibit a continuous, smooth fillet around the entire perimeter.
- Acceptable: Filler metal is visible at the opposite edge of a lap joint, proving full capillary penetration.
- Failure Mode 1 (Porosity): Pinholes in the fillet. Caused by overheating the filler metal, which vaporizes the zinc in the alloy, trapping gas bubbles.
- Failure Mode 2 (Debonding): Filler metal is present but flakes off under light tapping. Caused by inadequate chemical cleaning or flux burnout prior to filler application.
Troubleshooting Edge Cases
When working with specialized steel alloys, you may encounter unique failure modes:
- Stainless Steel (300 Series): Prone to carbide precipitation if held between 800°F and 1500°F for too long. Use a high-silver, low-temperature filler like Easy-Flo 3 (1125°F flow point) to minimize time in the sensitization range.
- Galvanized Steel: The zinc coating will vaporize at 1650°F, releasing toxic zinc oxide fumes and ruining the braze. You must mechanically grind away the galvanization at least 1/2 inch back from the joint area before brazing.
By respecting the metallurgy of the base metals and strictly controlling your thermal inputs, silver soldering steel transitions from a frustrating guessing game into a highly predictable, immensely strong joining process. Always prioritize joint fit-up and chemical cleanliness above all other variables.