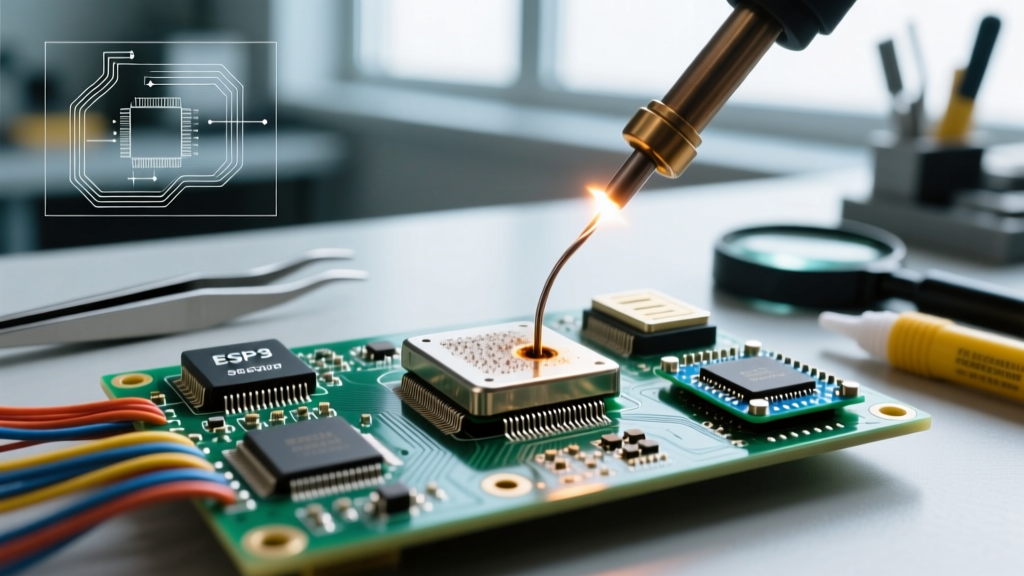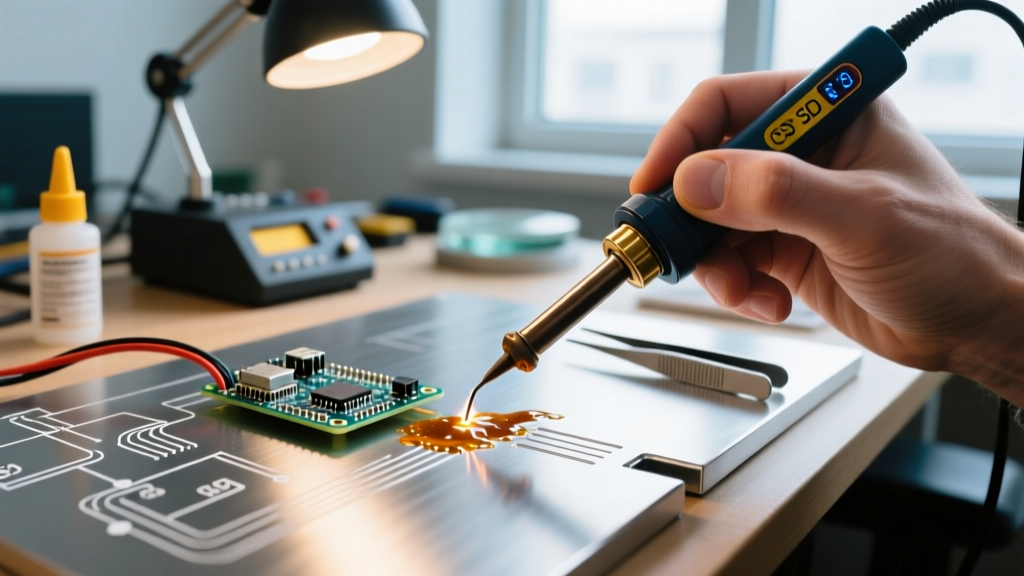

The Metallurgy Barrier: Why Standard Solder Fails on Aluminum
Soldering aluminum is notoriously frustrating for DIYers and electronics technicians alike. The root cause is not the aluminum itself, but the aluminum oxide (Al2O3) layer that forms instantly when the bare metal is exposed to air. While pure aluminum melts at roughly 1,221°F (660°C), its oxide shell boasts a melting point of 3,722°F (2,050°C). Standard rosin-core solders and generic irons cannot penetrate this ceramic-like barrier, resulting in solder that beads up and rolls off the surface.
To achieve a true metallurgical bond, you must pair the correct thermal delivery tool with a specialized fluoride-based flux and a zinc-bearing alloy. As of 2026, with stricter RoHS compliance standards globally, lead-free tin-zinc alloys remain the undisputed standard for low-temperature aluminum joining. Below, we break down the exact tool and technique pairings required for different material thicknesses.
The Golden Rule of Aluminum Oxide: You cannot solder aluminum by simply heating it and applying flux. The oxide layer must be mechanically fractured through the liquid flux pool so that oxygen cannot reach the freshly exposed base metal. This is known as sub-flux abrasion.
Tool & Technique Pairing Matrix
Select your setup based on the thermal mass of your workpiece. Using an underpowered iron on thick aluminum will result in cold joints, while using a torch on thin foil will cause immediate melt-through.
| Base Metal Thickness | Recommended Tool | Consumable Pairing | Primary Technique |
|---|---|---|---|
| Foil to 1/16" (Thin) | Weller WT1012 (100W) or Hakko FX-601 | Indalloy 121 + La-Co Aluma-Sol Flux | Sub-flux tip abrasion |
| 1/16" to 1/8" (Medium) | Hakko FX-601 (with 9mm chisel tip) | Indalloy 121 + La-Co Aluma-Sol Flux | Stainless pick agitation |
| 1/8" to 1/4"+ (Thick/Structural) | Bernzomatic TS8000 Micro-Torch | Super Alloy 1 Multi-Metal Rod | Heat-and-scrub rod feeding |
Pairing 1: The Prosumer Iron & Chemical Flux (For < 1/8" Gauge)
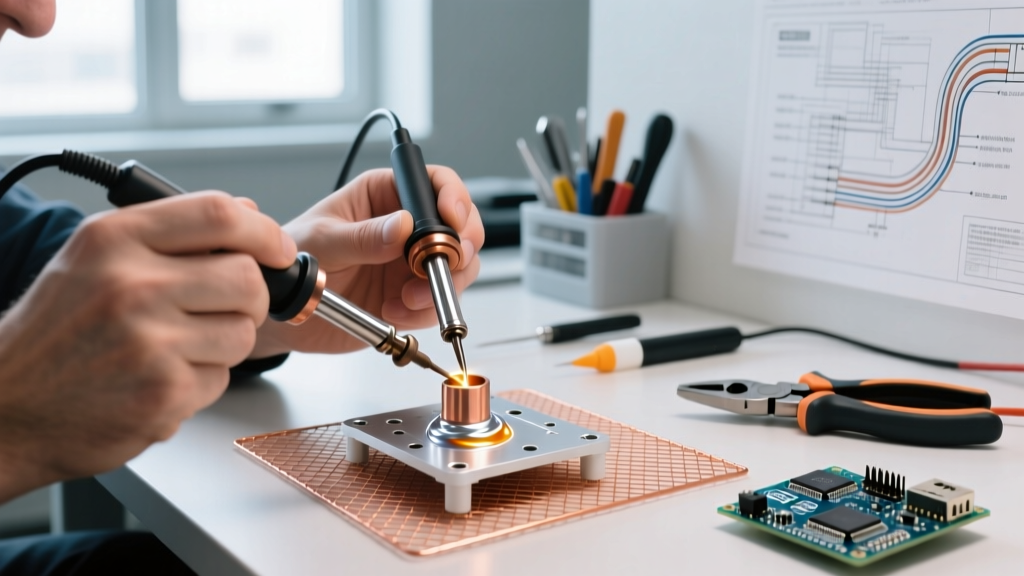
For electrical connections, thin sheet metal, and RC hobby parts, a high-capacity soldering iron paired with a tin-zinc alloy is the optimal choice. Standard 40W irons lack the thermal recovery to keep the flux active. We recommend the Hakko FX-601 (approx. $65), which offers adjustable temperatures up to 500°C and accepts high-mass T19 tips.
The Consumables
- Alloy: Indium Corporation Indalloy 121 (91% Tin, 9% Zinc). Melting point is 390°F (199°C). Cost: ~$45 per half-pound spool. According to metallurgical data from Indium Corporation, the zinc content is critical as it alloys with the aluminum base, while the tin provides the bulk of the joint structure.
- Flux: La-Co Aluma-Sol (Fluoride-based). Cost: ~$15 per tube. As detailed by La-Co Industries, fluoride fluxes are specifically engineered to dissolve aluminum oxide at soldering temperatures, unlike standard rosin or organic acid fluxes.
The Technique: Sub-Flux Abrasion
- Prep: Degrease the aluminum with isopropyl alcohol. Do not sand the metal dry; sanding dry only exposes fresh aluminum that instantly oxidizes before you can apply flux.
- Flux Application: Apply a generous bead of Aluma-Sol flux over the joint area.
- Heat & Agitate: Set the Hakko FX-601 to 350°C (662°F) using a wide chisel tip (e.g., T19-D24). Press the tip into the flux pool. While the flux is liquid and boiling, use the edge of the iron tip to firmly scrape the aluminum surface beneath the flux. You will feel a 'scratchy' sensation—this is the oxide layer breaking.
- Feed Solder: While maintaining downward pressure and agitation, feed the Indalloy 121 wire into the leading edge of the iron tip. The solder will instantly wick into the freshly abraded aluminum.
Pairing 2: The Micro-Torch & Mechanical Rod (For 1/8" to 1/4" Structural)
When repairing aluminum boat hulls, automotive radiators, or thick structural brackets, an iron cannot deliver the BTUs required to bring the massive heat sink up to temperature. You need a micro-torch and a specialized brazing-style solder rod.
The Consumables
- Tool: Bernzomatic TS8000 torch head (~$50) fueled by a MAP-Pro cylinder. This setup burns at 3,730°F, providing rapid, localized heat.
- Alloy: Super Alloy 1 Multi-Metal Rod (~$30 for a 5-rod kit). This rod melts at 732°F and contains its own specialized flux core, designed specifically for joining aluminum, zinc, and lead without external flux pastes.
The Technique: Heat-and-Scrub Rod Feeding
- Bevel & Clean: For thick joints, use a file to bevel the edges at 45 degrees to increase surface area. Clean with acetone.
- Pre-heat: Play the TS8000 flame in a circular motion around the joint, keeping the blue inner cone about 2 inches away to avoid localized melting. Heat the area until a drop of water flashed on the metal sizzles and evaporates instantly (approx. 45-60 seconds for 1/4" plate).
- Friction Test: Remove the flame and immediately drag the Super Alloy 1 rod across the joint. If it does not melt, re-apply heat for 10 seconds. Aluminum is highly thermally conductive; the heat must soak entirely through the thickness of the metal.
- Capillary Flow: Once the rod melts and flows, use the included stainless steel brush (or a dedicated stainless pick) to vigorously scrub the molten puddle. This mechanical action breaks the oxide layer beneath the molten flux shield, allowing the zinc-rich alloy to bond to the base metal. As noted in technical guidelines from the Harris Products Group, mechanical agitation is non-negotiable for thick-section aluminum soldering and brazing.
Edge Cases & Failure Mode Troubleshooting
Even with the right tools, aluminum presents unique failure modes. Use this diagnostic matrix to correct your technique:
- Failure: Solder balls up and refuses to wet the surface.
Diagnosis: Intact oxide layer or insufficient thermal mass.
Correction: Increase mechanical agitation pressure during the sub-flux abrasion step. If using an iron, upgrade to a higher wattage model or pre-heat the workpiece with a heat gun to 200°F before applying the iron. - Failure: The base aluminum warps, slumps, or melts.
Diagnosis: Dwell time exceeded; heat concentrated in one micro-spot.
Correction: You are using an underpowered tool for the mass of the workpiece. Switch to a torch or a 100W+ station, and keep the heat source moving to distribute thermal load evenly. - Failure: Joint is brittle and cracks under minor flex.
Diagnosis: Galvanic corrosion or flux inclusion.
Correction: You failed to neutralize the flux post-solder, or you used a standard tin-lead alloy instead of a zinc-bearing aluminum-specific alloy.
Safety & Post-Solder Cleanup (Critical Step)
Fluoride-based aluminum fluxes like Aluma-Sol are highly aggressive, hygroscopic, and corrosive. If left on the joint, they will absorb moisture from the air and cause severe galvanic corrosion, eating through the aluminum and destroying the solder joint within weeks.
Neutralization Protocol: Immediately after the joint cools to a safe handling temperature, submerge or scrub the part in a hot water bath mixed with a baking soda slurry (sodium bicarbonate). The alkaline baking soda neutralizes the acidic fluoride salts. Scrub with a nylon brush until the white, chalky residue is completely gone, then rinse with distilled water and dry thoroughly. For electronics applications, follow up with an ultrasonic cleaner and a high-purity isopropyl alcohol rinse to ensure zero ionic contamination remains on the PCB or wire termination.