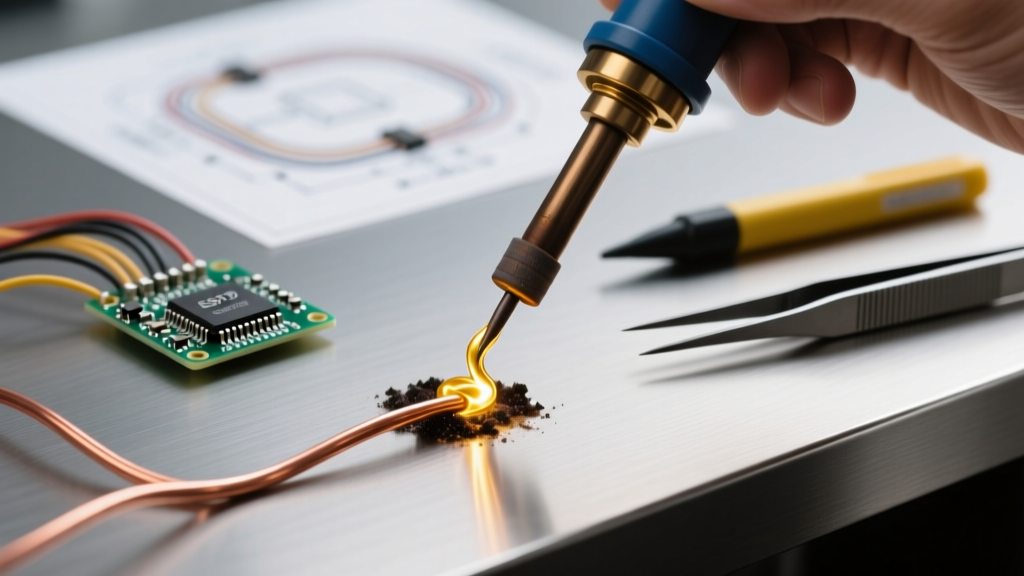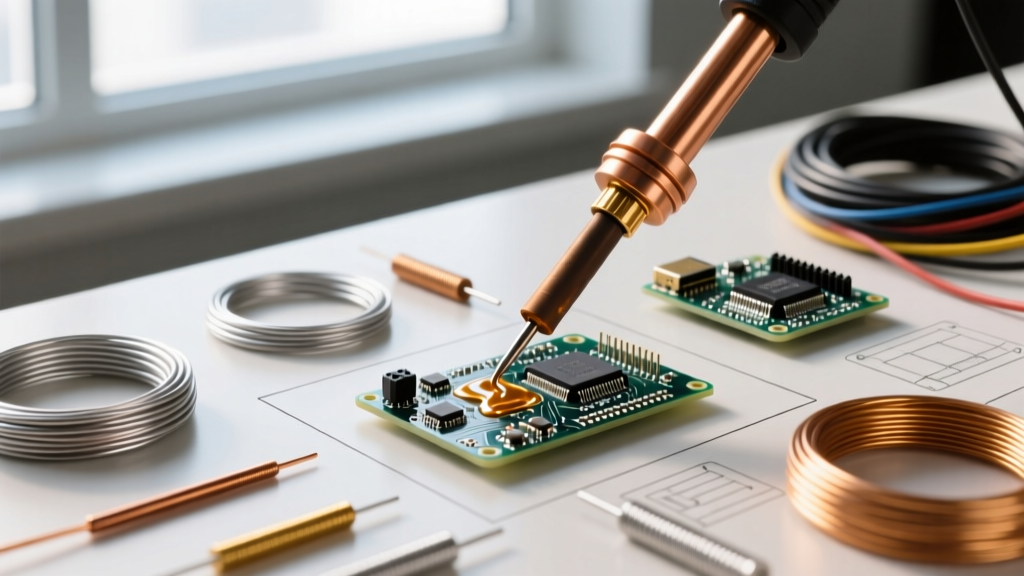

The Anatomy of Metal Soldering Wire: Beyond the Spool
Selecting the correct metal soldering wire is only half the battle in achieving reliable electrical and mechanical joints. The true mark of an expert technician lies in tool and technique pairing—matching the specific alloy, flux core percentage, and wire diameter to the appropriate soldering iron tip geometry and thermal profile. A mismatch in this triad leads to cold joints, flux burnout, and catastrophic tip degradation. As of 2026, with the electronics industry heavily favoring RoHS-compliant lead-free alloys alongside specialized high-reliability applications, understanding these pairings is critical.
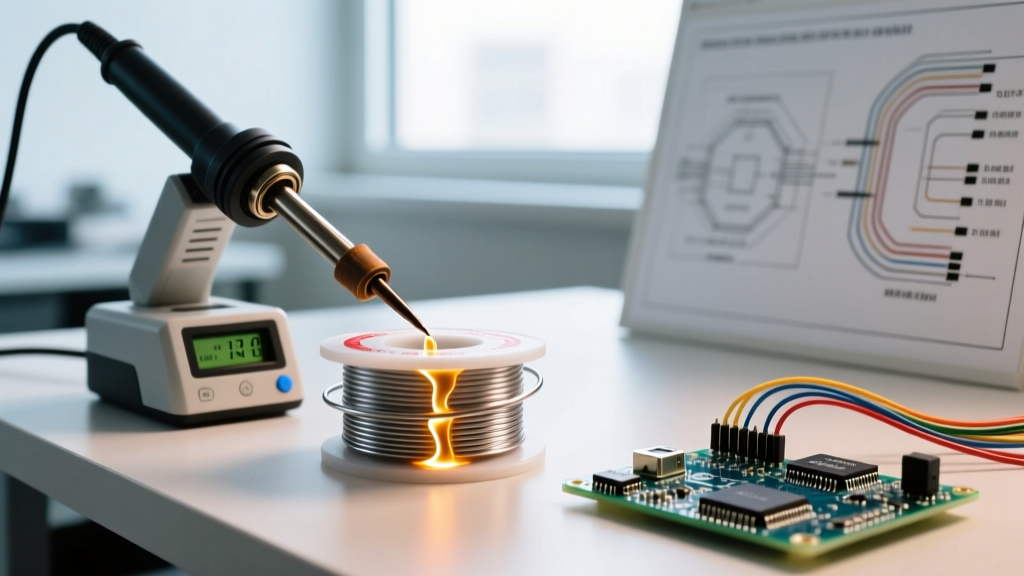
According to SparkFun's comprehensive soldering guide, wetting—the process where molten solder flows and adheres to a base metal—relies entirely on the synchronized activation of the flux core and the thermal mass of the iron tip. Let us break down the variables and map them to precise tool pairings.
Alloy Compositions and Thermal Thresholds
The market for metal soldering wire is dominated by three primary alloy categories, each demanding a distinct thermal approach:
- Sn63/Pb37 (Eutectic Tin/Lead): Melts at a precise 183°C (361°F). It transitions instantly from solid to liquid, making it forgiving for beginners and ideal for general through-hole and wire-tinning applications.
- SAC305 (Sn96.5/Ag3.0/Cu0.5): The 2026 industry standard for lead-free commercial PCB assembly. It melts between 217°C and 220°C (422°F–428°F) and exhibits a 'pasty' range, requiring higher iron temperatures and longer dwell times.
- Sn96.5/Ag3.5 (Silver-Bearing): Used in high-vibration environments, aerospace, and certain jewelry/steel applications where lead is prohibited but high tensile strength is required. Melts at 221°C (430°F).
Flux Core Percentages: The Unsung Hero
Flux removes oxidation and promotes wetting. Wire is typically manufactured with 1.1%, 2.2%, or 3.3% flux cores by weight.
Expert Rule of Thumb: Use 1.1% flux core for clean, factory-grade PCBs and SMD work. Reserve 2.2% to 3.3% flux core wires for oxidized surfaces, heavy-gauge copper wiring, and structural metal soldering where aggressive cleaning is required prior to wetting.
Tool Pairing Matrix: Wire, Tip, and Temperature
The following matrix provides actionable baselines for pairing your metal soldering wire with standard soldering station tips (such as the Hakko T18 or Weller ET series). Always measure temperature at the tip, not just the station dial.
| Wire Alloy & Diameter | Recommended Tip Geometry | Target Tip Temp | Max Dwell Time | Primary Application |
|---|---|---|---|---|
| Sn63/Pb37 (0.031 in / 0.8mm) | Chisel (1.6mm - 2.4mm) | 315°C - 330°C | 2.5 seconds | Standard Through-Hole, DIP ICs |
| Sn63/Pb37 (0.062 in / 1.5mm) | Heavy Chisel / Screwdriver (5mm+) | 350°C - 380°C | 4.0 seconds | Heavy Gauge Wire, XT60 Connectors |
| SAC305 (0.015 in / 0.4mm) | Micro-Conical or J-Hook | 350°C - 370°C | 1.5 seconds | Fine-Pitch SMD, 0402 Components |
| SAC305 (0.031 in / 0.8mm) | Bevel / Hoof (2mm) | 360°C - 380°C | 3.0 seconds | Drag Soldering, QFP ICs |
| Sn96.5/Ag3.5 (0.040 in) | Wide Chisel (3.2mm+) | 370°C - 390°C | 3.5 seconds | Aerospace, High-Vibe Terminals |
Technique Pairings for Real-World Scenarios
Having the right metal soldering wire and tip is useless without the correct physical technique. Here is how to execute the two most common, yet technically demanding, scenarios.
Scenario A: High-Density SMD PCB Rework
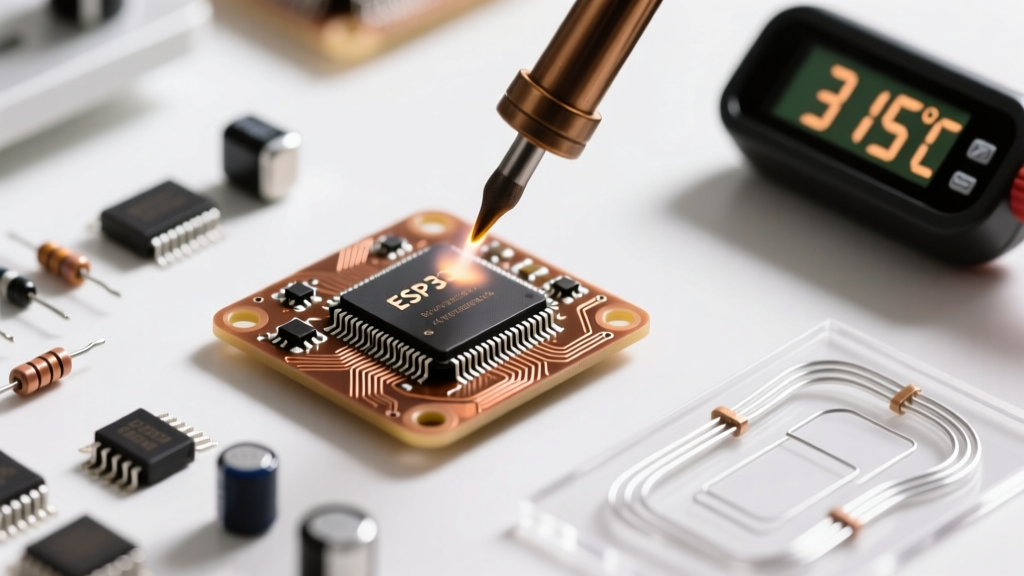
The Setup: SAC305 metal soldering wire (0.015-inch diameter, 1.1% flux) paired with a micro-pencil tip (0.4mm) on a high-recovery station like the JBC CD-2BQE or Hakko FX-951.
- Prep: Apply a microscopic amount of tack flux to the PCB pad. Do not rely solely on the wire's 1.1% core for rework, as the pad may already be oxidized.
- Pre-tin: Melt a tiny bead of the SAC305 wire onto the tip. The silver content in SAC305 can cause rapid tip oxidation; the pre-tin bead acts as a thermal bridge and sacrificial shield.
- Execution: Touch the tip to the pad and the component lead simultaneously. Feed the 0.015-inch wire into the joint, not directly onto the iron tip. The joint should wet in under 1.5 seconds. Remove the wire first, then the iron, to prevent the solder from following the iron away from the pad.
Scenario B: Heavy-Gauge Copper and Steel Wiring
The Setup: Sn60/Pb40 or Sn63/Pb37 metal soldering wire (0.062-inch diameter, 3.3% flux) paired with a massive 6mm chisel tip on a high-wattage station (70W+).
- Mechanical Prep: Steel and thick copper act as massive heat sinks. Mechanically clean the wire with abrasion and apply external liquid or paste flux before heating.
- Thermal Loading: Press the flat face of the heavy chisel tip against the wire to maximize surface area contact. Hold for 2-3 seconds to allow the heat to penetrate the core of the copper strands.
- Feed and Sweat: Apply the thick 0.062-inch wire to the opposite side of the copper. The 3.3% flux core will aggressively boil and clean the surface. Allow the solder to wick deeply into the strands (capillary action) before removing the heat.
Edge Cases and Thermal Failure Modes
Even experienced technicians fall victim to specific failure modes when pairing tools and metal soldering wires incorrectly.
- Flux Burnout and Splattering: If your station is set to 420°C but you are using a standard rosin-core (RMA) wire, the flux will instantly carbonize. This leaves a black, acidic residue that prevents wetting and can cause long-term dendritic growth. Fix: Lower the temperature to 330°C and use a larger tip to transfer heat faster without relying on extreme temperatures.
- Lead-Free Tip Pitting: SAC305 metal soldering wire is notorious for eating away the iron plating on soldering tips, especially if left idle at 380°C. Fix: Always turn your station down to 150°C when not in use, and leave a massive blob of SAC305 on the tip before powering down to seal the plating from oxygen.
- Cold Joints from Thermal Starvation: Using a 0.015-inch micro-tip to solder a thick ground plane will result in a dull, grainy, cold joint. The tip lacks the thermal mass to heat the plane, meaning the solder melts on the iron but merely sits on top of the cold pad. Fix: Switch to a bevel or hoof tip, or use localized pre-heating on the PCB.
2026 Sourcing and Cost Expectations
Procuring high-quality metal soldering wire requires avoiding counterfeit spools, which often feature inaccurate alloy ratios and corrosive, non-electronic grade flux cores. For professional and serious DIY work, stick to established manufacturers.
According to Kester's official solder wire lineup, their industry-standard 245 (high-reliability) and 331 (general purpose) series remain the benchmark. As of early 2026, expect to pay between $38 and $48 for a 1lb spool of Sn63/Pb37 0.031-inch wire. Lead-free SAC305 wire is generally 15% to 25% more expensive due to the silver content, hovering around $55 to $70 per pound.
For those exploring alternative alloys, the IPC J-STD-006 standard for electronic solder alloys provides exhaustive documentation on trace element limits, ensuring you don't accidentally purchase wire contaminated with bismuth or cadmium, which can cause catastrophic joint embrittlement.
Final Takeaway
Treating metal soldering wire as a generic consumable is the fastest way to ruin expensive components and degrade your tools. By rigorously pairing your wire diameter and alloy with the correct tip geometry and thermal profile, you transform soldering from a guessing game into a precise, repeatable engineering process.