
Understanding Sn63/Pb37 (37/63) Eutectic Solder
When you purchase 37/63 solder (more accurately designated in the industry as Sn63/Pb37, meaning 63% Tin and 37% Lead), you are buying a eutectic alloy. Unlike the more common 60/40 solder, which has a "plastic" or "pasty" phase between its solidus and liquidus temperatures, eutectic solder transitions from solid to liquid instantaneously at exactly 183°C (361°F).
For beginners, this is a massive advantage. Because there is no pasty phase, you eliminate the risk of "disturbed joints"—a catastrophic failure mode where the components move while the solder is cooling through its plastic state, resulting in a cracked, high-resistance connection. However, to leverage this instant phase change, you must dial in the optimal soldering temperature for 37/63 solder at the iron's tip, which is significantly higher than the alloy's melting point.
The Science of Heat Transfer: Melting Point vs. Iron Temperature
A common beginner mistake is setting the soldering station to 185°C, assuming that just a few degrees above the melting point is sufficient. This will result in immediate failure. Soldering is about heat transfer, not just ambient temperature. When the iron tip touches a copper pad and a component lead, the thermal mass of those parts rapidly drains heat from the tip.
To achieve the optimal soldering temperature for 37/63 solder, you must account for this thermal drain, the oxidation rate of the tip, and the activation temperature of the flux core. According to workmanship guidelines outlined in the IPC-A-610 standard for electronic assemblies, the goal is to heat the joint to the solder's liquidus point as quickly as possible without exceeding the thermal limits of the PCB or components.
The Golden Rule: The solder should melt in 2 to 4 seconds of the iron tip contacting the joint. If it takes longer, your temperature is too low or your tip's thermal mass is insufficient. If it melts instantly but the flux violently spatters and burns black, your temperature is too high.
Temperature Matrix by Thermal Mass
There is no single "perfect" number. The optimal soldering temperature for 37/63 solder shifts depending on the thermal mass of the joint you are attacking. Below is a practical reference matrix for standard leaded through-hole and surface-mount applications.
| Application Type | Thermal Mass | Recommended Iron Temp (°C / °F) | Recommended Tip Shape |
|---|---|---|---|
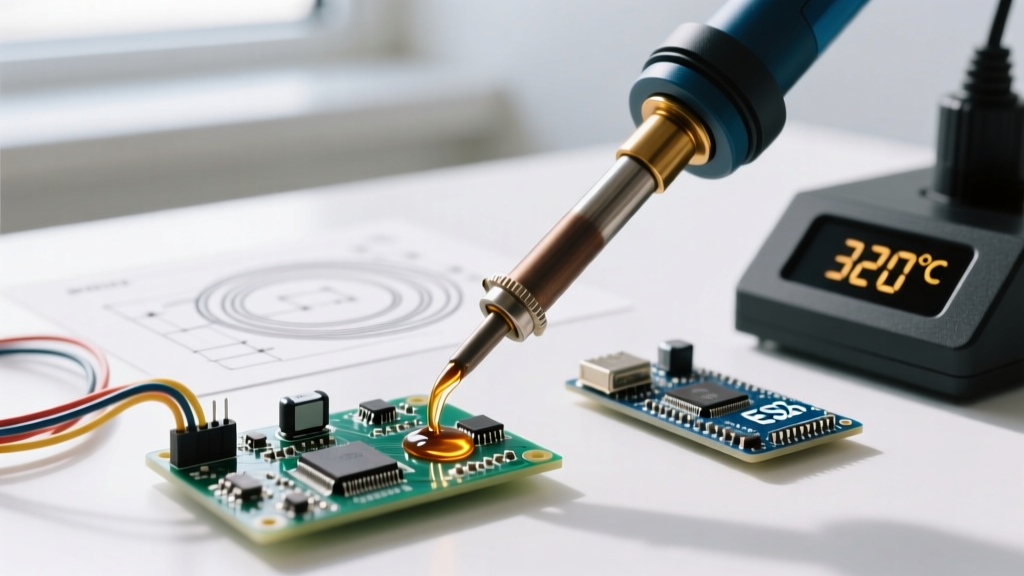
| Standard Through-Hole (e.g., 1/4W resistors, IC sockets) | Low to Medium | 320°C / 608°F | Chisel (e.g., Hakko T18-D12) |
| Heavy Ground Planes / Large Capacitors | High | 360°C / 680°F | Wide Chisel or Bevel |
| SMD Passives (0805, 0603) | Very Low | 300°C / 572°F | Micro-Pencil or Fine Conical |
| Multilayer PCB Vias (4+ layers) | Extreme | 380°C / 716°F (Preheat board) | Heavy Chisel |
Step-by-Step Beginner Walkthrough
Let us walk through the physical execution of a perfect through-hole solder joint using a standard 320°C setting.
- Prep the Tip: Before approaching the board, wipe your iron tip on a damp cellulose sponge or brass wire pad. Apply a tiny amount of fresh 37/63 solder to the working face of the tip. This "tinning" layer acts as a thermal bridge.
- Heat the Joint, Not the Solder: Place the tinned face of the chisel tip so it simultaneously touches the component lead and the copper pad. Hold for 1 to 2 seconds to allow the thermal mass of the joint to absorb the heat.
- Feed the Solder: Introduce the 37/63 solder wire (0.031" or 0.8mm diameter is ideal for through-hole) to the opposite side of the joint, where the iron tip is not touching. If the joint is hot enough, the solder will instantly wick into the via via capillary action.
- The 3-Second Rule: Feed just enough solder to form a concave fillet (usually about 1/8th of an inch of wire). Remove the solder wire first, then remove the iron, sweeping it away at a 45-degree angle.
- Cooling: Because 37/63 is eutectic, it will flash-freeze into a solid, shiny joint in under a second. Do not blow on it; let it cool naturally.
Flux Chemistry and Thermal Degradation
You cannot discuss the optimal soldering temperature for 37/63 solder without addressing flux. The rosin core inside your solder wire (typically Kester 245 or an equivalent RMA - Rosin Mildly Activated flux) requires heat to activate. The activators in RMA flux typically begin breaking down metal oxides at around 200°C to 220°C.
If your iron is set too low (e.g., 250°C), the joint may never reach the flux's activation temperature before the solder melts, resulting in poor wetting and a "cold" looking joint, even if the alloy itself flowed. Conversely, if you set your iron to 400°C, the flux activators will vaporize and carbonize instantly upon contact. This leaves a hard, black, conductive residue that can cause parasitic capacitance or leakage currents in high-impedance circuits. For deep dives into flux chemistry and residue management, the Kester technical flux documentation provides excellent baseline data on thermal degradation curves.
Troubleshooting Matrix: Failure Modes and Fixes
Even with the right temperature, beginners encounter edge cases. Use this matrix to diagnose your joints against the rigorous NASA Electronic Parts and Packaging (NEPP) workmanship standards.
- Failure Mode: Dull, grainy, or lumpy joint.
Diagnosis: Cold joint. The iron temperature was too low, or the thermal mass of the pad drained the heat before the flux could clean the oxides.
Fix: Increase station temp by 20°C, or switch to a wider chisel tip to increase surface area contact. - Failure Mode: Solder balls up on the lead and refuses to wet the pad (high contact angle).
Diagnosis: Oxidized pad or burned-out flux. The iron was too hot, destroying the flux before it could clean the pad.
Fix: Lower temperature to 310°C, apply external liquid flux (e.g., MG Chemicals 8341), and reheat. - Failure Mode: Pad lifts off the FR4 fiberglass substrate.
Diagnosis: Excessive dwell time. The temperature might have been correct, but holding the iron for 8+ seconds delaminated the epoxy.
Fix: Practice the 3-second rule. If the joint isn't hot enough in 4 seconds, your iron lacks the thermal recovery wattage, not the correct temperature setting.
Essential Gear for 2026
To maintain a stable 320°C under load, you need a station with active thermal feedback. Cheap $30 irons rely on a simple rheostat; when they touch a ground plane, the tip temperature plummets to 150°C, and the dial cannot compensate fast enough.
For 2026, the baseline for reliable eutectic soldering is a 65W to 75W digitally controlled station. The Hakko FX-888D (retailing around $115) and the Weller WE1010NA (around $125) both feature high-wattage ceramic heaters and thermocouple feedback loops that recover lost heat in milliseconds. Pair these with high-quality Sn63/Pb37 wire, such as Alpha Metals 331 or Kester 245 (approx. $35 for a 1lb spool), and you will achieve professional, IPC-compliant fillets on your very first attempt.