
The Metallurgy of Soldering Wire Together
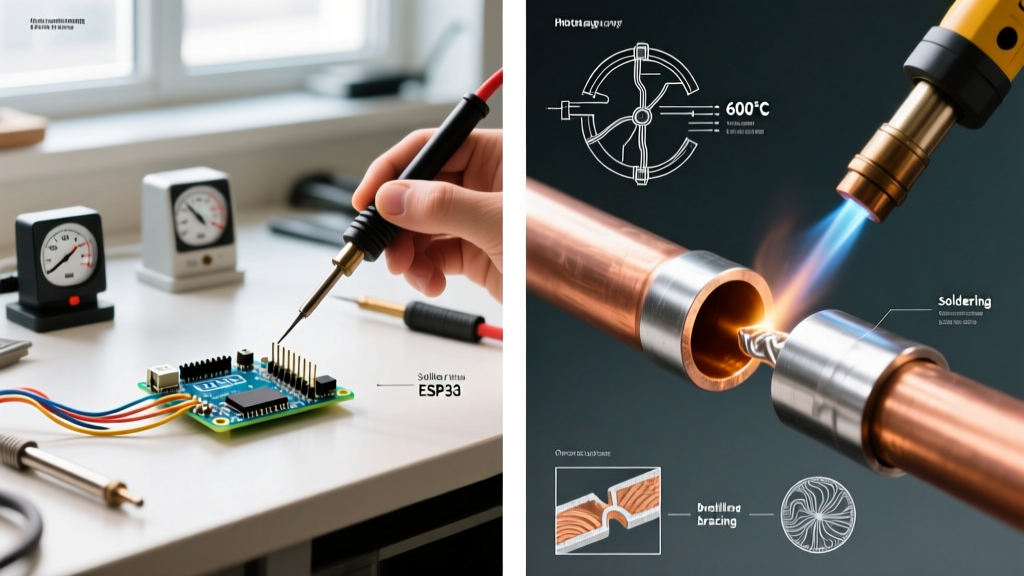
When soldering wire together, the assumption that a single technique applies to all metals is the leading cause of catastrophic joint failure in DIY and professional electronics. The metallurgical realities of copper, aluminum, and steel demand radically different approaches to thermal transfer, flux chemistry, and alloy selection. A splice that will last decades in copper will corrode into dust in weeks if the same method is applied to aluminum. This material-specific guide breaks down the exact parameters, product models, and chemical requirements for creating permanent, low-resistance wire splices across the most common conductive metals used in electrical systems.
Material-Specific Matrix for Wire Splicing
| Wire Material | Required Flux Chemistry | Recommended Solder Alloy | Optimal Iron Temp | Primary Challenge |
|---|---|---|---|---|
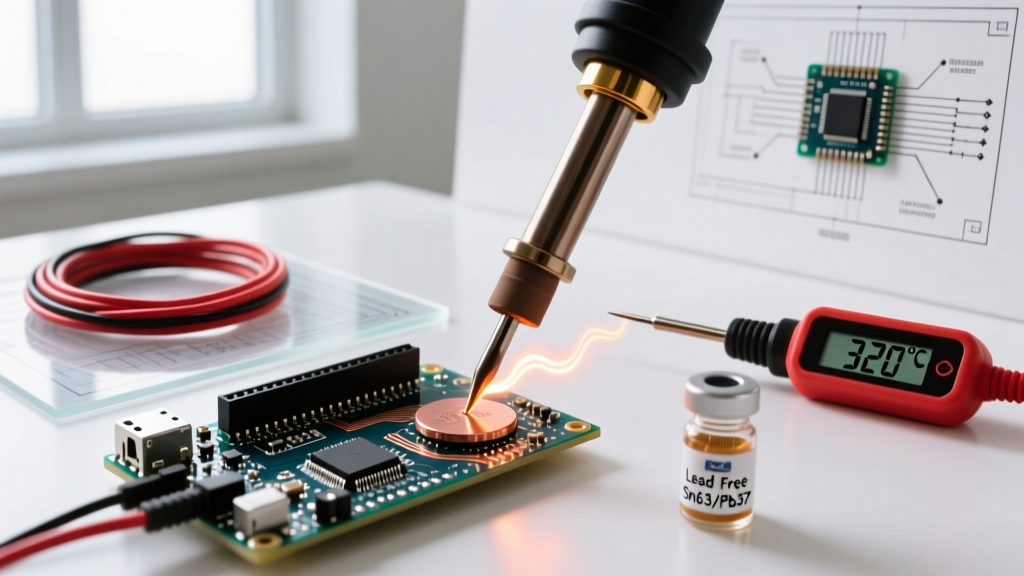
| Copper (Bare/Tinned) | Rosin (RMA) or No-Clean | SAC305 or Sn63/Pb37 | 320°C - 350°C | Oxidation on aged wire |
| Aluminum | Specialized Organic/Zinc | Sn-Zn or Zn-Al (e.g., Indalloy) | 380°C - 400°C | Al2O3 oxide layer (melts at 2072°C) |
| Steel / Nichrome | Acid (Zinc Chloride) | Sn60/Pb40 or High-Temp Lead | 380°C - 420°C | Poor wetting, high thermal mass |
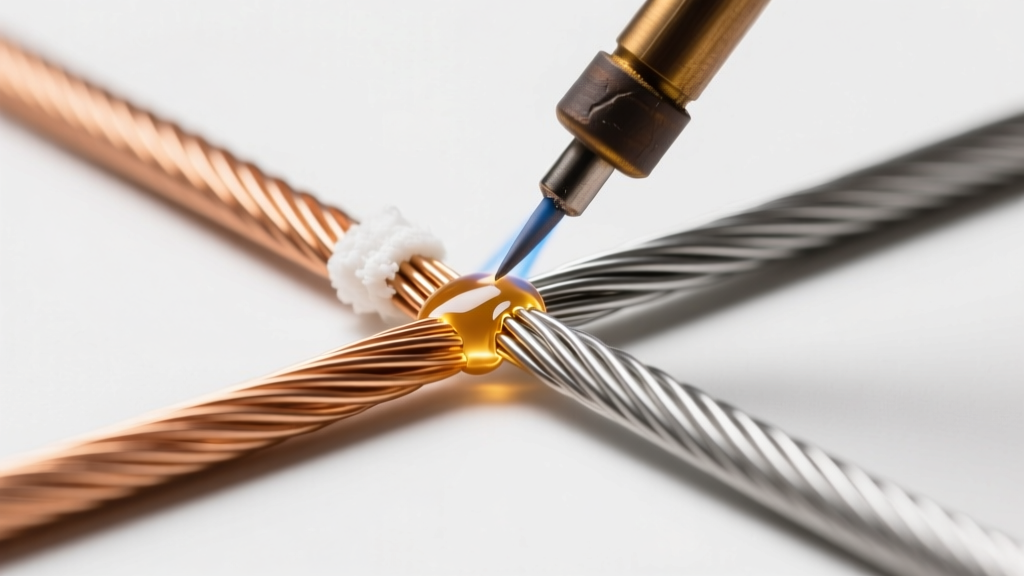
| Copper to Aluminum | Specialized Bi-Metal Flux | Sn-Zn with Ag | 380°C | Galvanic corrosion |
Copper-to-Copper: The Baseline Standard
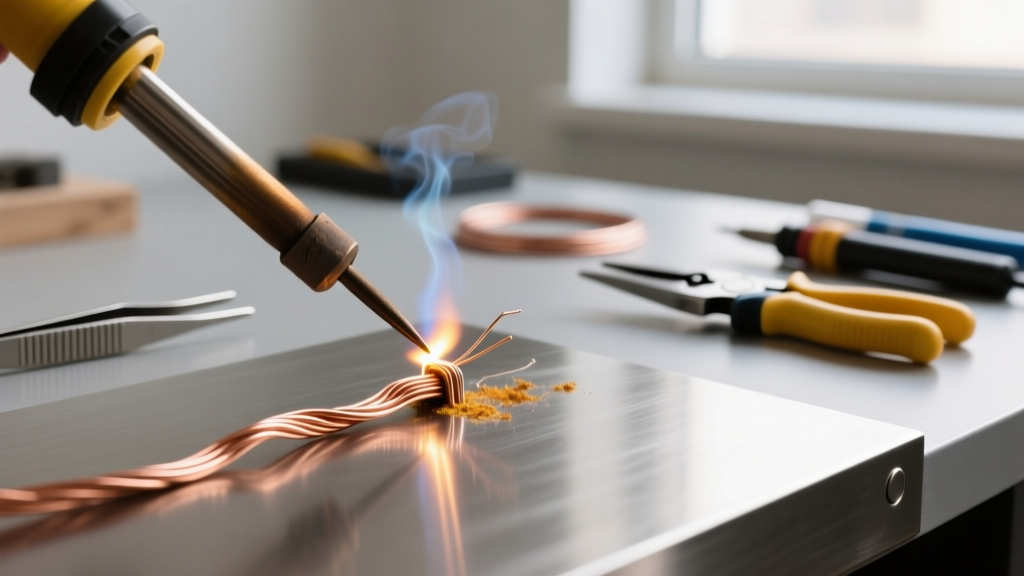
Copper is the baseline for electrical work due to its high thermal conductivity (approx. 400 W/m·K) and excellent solderability. However, when soldering wire together in copper, the primary enemy is surface oxidation on older wires, which prevents the solder from wetting the metal.
Optimal Setup for Copper
- Soldering Station: Hakko FX-951 or Weller WEP90 with active tip sensing.
- Tip Selection: T18-D24 (2.4mm chisel) for wires up to 14 AWG; use a T18-C4 (4mm bevel) for 10 AWG or thicker to maintain thermal mass.
- Flux: Kester 44 Rosin-Core or MG Chemicals 8341 No-Clean Liquid Flux for pre-tinning.
- Alloy: For lead-free compliance, Indium Corporation recommends SAC305 (Sn96.5/Ag3.0/Cu0.5), which melts at 217°C. Set your station to 350°C to ensure rapid heat transfer without cooking the flux core.
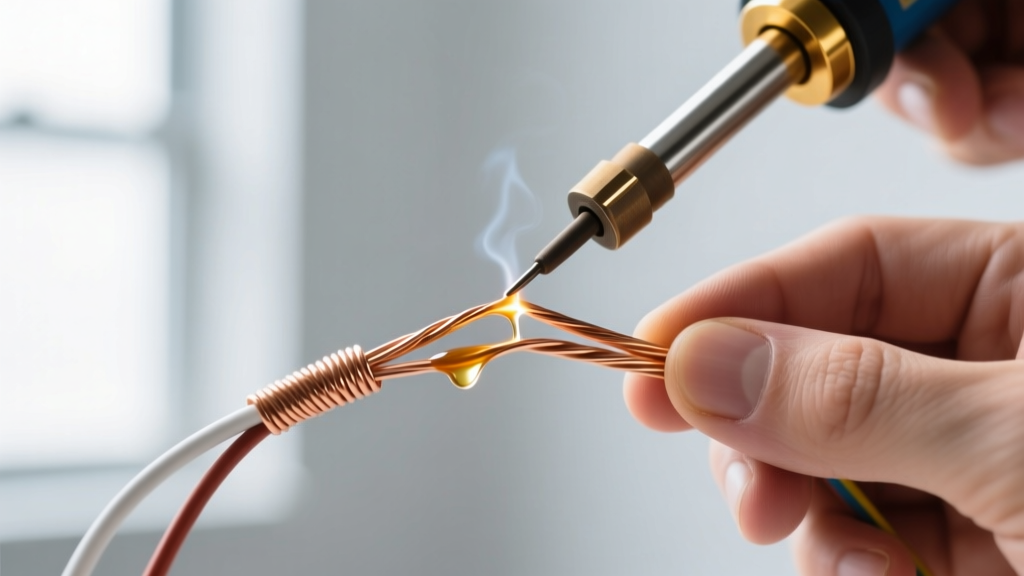
Pro Tip: Always twist the stripped copper strands (minimum 3 full twists) before applying heat. A mechanical joint must hold the wires together independently of the solder; the solder is strictly for electrical continuity and environmental sealing.
Aluminum Wire: Overcoming the Oxide Barrier
Soldering aluminum wire is notoriously difficult because aluminum instantly forms a microscopically thin layer of aluminum oxide (Al2O3) when exposed to air. This oxide layer melts at a staggering 2,072°C—far beyond the capabilities of any standard soldering iron. Standard rosin fluxes cannot penetrate this barrier.
CRITICAL WARNING: Never attempt to solder aluminum wire with standard electronics rosin flux or standard tin-lead solder. The joint will appear solid but will exhibit massive electrical resistance and fail under load, creating a severe fire hazard.
To successfully join aluminum, you must use a flux specifically engineered to chemically etch through the oxide layer while excluding oxygen, alongside a zinc-based or tin-zinc solder alloy. Superior Flux & Chemicals produces specialized formulations (like Superior Flux 2000) designed exactly for this metallurgical challenge.
Step-by-Step Aluminum Splice Procedure
- Mechanical Preparation: Strip the aluminum wire and immediately scrub the exposed metal with a stainless-steel wire brush while submerged in a pool of specialized aluminum flux. This prevents new oxide from forming before the flux can coat the bare metal.
- Pre-Tinning: Set your iron to 390°C. Apply a heavy chisel tip to the flux-coated wire and introduce the zinc-based solder (e.g., Alusol or Sn-Zn alloy). The flux will bubble aggressively as it etches the oxide. Once the wire is fully coated in solder, remove the heat.
- The Splice: Twist the pre-tinned aluminum wires together. Apply a small amount of additional flux to the mechanical joint.
- Final Soldering: Apply the iron to the joint until the pre-tinned solder reflows and fuses the wires into a single mass. Remove heat and hold completely still until the solder crystallizes (approx. 3-5 seconds).
- Neutralization: Aluminum fluxes are highly corrosive. You must clean the joint with isopropyl alcohol and a stiff brush, then seal it immediately with adhesive-lined heat shrink tubing.
Steel and Nichrome: High-Thermal Mass Challenges
Steel and Nichrome (nickel-chromium) wires are frequently encountered in heating elements, automotive sensors, and heavy-duty structural wiring. These metals suffer from two major issues: poor solder wetting and high thermal mass, which rapidly draws heat away from the soldering iron tip.
When soldering wire together using steel, you must abandon rosin flux entirely. You need an aggressive acid-based flux, specifically Zinc Chloride (such as Kester 101 or Rubyfluid). Acid fluxes chemically strip the tough iron oxide and chromium oxide layers, allowing the tin to wet the surface.
Thermal Management for Steel
Because steel acts as a heatsink, a standard 60W iron will result in a cold joint. You need a minimum of 90W to 120W (e.g., Weller WEP90 at 90W or JBC CD-2BE). Set the temperature to 400°C. Apply the acid flux generously, touch the iron to the wire for 3-4 seconds to allow the thermal mass to absorb the heat, and then feed the solder. Note: Acid flux residue will rapidly rust steel wires if not neutralized with a baking soda/water solution and thoroughly dried after the joint cools.
Dissimilar Metal Splices: The Galvanic Corrosion Trap
The most dangerous scenario in wire splicing is joining dissimilar metals, particularly Copper to Aluminum. In the presence of even trace atmospheric moisture, these two metals form a galvanic cell. Because aluminum is anodic to copper, the aluminum will rapidly corrode, turning into a white, non-conductive powder that increases resistance and generates extreme heat.
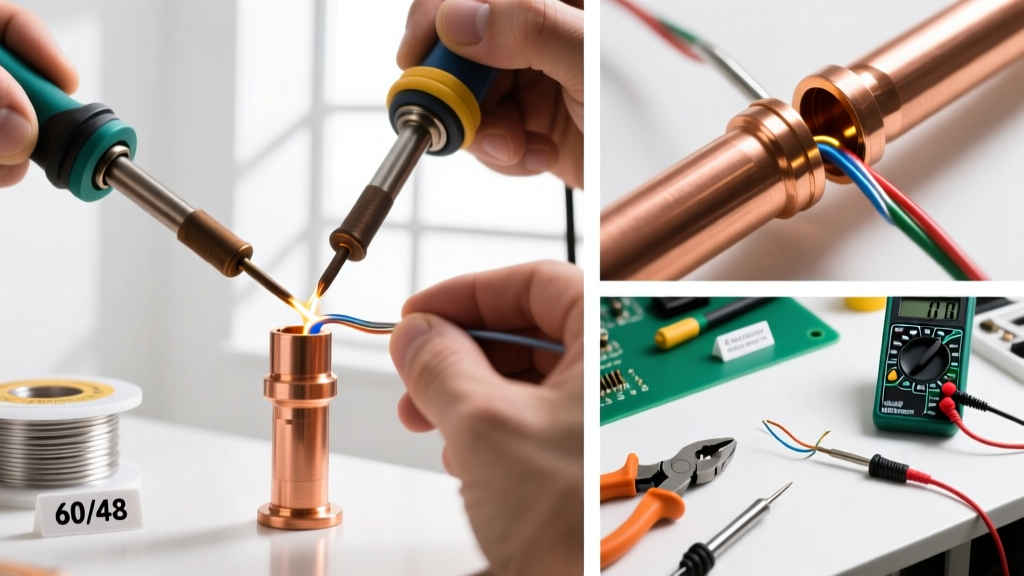
While specialized bi-metal solders exist, the NASA Workmanship Standards and IPC guidelines heavily favor mechanical crimping with dielectric isolation for Cu-to-Al connections in high-reliability environments. If you must solder them:
- Pre-tin both the copper and the aluminum separately using their respective required fluxes and alloys.
- Clean both wires meticulously to ensure no aluminum flux contaminates the copper side.
- Solder the pre-tinned wires together using a standard Sn-Ag (Silver-Tin) alloy, which acts as a slight buffer.
- Encapsulate the joint completely in 3M ITCSN adhesive-lined heat shrink. The hot-melt adhesive inside the tubing melts and displaces all oxygen and moisture, effectively killing the galvanic corrosion process.
Troubleshooting Common Wire Soldering Failures
Even with the correct materials, technique errors will compromise the joint. Use this diagnostic guide to identify failures:
- The "Grape" Joint (Solder Beading): The solder balls up and refuses to flow onto the wire. Cause: Oxide layer present or insufficient flux. Fix: Remove the solder, clean the wire with flux and a brass sponge, and re-tin.
- Dull, Grainy Texture: The joint looks crystalline and fractured. Cause: A "cold joint" caused by moving the wires before the solder fully crystallized, or insufficient iron temperature. Fix: Reheat the joint with fresh flux until fully liquid, then hold perfectly still.
- Wicking / Insulation Burn: Solder travels too far up the wire under the insulation, or the jacket melts. Cause: Holding the iron on the wire for too long, or using an iron set too high for the wire gauge. Fix: Use a larger tip to transfer heat faster, reducing the total dwell time on the wire to under 4 seconds.
- Corrosion Creep: Green (copper) or white (aluminum) crust forms weeks after soldering. Cause: Failure to clean or neutralize acid/water-soluble fluxes. Fix: Always follow up aggressive fluxes with an isopropyl alcohol scrub or a baking soda neutralization bath.
Mastering the art of soldering wire together requires respecting the underlying chemistry of the metals involved. By matching your flux, alloy, and thermal profile to the specific material, you ensure joints that are mechanically robust, electrically optimal, and built to last.