
The Metallurgical Barrier: Why Soldering Copper to Aluminium Fails
For electronics technicians and HVAC professionals alike, soldering copper to aluminium represents one of the most frustrating metallurgical challenges in the field. Unlike joining two copper wires or two steel pipes, bridging copper (Cu) and aluminium (Al) with soft solder is not merely a matter of applying heat and wire. It is a battle against thermodynamics, surface chemistry, and electrochemistry.
To succeed at soldering copper to aluminium, you must overcome two primary physical barriers:
- The Aluminium Oxide Layer (Al2O3): When exposed to air, aluminium instantly forms a microscopic layer of aluminium oxide. While the base aluminium metal melts at roughly 660°C (1220°F), this oxide shell has a melting point of over 2050°C (3722°F). Standard soldering irons operating at 350°C will never melt this shell, causing the solder to bead up and roll off.
- The Galvanic Discrepancy: On the galvanic series, copper is a noble metal (cathodic), while aluminium is highly active (anodic). According to data published by the Corrosion Doctors educational database, the electrical potential difference between Cu and Al is massive. If moisture bridges an unsealed Cu-Al solder joint, it creates a galvanic cell, rapidly eating away the aluminium and resulting in catastrophic joint failure.
Pro Insight: Never attempt to use standard rosin-core (RMA) flux or standard 63/37 Tin-Lead solder for this task. Rosin is entirely incapable of dissolving aluminium oxide, and standard tin-lead alloys will not wet the aluminium substrate, leading to 'cold' mechanical wraps that fail under the slightest vibration.
Essential Materials: Alloys and Fluxes That Actually Work
Professional success relies entirely on specialized chemistry. You need fluxes containing zinc chloride, fluoroaluminate salts, or organic amines specifically engineered for aluminium, paired with alloys that exhibit high capillary action on Al surfaces.
Recommended Solder Alloys for Cu-Al Joints
| Alloy Type | Composition | Melt Temp | Best Application | Est. Cost (2026) |
|---|---|---|---|---|
| Zinc-Aluminium (Zn-Al) | ~98% Zn, 2% Al | ~380°C (716°F) | Heavy-duty structural, HVAC, thick wire | $35 - $45 / lb |
| Tin-Zinc (Sn-Zn) | 91% Sn, 9% Zn | ~199°C (390°F) | PCB electronics, low-temp wire splices | $50 - $60 / lb |
| Specialty Al-Solder (e.g., Castolin 1827) | Zn-Al with trace metals | ~380°C (716°F) | All-purpose professional Cu-Al repairs | $40 / 1lb tube |
For heavy-duty electrical or mechanical joints, Castolin Eutectic's 1827 Zn-Al alloy remains the industry benchmark. For delicate electronics, Indalloy 293 (Sn-Zn) is preferred to avoid thermal damage to nearby components.
The Flux Factor
You must use a dedicated aluminium soldering flux. Superior Flux #3026 or LA-CO 14020 Aluma-Sol are excellent choices. These are highly active, water-soluble, and corrosive by design. They chemically etch the oxide layer away, allowing the molten solder to wet the bare aluminium.
Step-by-Step Professional Tinning & Joining Process
Because both copper and aluminium act as massive heat sinks (Al thermal conductivity is ~237 W/m·K, Cu is ~401 W/m·K), you need a high-wattage iron. A standard 40W pencil iron will fail. Use a temperature-controlled station like the Hakko FX-951 or JBC CD-2BQE with a chisel tip (e.g., T12-D24 or C245-764) set to 380°C - 400°C.
Step 1: Mechanical Preparation
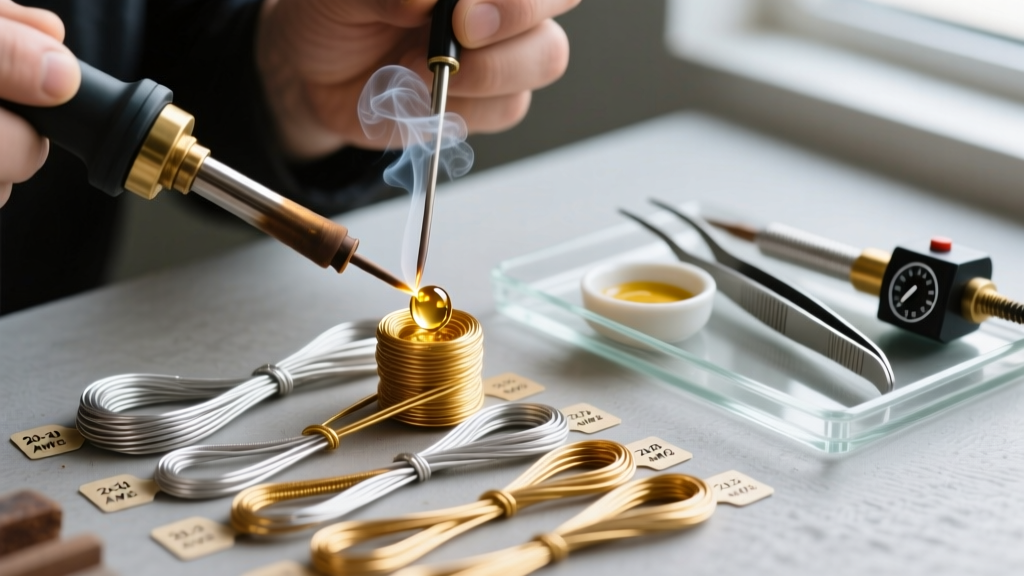
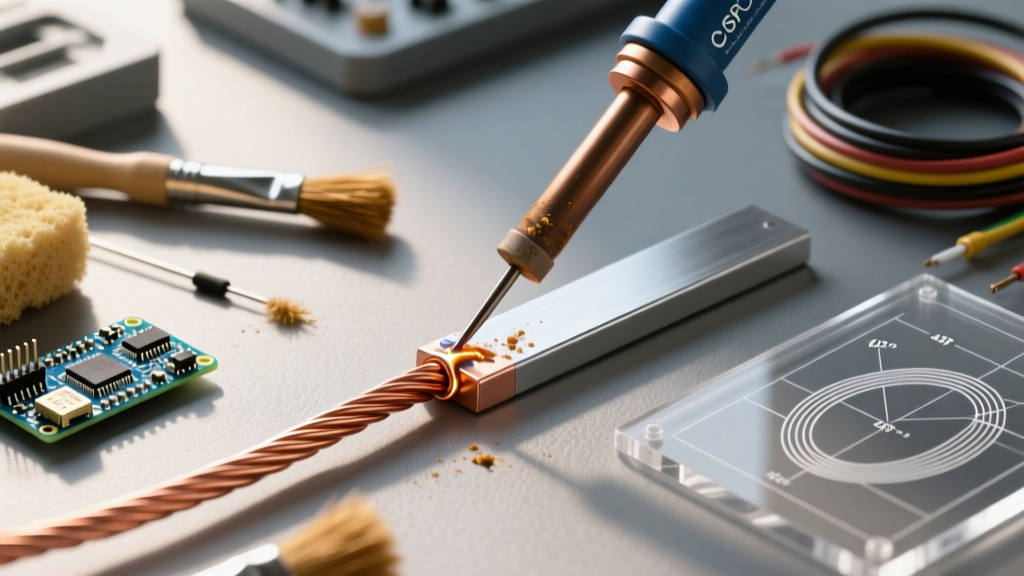
Strip the wires. Using a 316 stainless steel wire brush, aggressively scour the aluminium wire to remove surface oxidation and contaminants. Do not use a carbon steel brush, as embedded iron particles will trigger localized rust and galvanic pitting later. Wipe both the Cu and Al conductors with 99% isopropyl alcohol.
Step 2: The 'Under-Flux' Scrubbing Technique
This is the most critical step in soldering copper to aluminium. Aluminium oxide reforms in milliseconds when exposed to oxygen. Therefore, mechanical abrasion must happen while the metal is shielded by the flux.
- Apply a generous coat of LA-CO or Superior #3026 flux to the aluminium wire.
- Bring your hot, tinned iron tip to the fluxed aluminium.
- As the flux melts and bubbles, use the edge of your iron tip or a specialized stainless steel pick to scrub the aluminium wire directly through the molten flux pool.
- Feed your Zn-Al or Sn-Zn solder into the scrubbed area. The flux prevents oxygen from reaching the metal, while the scrubbing physically breaks the oxide layer, allowing the solder to instantly wet and alloy with the bare aluminium.
- Repeat this tinning process for the copper wire (which will accept solder much more easily).
Step 3: The Sweat Joint
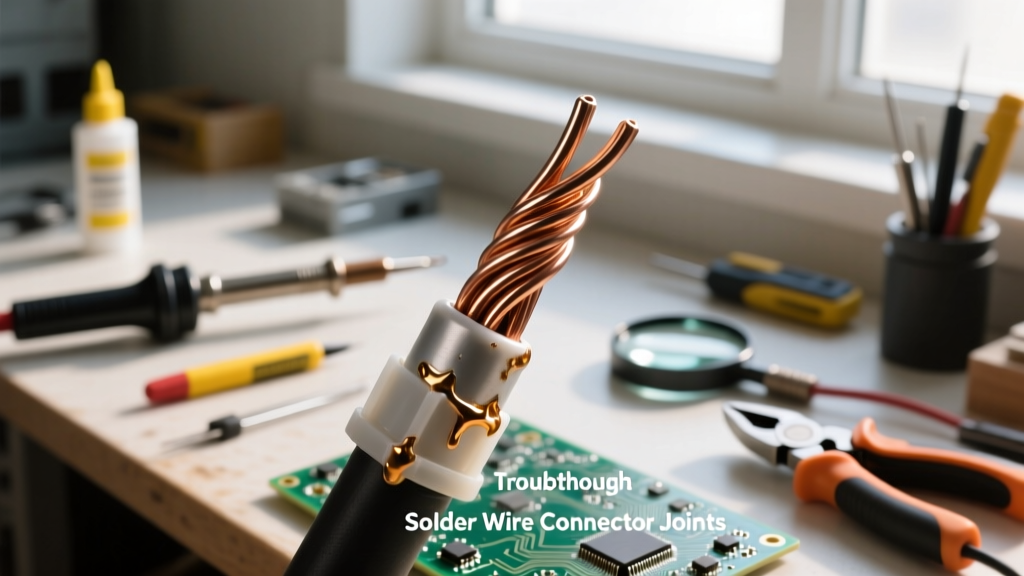
Now that both wires are pre-tinned (the Al with Zn-Al, the Cu with standard or Zn-Al), twist them together mechanically for strain relief. Apply a tiny amount of flux to the splice. Touch your iron to the joint and feed a small amount of additional solder to bridge the two tinned surfaces. Remove heat immediately once the solder flows.
Advanced Pro Alternative: Ultrasonic Soldering
If you are doing high-volume Cu-Al soldering or working on sensitive components where chemical flux residue is unacceptable, ultrasonic soldering is the ultimate 2026 professional solution.
Ultrasonic soldering irons (such as those manufactured by MST or Telsonic) feature a tip that vibrates at ultrasonic frequencies (typically 20kHz to 60kHz). When the tip is submerged in molten solder, it creates acoustic cavitation—microscopic vacuum bubbles that violently collapse against the aluminium surface. This implosion generates enough localized kinetic energy to shatter the Al2O3 oxide layer without any chemical flux whatsoever.
While the initial capital expenditure for an ultrasonic soldering station is high (ranging from $3,500 to $8,500 for professional benchtop units), it eliminates flux cleaning steps and yields aerospace-grade joints. For further reading on advanced joining standards, refer to the technical fact sheets provided by the American Welding Society (AWS).
Post-Solder Joint Protection: Stopping Galvanic Corrosion
You have successfully soldered copper to aluminium, but the job is not finished. Because of the extreme galvanic potential difference, atmospheric moisture will destroy the joint within months if left exposed. You must create a hermetic environmental seal.
- Neutralization: First, neutralize the acidic flux residue. Mix 1 tablespoon of baking soda into 1 cup of warm distilled water. Scrub the joint with a toothbrush dipped in this solution, then rinse with clean distilled water and dry with compressed air.
- Epoxy Encapsulation: For rigid joints, encapsulate the splice in a two-part marine-grade epoxy, such as 3M Scotch-Weld DP460. This provides structural support and a total moisture barrier.
- Dual-Wall Heat Shrink: For wiring harnesses, use adhesive-lined, dual-wall polyolefin heat shrink tubing with a 3:1 or 4:1 shrink ratio. When heated, the inner mel-adhesive layer melts and flows into every crevice of the splice, creating a waterproof, dielectric seal that completely halts galvanic action.
Troubleshooting Common Edge Cases
Even with the right materials, field conditions can introduce variables. Use this diagnostic matrix to solve common Cu-Al soldering failures:
| Symptom | Root Cause | Pro Solution |
|---|---|---|
| Solder beads up and rolls off the Al | Intact Al2O3 layer; insufficient thermal mass | Increase iron temp to 400°C. Ensure you are physically scrubbing the metal *underneath* the liquid flux pool. |
| Joint fractures under minor bending | Thermal expansion mismatch; brittle alloy | Switch to a flexible Zn-Al alloy (Castolin 1827). Always add a mechanical twist or crimp before sweating the joint. |
| White, powdery crust appears after 48 hours | Galvanic corrosion or unneutralized acid flux | Scrub with baking soda solution immediately. You failed to seal the joint; apply adhesive-lined heat shrink. |
| Copper wire insulation melts before solder flows | Heat sinking down the Cu wire; iron too small | Upgrade to an 80W+ active-tip station. Pre-tin the Cu wire separately before joining to the Al to reduce dwell time. |
Final Thoughts on Cu-Al Reliability
Soldering copper to aluminium is entirely viable when you respect the metallurgy. By abandoning standard rosin fluxes in favor of aggressive zinc-chloride chemistries, utilizing the under-flux scrubbing technique, and hermetically sealing the finished joint against moisture, you can create Cu-Al splices that will outlast the equipment they are installed in. Whether you are repairing vintage automotive wiring, extending HVAC sensor leads, or prototyping mixed-metal power electronics, these professional protocols will ensure a permanent, low-resistance connection.