
The Critical Interface: Why the Tip of Your Soldering Iron Fails
As of 2026, the shift toward high-reliability aerospace and automotive PCBs, combined with the miniaturization of 0201 and 01005 components, means that thermal transfer efficiency at the very tip of a soldering iron is more critical than ever. When solder refuses to wet, joints turn grainy, or heat transfer stalls, the issue almost always traces back to tip degradation. Understanding the metallurgy and failure modes of your iron's tip is the first step toward effective troubleshooting and maintenance.
A modern soldering tip is not a solid piece of metal. It is a complex, multi-layered metallurgical sandwich designed to balance rapid heat transfer with chemical durability. The core is typically tellurium copper (C14500) for maximum thermal conductivity. This core is electroplated with a layer of iron to resist solder dissolution, followed by a micro-thin chromium layer to prevent solder from creeping up the shaft, and finally a pre-tinned wetting layer. When the tip of a soldering iron turns black or refuses to melt solder, it is almost always a failure of the outermost wetting layer or a breach in the iron plating.
Diagnostic Matrix: Identifying Tip Degradation
Before attempting any restoration, you must accurately diagnose the failure mode. Applying the wrong restoration technique to a compromised tip can permanently destroy it. Use the following diagnostic table to identify your specific issue.
| Visual Symptom | Root Cause | Reversibility | Recommended Action |
|---|---|---|---|
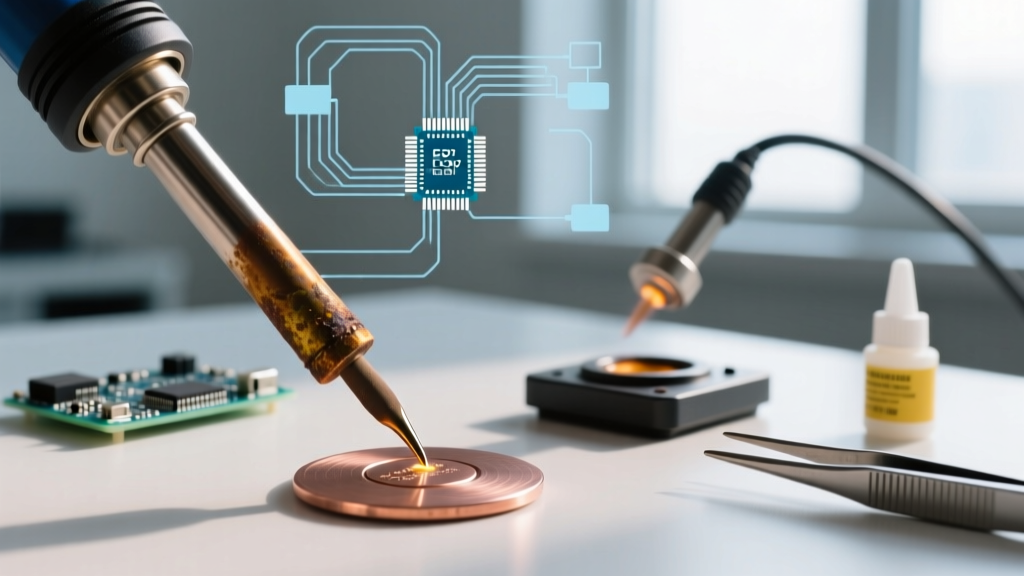
| Black, crusty residue | Severe oxidation of the tin wetting layer due to prolonged idle time at high temperatures. | Highly Reversible | Chemical reduction using a tip tinner/activator paste. |
| Blue/Purple iridescent hue | Thermal shock or exposure to temperatures exceeding 450°C, altering the chromium layer. | Moderately Reversible | Gentle mechanical cleaning with brass wool, followed by heavy fluxing. |
| Micro-pitting or craters | Iron plating dissolution caused by aggressive water-soluble fluxes or lead-free SAC alloys. | Irreversible | Replace the tip immediately; pitting causes uneven thermal transfer and cold joints. |
| Solder balls up and rolls off | Non-wetting surface due to carbonized rosin flux residue. | Highly Reversible | Wipe on a damp cellulose sponge while actively applying fresh rosin-core solder. |
Step-by-Step Restoration Protocol for Oxidized Tips
If the tip of your soldering iron is black and non-wetting, never use sandpaper, files, or abrasive Scotch-Brite pads. According to Hakko's official tip maintenance guidelines, abrading the tip will strip the microscopic iron plating, exposing the copper core to immediate dissolution by the molten solder.
Step 1: Thermal and Chemical Preparation
Set your soldering station to a moderate 300°C (572°F). High temperatures accelerate oxidation; attempting to clean a heavily oxidized tip at 400°C will only burn the carbon deeper into the metal pores. Apply a generous amount of high-activity rosin flux (such as Amtech NC-559-V2-TF) directly to the tip. The flux will lower the surface tension and begin dissolving the carbonized residue.
Step 2: Brass Wool Agitation
While the tip is hot and fluxed, gently plunge and twist it into a brass wire sponge (e.g., Hakko 599B, typically $9-$12). Brass is softer than the iron plating but harder than the oxidation layer. Perform 4 to 6 quick plunges. Avoid pressing down hard; let the brass coils do the shearing work.
Step 3: Tip Tinner Application
If oxidation persists, utilize a commercial tip tinner/activator (e.g., Amtech TT-2 or Weller WDC2, priced around $6-$9). These compounds contain a mixture of mild abrasives, phosphoric acid, and tin powder.
- Dip the hot tip directly into the tip tinner paste for 2-3 seconds.
- You will see the paste boil and smoke as the acid strips the oxide layer.
- Immediately withdraw the tip and wipe it briskly on a damp cellulose sponge to remove the acidic residue.
- Instantly apply fresh Sn63/Pb37 or SAC305 solder to re-establish the wetting layer.
Advanced Troubleshooting: When the Tip is Clean but Solder Won't Melt
Sometimes, the tip of a soldering iron appears perfectly shiny and clean, yet it fails to melt solder upon contact with a pad. This is a thermal delivery failure, not a surface chemistry issue. You must isolate whether the fault lies in the tip's mechanical seating, the heating element, or the station's thermocouple sensor.
Testing the Heater and Sensor (Hakko FX-888D / WE1010 NA)
Disconnect the handpiece from the station and use a digital multimeter set to the lowest ohms (Ω) range. For a standard 4-pin or 5-pin aviation connector:
- Heater Pins (Usually 1 & 2): Expect a reading between 2.5Ω and 4.0Ω. A reading of 'OL' (Open Line) indicates a blown ceramic heating element.
- Sensor Pins (Usually 4 & 5): Expect a reading between 1.0Ω and 2.5Ω. If the sensor is open, the station will display an error code (e.g., H-E or S-E) and shut down to prevent thermal runaway.
Flux Chemistry and Tip Corrosion
The chemical environment you subject the tip of your soldering iron to dictates its lifespan. The IPC J-STD-001 standard for soldered assemblies categorizes fluxes by activity level, which directly correlates to tip wear.
Expert Insight: Water-soluble (OA) fluxes contain aggressive organic acids designed to be washed off post-assembly. If you use water-soluble flux and leave the iron idle, the acid will vaporize and eat through the iron plating in a matter of hours. Always switch to a No-Clean (ROL0/ROL1) flux for general prototyping and bench work to maximize tip longevity.
Lead-Free vs. Leaded: The Thermal Toll
Operating with lead-free alloys like SAC305 (Sn96.5/Ag3.0/Cu0.5) requires higher temperatures (typically 350°C to 380°C) compared to traditional Sn63/Pb37 (320°C to 350°C). Higher tin content combined with higher heat accelerates the dissolution of the tip's iron plating. In high-volume 2026 manufacturing environments, tips used exclusively for SAC305 degrade 3 to 4 times faster than those used for leaded solder. To mitigate this, always turn off or utilize the sleep/standby function on your station (like the auto-sleep on the Pace TD-200) when the iron is not actively touching a joint.
Preventative Maintenance Matrix
Implementing a strict maintenance protocol will extend the life of a $15 Weller RT3 micro-tip from a few weeks to over a year. Follow these non-negotiable rules:
- Always Tin Before Power-Down: Never turn off your station with a clean tip. Melt a thick blob of rosin-core solder over the entire working surface of the tip before powering off. This sacrificial blob will oxidize instead of the tip's actual wetting layer.
- Use the Right Sponge: If using a cellulose sponge, dampen it with distilled water, not tap water. Minerals in tap water will bake onto the tip at 350°C, creating an insulating crust. Better yet, switch entirely to a dry brass sponge to avoid thermal shock.
- Avoid Excessive Pressure: The tip of a soldering iron transfers heat via conduction, not friction. Pressing harder does not make the joint heat faster; it only crushes the tip's internal copper core against the ceramic heater, leading to mechanical fractures.
- Match Tip Mass to Joint Mass: Using a fine 0.4mm conical tip to solder a large 10AWG ground plane will force the station to run at maximum duty cycle, overheating the tip and burning the flux instantly. Use a chisel or bevel tip with adequate thermal mass for the joint, allowing you to lower the station temperature.
For further reading on industry-standard hand soldering techniques and tool maintenance, refer to the Weller Tools technical guide on soldering tip care, which provides excellent visual references for identifying irreversible tip damage. By understanding the metallurgy and respecting the thermal limits of your equipment, you can ensure flawless wetting and reliable solder joints on every board you build.