
The Metallurgy of Tinning: Why Iron Plating Fails
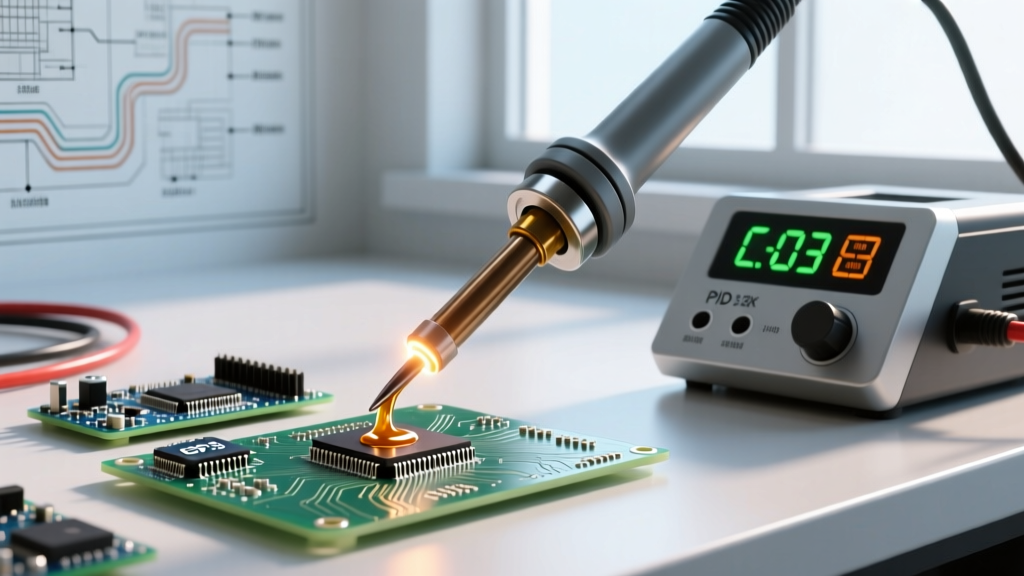
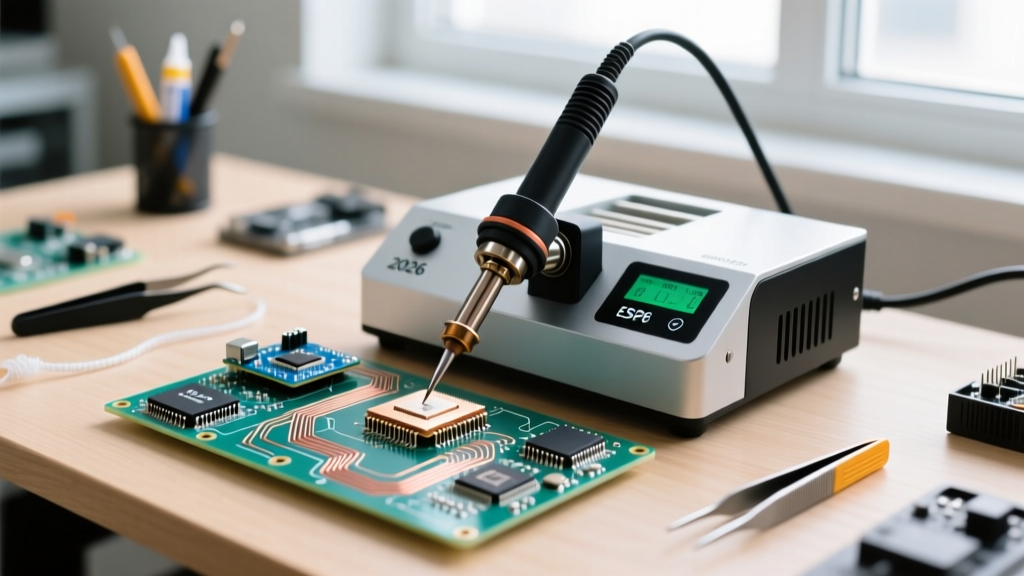
When beginners ask, 'how do you tin a soldering iron,' they usually think of it as a simple cleaning chore. In reality, tinning is a critical metallurgical process designed to protect the physical integrity of your soldering tip. Modern high-performance tips—such as the Hakko T18 series or the Weller RT micro-tips—are not solid pieces of metal. They consist of a high-conductivity copper core, electroplated with a micro-porous layer of iron to resist solder erosion, and finished with a chrome or nickel sleeve to prevent solder from creeping up the shaft.
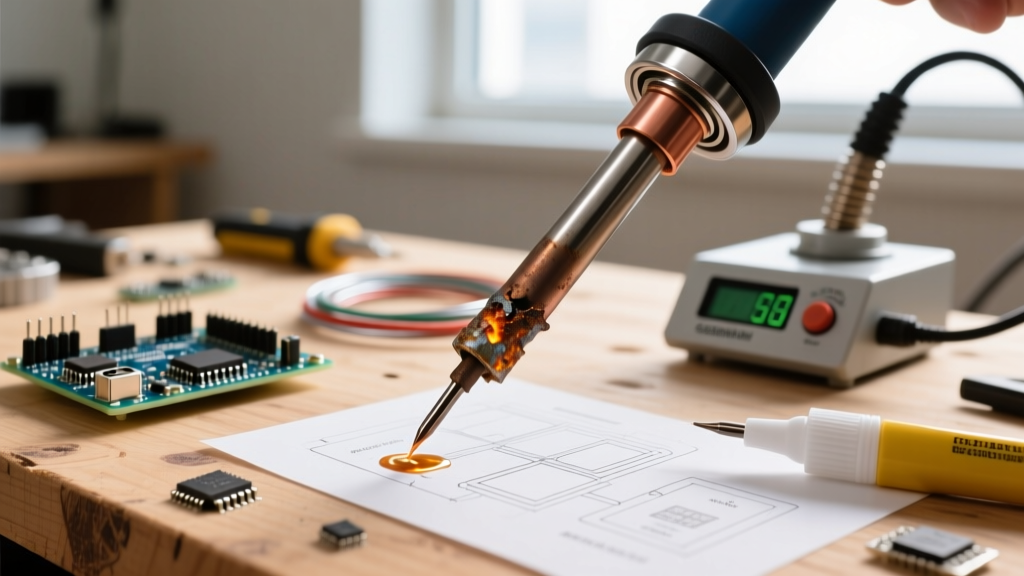
The iron plating is typically only 0.005 to 0.010 inches thick. When exposed to oxygen at standard soldering temperatures (315°C to 380°C), this iron layer oxidizes rapidly, forming a black, non-wetting crust of iron oxide. Once this crust forms, heat transfer plummets by up to 80%, and the solder will ball up and roll off. Proper tinning creates an airtight, sacrificial barrier of molten alloy that shields the iron plating from atmospheric oxygen. According to the IPC standards for electronic assembly, maintaining proper tip wetting is not just about convenience; it is a strict requirement for achieving reliable, void-free solder joints in precision electronics.
Step-by-Step: How Do You Tin a Soldering Iron Properly?
To achieve a perfect, mirror-like finish on your tip, you must follow a precise thermal and chemical sequence. Do not rush the heat-up phase, and never apply solder to a cold tip.
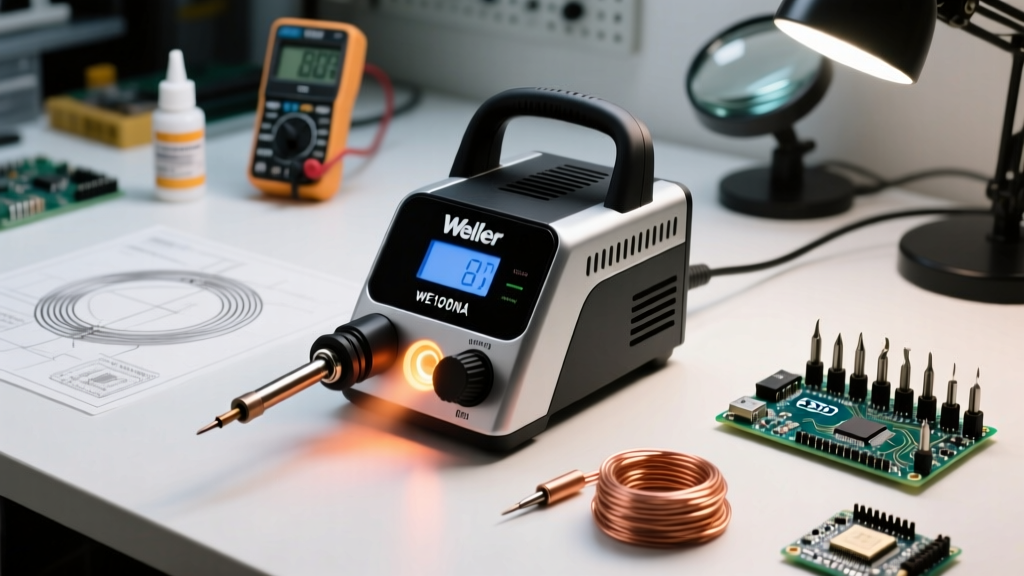
- The Controlled Heat-Up: Set your station to the appropriate setpoint. For standard 63/37 (Sn63/Pb37) rosin-core solder, set the temperature to 315°C (600°F). For lead-free SAC305 alloys, set it to 350°C (662°F). Allow the iron to reach thermal equilibrium; most modern stations like the JBC CD-2BQE will beep or flash when the setpoint is achieved.
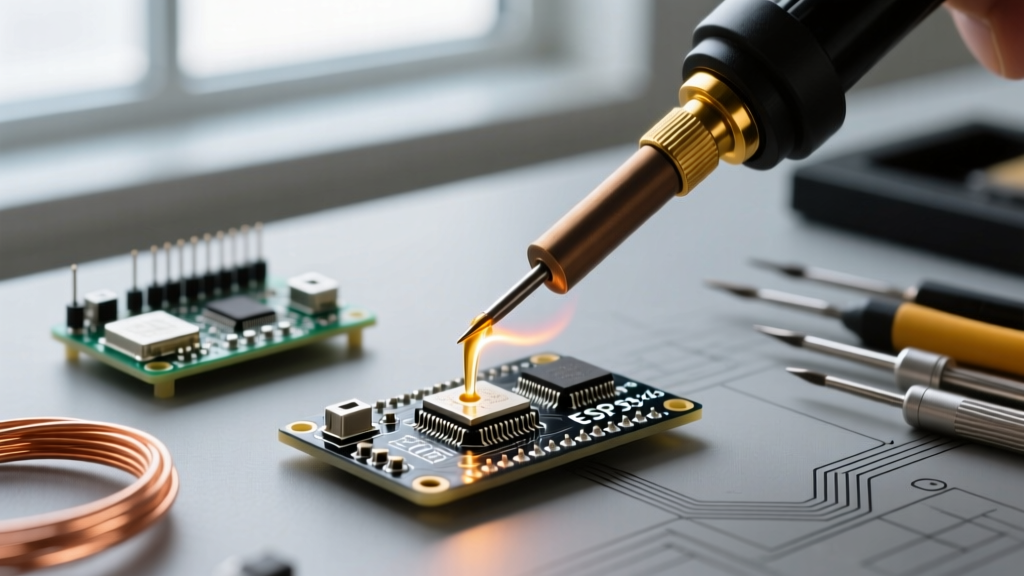
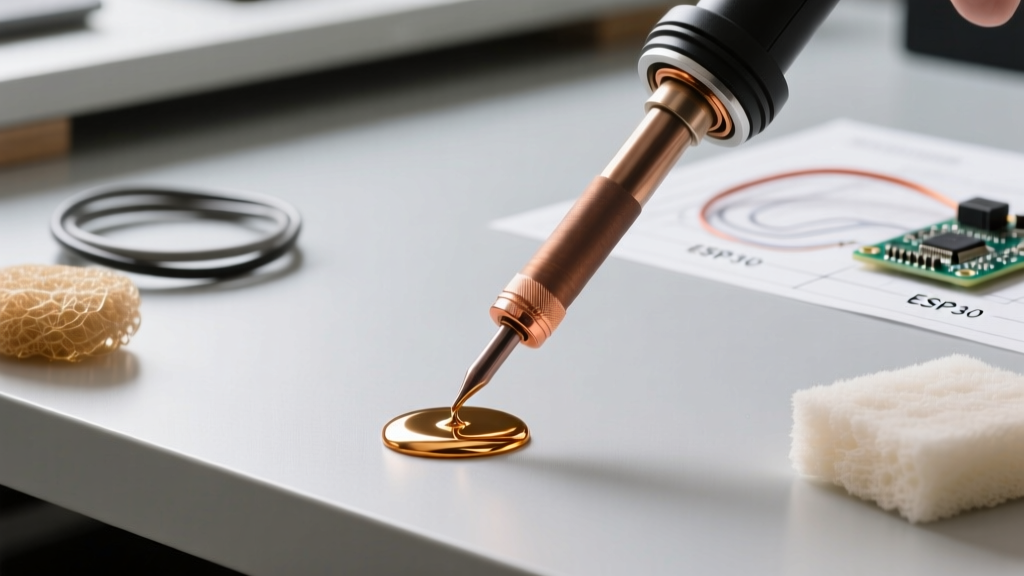
- The Initial Feed: The moment the tip reaches temperature, immediately feed a generous amount of flux-cored solder (0.031" or 0.8mm diameter is ideal) to the working end. The rosin flux will boil, breaking down any micro-oxidation that formed during the 30-second heat-up, while the molten solder coats the iron plating.
- The Wipe: Wipe the tip on your chosen cleaning medium (brass or cellulose) to remove the carbonized flux residue. Do not wipe it completely dry; leave a microscopic film of solder on the surface.
- The Working Re-Tin: Apply a fresh, thin layer of new solder before making your first joint. This ensures maximum thermal conductivity and prevents the tip from drying out during the first few seconds of contact with the PCB pad.
The Great Debate: Cellulose Sponge vs. Brass Wire Cleaner
The tool you use to wipe your tip during the tinning process drastically affects the lifespan of the iron plating. In 2026, the industry has largely shifted toward brass wire cleaners for high-volume and precision work, though cellulose sponges still have a place in specific plumbing and heavy-gauge wiring scenarios.
| Cleaning Medium | Thermal Shock Risk | Oxidation Removal | Best Use Case | Estimated Cost (2026) |
|---|---|---|---|---|
| Brass Wire Sponge (e.g., Hakko 599B) | Very Low (Drops tip temp by ~20°C) | Moderate (Leaves protective solder film) | SMD work, precision PCBs, daily station use | $8 - $12 |
| Cellulose Sponge (e.g., generic yellow/brown) | High (Drops tip temp by 100°C+ instantly) | High (Strips tip completely bare) | Heavy plumbing, large ground planes, high-mass joints | $2 - $5 |
| Tip Tinner/Activator (e.g., MG Chemicals 8351) | None (Chemical restoration) | Extreme (Removes heavy black oxide) | Restoring dead tips, end-of-day storage maintenance | $9 - $14 |
Expert Warning: If you must use a cellulose sponge, never use tap water. Tap water contains dissolved minerals that bake onto the tip and cause severe thermal shock. Use only distilled water, and ensure the sponge is merely damp, not soaking wet. The NASA workmanship standards for soldering explicitly warn against aggressive thermal cycling, which causes micro-fractures in the iron plating, allowing molten solder to attack the copper core and cause irreversible pitting.
Alloy Selection: Why Lead-Free is Ruining Your Tips
One of the most common mistakes professionals make is using their primary lead-free assembly alloy (like SAC305 or SN100C) to tin and store their iron. Lead-free alloys require higher operating temperatures (often 360°C / 680°F) to flow properly. At these elevated temperatures, the rosin flux carbonizes almost instantly, and the iron plating oxidizes up to 10 times faster than it does at standard leaded temperatures.
Furthermore, lead-free solders are highly aggressive and will dissolve the iron plating over time. For tip tinning and storage, experts highly recommend keeping a dedicated spool of Sn63/Pb37 (63% Tin / 37% Lead) eutectic solder or a specialized high-flux tinning compound at the bench. Even if your manufacturing environment mandates RoHS-compliant lead-free joints for the final product, using a leaded alloy strictly for the initial tinning and shutdown storage phase will double or triple the lifespan of your $45 Weller RT or JBC C245 tips.
Rescuing a 'Dead' Oxidized Tip (Expert Restoration Protocol)
If you inherit a neglected soldering station or accidentally left your iron on idle over the weekend, the tip may be coated in a thick, black, non-wetting crust. Never use sandpaper, a Dremel, or a metal file to scrape this off. Doing so will instantly remove the iron plating, exposing the copper core and destroying the tip permanently.
The Golden Rule of Tip Restoration: Chemical reduction, not mechanical abrasion, is the only safe way to remove iron oxide from a plated soldering tip.
The Restoration Steps:
- Step 1: Heat the iron to a moderate 300°C (572°F). Do not exceed this, as high heat will bake the oxide further.
- Step 2: Purchase a dedicated Tip Tinner/Activator (such as the Hakko FS-100 or MG Chemicals 8351). These pastes contain mild acids (like zinc chloride or ammonium chloride) suspended in a matrix of solder powder.
- Step 3: Plunge the hot, oxidized tip directly into the tinner paste for 3 to 5 seconds. You will see smoke and bubbling as the mild acid eats the iron oxide.
- Step 4: Withdraw the tip and immediately wipe it on a brass sponge. The tip should emerge shiny and silver.
- Step 5: Instantly apply a thick coat of fresh, high-quality rosin-core solder to seal the freshly exposed iron plating.
If the tip remains black after two or three dips in the activator, the iron plating has likely been compromised or burned through, and the tip must be replaced.
2026 Maintenance Schedule for Professionals
To maintain optimal thermal transfer and comply with strict aerospace and automotive electronics manufacturing standards, implement this maintenance schedule at your workstation:
- Daily Shutdown: Never turn off the station with a bare or wiped tip. Apply a massive, exaggerated blob of Sn63/Pb37 solder to the working end. This 'sacrificial anode' will oxidize overnight, protecting the microscopic iron layer underneath.
- Weekly Deep Clean: Remove the tip from the heating element (once completely cool) and wipe the ceramic heater shaft with isopropyl alcohol (IPA) to remove any flux creep or carbon tracking that can insulate the heater and cause temperature sensor errors.
- Idle Management: If you step away from the bench for more than 15 minutes, turn the station off or use a sleep-mode stand that drops the temperature to 150°C. Leaving a tinned iron idle at 350°C for an hour will burn through the flux and begin oxidizing the tip surface.
Mastering how do you tin a soldering iron is not just about making the tool look clean; it is about controlling the thermal chemistry at the point of contact. By respecting the metallurgy of the tip, utilizing the correct cleaning mediums, and strictly managing your idle temperatures, you will achieve flawless solder joints and drastically reduce your annual consumables budget.