
The True Cost of Soldering Iron Tool Kit Neglect
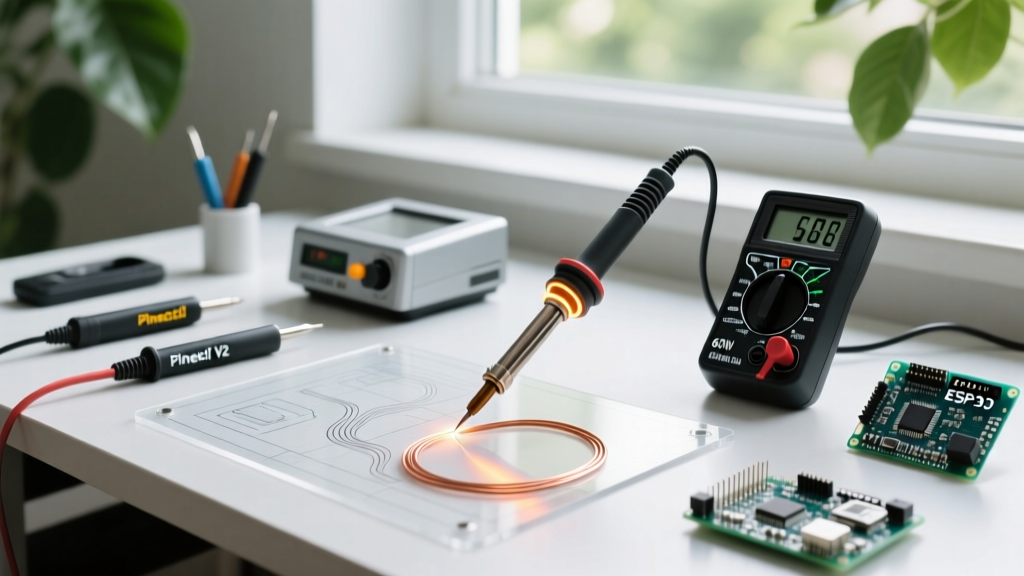
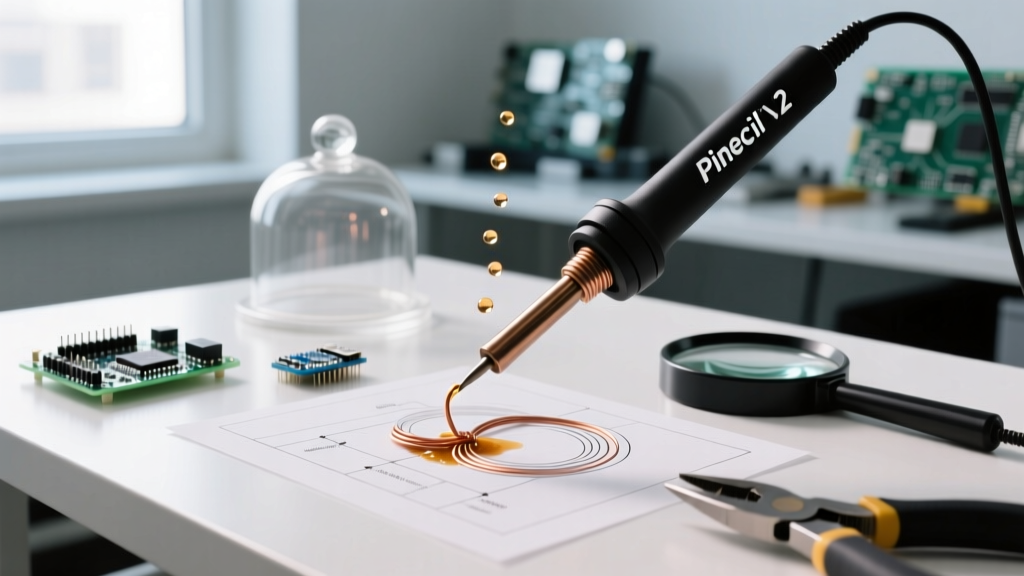
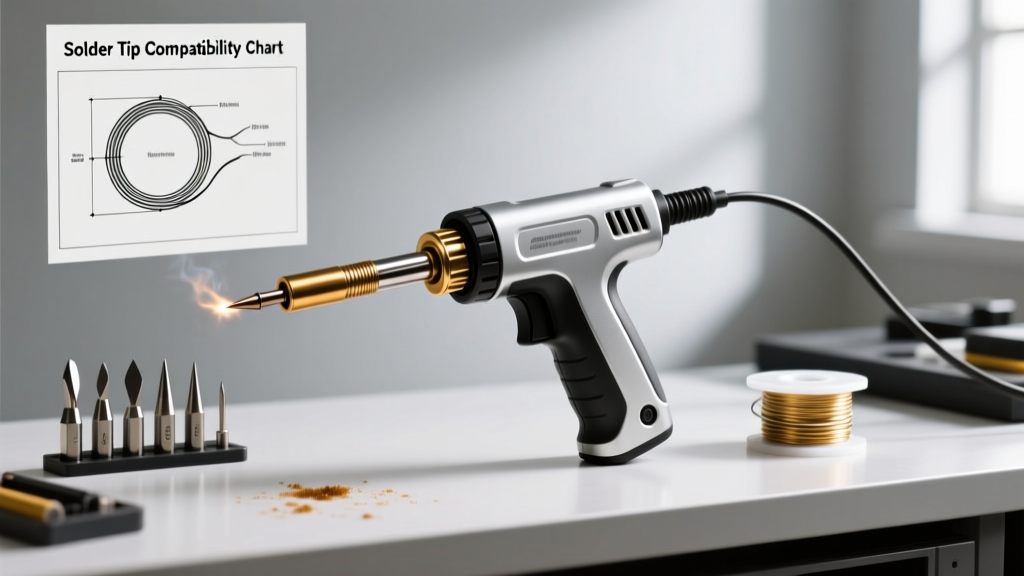
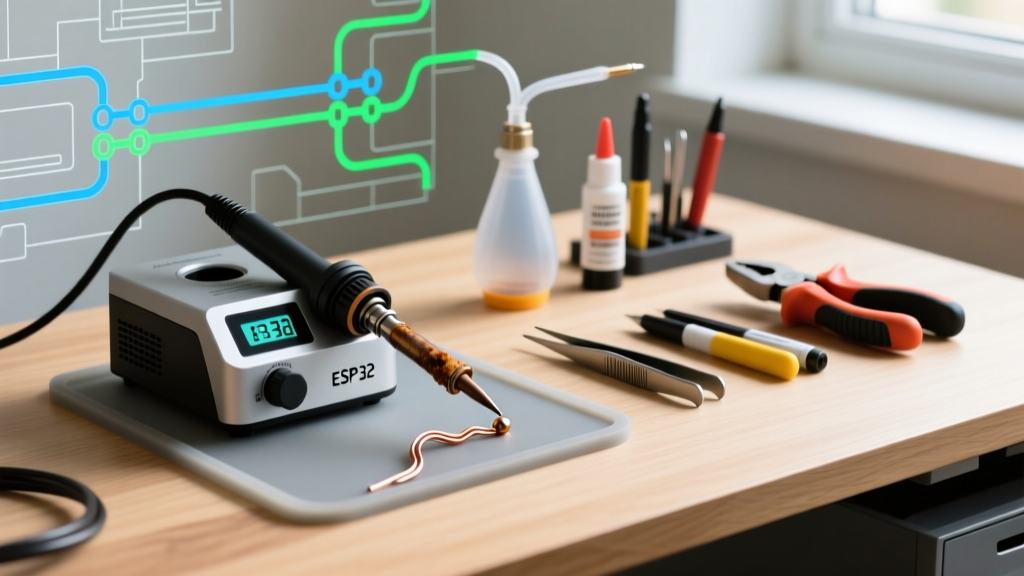
A high-quality soldering iron tool kit is the backbone of any electronics workbench. Whether you are using a traditional transformer-based station like the Hakko FX-888D, a mid-range digital Weller WE1010NA, or a modern 2026 PD smart-iron bundle featuring the Pinecil V2 or FNIRSI HS-01, the peripherals and tips require rigorous upkeep. Neglecting maintenance doesn't just result in frustrating cold joints; it accelerates the degradation of ceramic heating elements, destroys iron-plated tips, and renders desoldering tools useless.
Many hobbyists and even seasoned technicians treat their gear as disposable, tossing a $150 kit when it underperforms, rather than executing basic diagnostic troubleshooting. According to SparkFun's comprehensive soldering guide, the majority of perceived 'broken iron' complaints stem from severe tip oxidation and improper thermal management, not actual electronic failure. This guide provides a deep-dive, actionable framework for diagnosing faults and maintaining every component of your soldering iron tool kit.
Diagnostic Troubleshooting Matrix
Before replacing your entire station, isolate the failure point using the matrix below. Most issues in a soldering iron tool kit can be resolved with a multimeter, isopropyl alcohol (IPA), and replacement consumables.
| Symptom | Probable Root Cause | Diagnostic Step | Resolution & Required Parts |
|---|---|---|---|
| Iron won't heat; station displays 'Sensor Error' (e.g., Weller E04) | Corroded connector pins or incompatible tip seating. | Inspect the 5-pin or 7-pin bayonet connector for carbon buildup. Check tip seating depth. | Clean pins with IPA and a fiberglass scratch pen. Ensure tip lock-nut is secured. |
| Solder balls up and rolls off the tip | Severe oxidation (Iron Oxide crust) due to excessive idle temps. | Visual inspection at 10x magnification. Tip appears black, blue, or pitted. | Chemical and mechanical recovery using Tip Tinner and brass wool (see protocol below). |
| Station heats, but recovery time is >15 seconds | Failing ceramic heater or degraded thermal paste interface. | Measure heater resistance with a multimeter (compare to factory spec, usually 2-15 ohms). | Replace the ceramic heater core (e.g., Hakko B5032 or Weller W61H). Clean sensor shaft. |
| Desoldering pump loses suction immediately | Dried O-ring, worn PTFE sleeve, or clogged nozzle. | Disassemble pump. Inspect rubber O-ring for cracks and PTFE tube for carbon scoring. | Replace O-ring, apply silicone grease, and swap the PTFE heat-sleeve. |
| Smart Iron (USB-C) randomly reboots or drops power | Inadequate PD negotiation or failing E-marker cable. | Test with a USB-C PD multimeter tester to verify 65W/20V handshake. | Replace with a high-quality, 240W-rated USB-C cable with an active E-marker chip. |
Advanced Tip Recovery: Reversing Severe Oxidation
When a tip turns black, the iron plating has reacted with oxygen to form iron oxide. Solder will not wet to iron oxide. Many technicians incorrectly use sandpaper or a steel file to scrape the tip. Never abrade a soldering tip. Modern tips consist of a copper core, an iron plating (only 0.003 to 0.005 inches thick), and a chrome layer on the back. Filing through the iron plating exposes the copper core, which dissolves rapidly into molten solder, destroying the tip permanently.
The 5-Step Chemical Recovery Protocol
To rescue a heavily oxidized tip in your soldering iron tool kit, follow this exact sequence using MG Chemicals Tip Tinner (or Hakko 599B Tip Polisher):
- Drop the Temperature: Turn the station down to 150°C (300°F). High heat accelerates oxidation and will instantly burn off the flux in your tip tinner.
- Apply Tip Tinner: Dip the cooled tip directly into the tip tinner compound (a mixture of mild phosphoric acid and solder powder). Hold for 3-5 seconds.
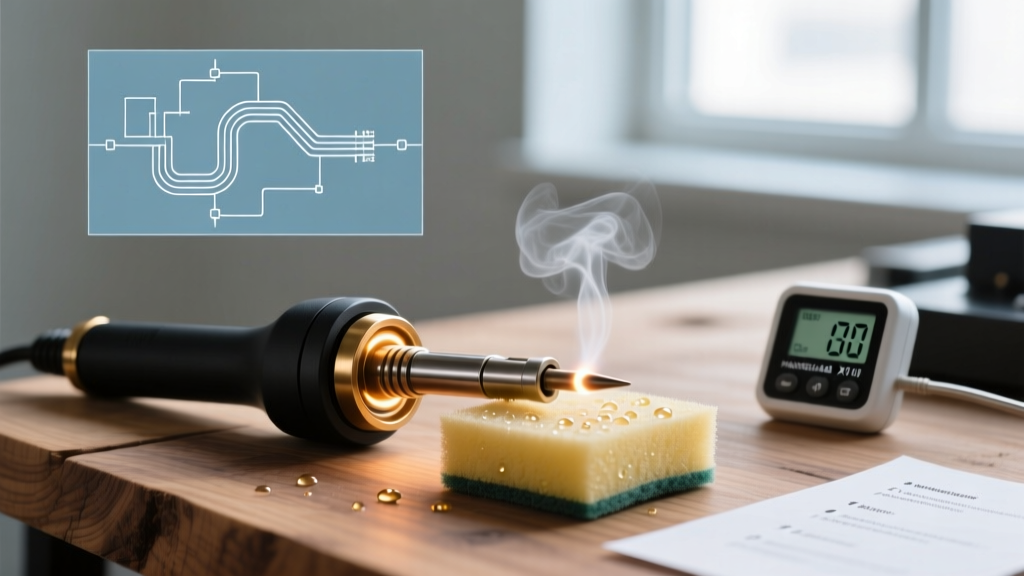
- Wipe in Brass Wool: Transfer the tip to a dry brass wire sponge (never use a wet cellulose sponge for heavily oxidized tips, as the thermal shock causes micro-fractures in the iron plating). Twist the tip gently to remove the dissolved oxide and burnt flux.
- Raise to Working Temp: Increase the temperature to 320°C (608°F) for leaded solder, or 350°C (662°F) for SAC305 lead-free.
- Flood with Fresh Solder: Immediately apply a generous amount of 63/37 rosin-core solder to the tip, creating a protective molten barrier against ambient oxygen.
Peripheral Maintenance: Desoldering Pumps and Cutters
A complete soldering iron tool kit includes more than just the iron. The supporting tools require specific mechanical maintenance to function safely and accurately.
Desoldering Pump (e.g., Engineer SS-02)
The suction power of a manual desoldering pump relies on an airtight seal. Over time, the high heat from the nozzle degrades the internal rubber O-ring, and solder splatter scores the PTFE (Teflon) sleeve. If your pump leaves behind stubborn solder bridges on tight-pitch ICs, it is likely leaking air.
- Disassembly: Unscrew the nozzle and slide out the plunger.
- O-Ring Care: Clean the plunger with IPA. Apply a thin layer of dielectric silicone grease to the rubber O-ring. Warning: Never use petroleum jelly (Vaseline); petroleum distillates cause rubber to swell and disintegrate within weeks.
- PTFE Sleeve: If the white inner tube is scorched black or pitted, replace it. A damaged sleeve allows molten solder to weld the plunger to the housing.
Micro-Shears and Flush Cutters
Tools like the Hakko CHP-170 or Knipex Electronic Super Knips are precision instruments. Cutting copper wire blunts the edges, while trimming component legs coated in adhesive or conformal coating gums up the pivot joint.
- Pivot Tension: If the cutters feel 'mushy' or fail to cut 24AWG wire cleanly, tighten the pivot screw by exactly 1/8th of a turn. Over-tightening will gall the steel pivot.
- Resin Removal: Soak a cotton swab in 99% isopropyl alcohol and clean the pivot joint and cutting edges to remove vaporized rosin flux that condenses during trimming.
Preventative Maintenance Schedule
Implementing a strict maintenance cadence extends the lifespan of a $150 soldering iron tool kit by years. As detailed in Adafruit's Guide to Excellent Soldering, consistent flux management is the key to long-term tool health.
Daily (Post-Session)
- Always leave a large blob of solder on the tip before powering down. This 'sacrificial layer' oxidizes instead of the iron plating.
- Empty the knock-out tube (if using a station with an integrated vacuum pump) to prevent condensed flux from rotting the internal silicone tubing.
- Wipe down the ESD-safe silicone work mat with a dedicated mat cleaner to remove acidic flux residues that can degrade the mat's surface resistance.
Monthly
- Inspect the station's power cord and wand cable for heat damage or fraying near the strain relief. Flex the cable while the iron is heating to check for intermittent thermocouple dropouts.
- Calibrate digital stations using a K-type thermocouple tip tester. If the station reads 350°C but the tester reads 325°C, apply the offset via the station's calibration menu (usually accessed by holding a specific button sequence on boot).
- Replace the brass wool sponge if it is heavily compacted with solder dross and flux carbon.
Expert Insight: If you are transitioning from 63/37 leaded solder to SAC305 (lead-free) for commercial 2026 compliance, you must increase your tip maintenance frequency. Lead-free alloys require higher temperatures (360°C+) and contain aggressive flux cores that eat through iron plating up to 40% faster than traditional rosin.
Frequently Asked Questions
Why does my wet cellulose sponge cause my tip to crack?
Water has a massive heat capacity. When a 380°C tip touches a wet sponge, the surface temperature plummets to 100°C in milliseconds. This extreme thermal shock causes microscopic stress fractures in the iron plating. Over time, these fractures allow molten solder to reach the copper core, causing the tip to pit and dissolve. Switch to a dry brass wire sponge for routine cleaning.
Can I use liquid flux to clean my soldering iron tip?
No. Liquid fluxes (especially no-clean or water-soluble variants) are highly acidic and designed to clean the workpiece, not the iron. Applying them directly to a hot tip will accelerate corrosion of the iron plating. Always use a dedicated, mildly acidic Tip Tinner compound for tip maintenance.
My smart iron (Pinecil/FNIRSI) gets extremely hot on the handle. Is it broken?
Not necessarily. Modern PD smart irons place the MOSFET and microcontroller inside the handle, unlike traditional stations that keep electronics in the base unit. Under heavy continuous loads (like soldering large ground planes), the handle can reach 45°C-50°C. Ensure the firmware is updated to the latest 2026 release, as manufacturers frequently release patches to optimize sleep-mode thermals and reduce idle handle heat.