
Why the 8586 Digital Soldering Station Dominates the Beginner Workbench
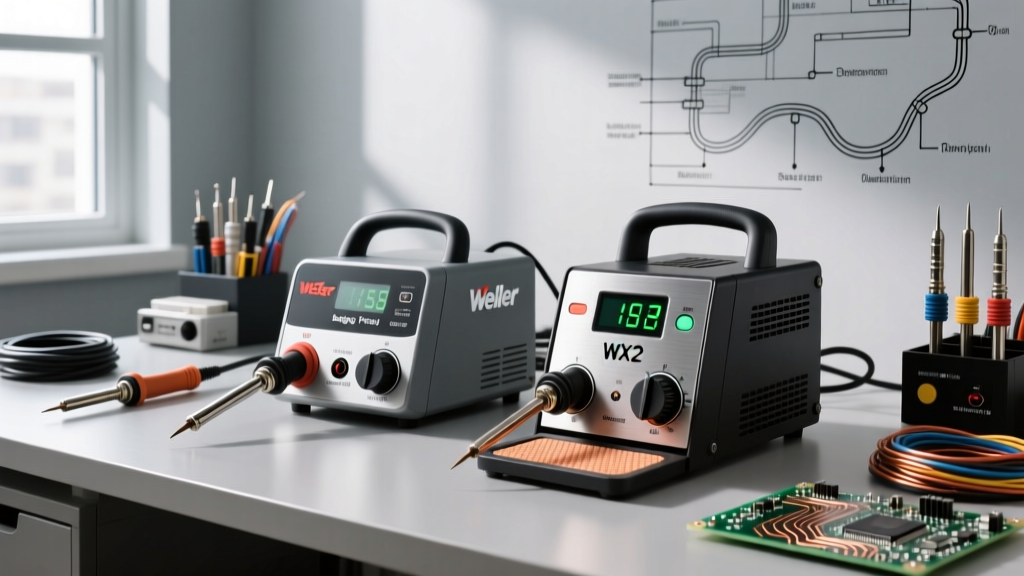
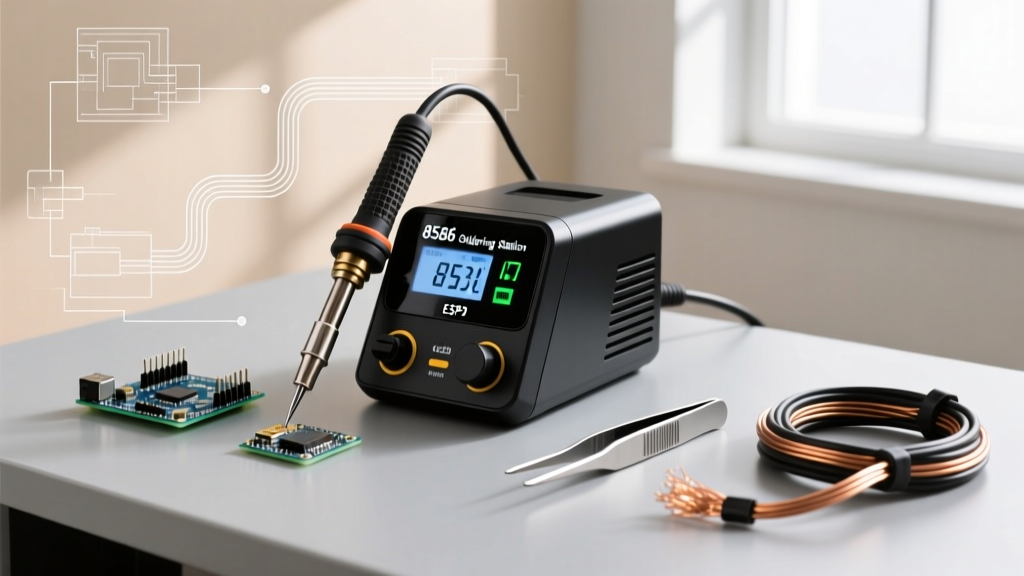
If you are stepping into the world of electronics repair, DIY microcontrollers, or PCB prototyping in 2026, you have likely encountered the 8586 digital soldering station. Often branded under names like Yihua, Zenstyle, or various generic labels, this 2-in-1 hot air rework and soldering iron combo remains the undisputed king of the budget workbench. Priced between $60 and $85, it offers a digital temperature readout, a 700W hot air gun, and a 60W temperature-controlled soldering iron. However, its low price tag often means it ships with vague manuals and uncalibrated sensors. This guide bridges that gap, providing the exact settings, calibration tricks, and safety protocols you need to transition from a novice to a capable technician.
Anatomy and Unboxing: What You Are Actually Working With
Before plugging the unit into your mains, it is critical to understand the internal architecture of the 8586. Unlike high-end stations like the Hakko FX-951 that use composite ceramic heaters with embedded sensors, the 8586 typically utilizes a traditional nichrome wound heating element with a separate thermocouple near the tip. This means there is a slight thermal lag between the digital display reading and the actual temperature at the tip apex.
- The Soldering Iron (60W): Uses standard 900M series tips. It features a digital dial for temperature adjustment, usually ranging from 200°C to 480°C.
- The Hot Air Gun (700W): Features independent temperature and airflow dials. The airflow is measured in arbitrary units (1-9) on the dial, rather than exact liters per minute (L/min).
- The Magnetic Sleep Switch: A crucial safety feature embedded in the hot air gun's plastic cradle.
Expert Insight: The 900M tips included in the box are often low-quality, oxidized clones. For reliable heat transfer, immediately purchase a set of genuine or high-quality third-party copper-core 900M tips (specifically the 'K' knife and 'D' chisel shapes) before your first project.
Critical Safety: The Reed Switch and Grounding
The most misunderstood feature of the 8586 digital soldering station is the magnetic reed switch located inside the hot air gun holder. When you place the gun in the cradle, a magnet inside the holster triggers the reed switch, telling the station to shut off the heating element and spin down the fan. If this magnet falls out, the station will believe the gun is always holstered and will refuse to heat. Conversely, if you leave the gun outside the cradle on a high setting, it will run indefinitely, posing a severe fire hazard.
Furthermore, electronics assembly requires strict Electrostatic Discharge (ESD) precautions. According to the ESD Association, even minor static shocks can destroy sensitive MOSFETs and microcontrollers. Ensure your 8586 station is plugged into a properly grounded 3-prong outlet, and verify the grounding pin on the iron's connector is making solid contact to bleed off static buildup.
The 8586 Temperature and Airflow Matrix
Setting the correct parameters is where most beginners fail. Relying on the digital display alone is a mistake; you must account for thermal mass and ambient airflow. Below is a tested matrix for common tasks using standard 63/37 (leaded) solder and SAC305 (lead-free) solder. For a deeper understanding of industry-standard soldering requirements, refer to the IPC J-STD-001 guidelines for soldered electrical and electronic assemblies.
| Task | Solder Type | Iron Temp (°C) | Hot Air Temp (°C) | Airflow Dial | Recommended Tip/Nozzle |
|---|---|---|---|---|---|
| Standard Through-Hole | Sn63/Pb37 | 320°C - 340°C | N/A | N/A | D (Chisel) 2.4mm |
| Heavy Ground Planes | Sn63/Pb37 | 380°C - 400°C | N/A | N/A | C (Bevel) 4.0mm |
| SMD SOIC / Passives | SAC305 | N/A | 360°C | 3 - 4 | Hot Air Nozzle 4mm |
| QFP / Fine Pitch ICs | SAC305 | N/A | 340°C | 2 - 3 | Hot Air Nozzle 8mm |
| Shrink Tubing | N/A | N/A | 220°C | 5 - 6 | Hot Air Nozzle 10mm |
Step-by-Step: Your First SMD Rework Procedure
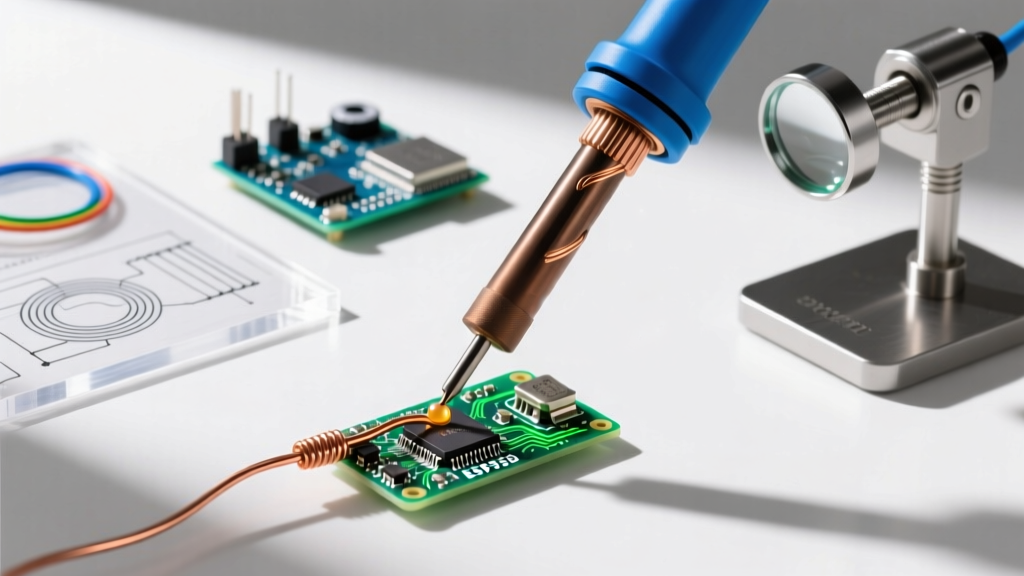
Surface Mount Device (SMD) rework is where the 8586 hot air function truly shines. Follow this exact sequence to remove and replace a standard SOIC-8 chip without lifting the PCB pads.
- Prep and Flux: Apply a generous amount of no-clean tacky flux (like Amtech NC-559 or MG Chemicals 8341) over the IC pins. Flux lowers surface tension and prevents bridging.
- Preheat (Optional but Recommended): Use the hot air gun at 200°C with an airflow of 6 to gently warm the entire board for 30 seconds. This reduces thermal shock.
- Targeted Heating: Switch the hot air dial to 360°C and airflow to 3. Hold the nozzle 10mm above the chip, moving in small, continuous circles. Never hold the air stream static on one spot.
- The Nudge Test: After 15-20 seconds, gently nudge the chip with fine tweezers. If it slides and self-centers (due to molten solder surface tension), the joints are liquid.
- Extraction: Lift the chip straight up. Do not pull at an angle, or you will rip the copper pads off the FR4 fiberglass substrate.
- Cleanup: Use a copper desoldering wick and the 8586 soldering iron set to 340°C to flatten the pads before installing the new component.
For comprehensive visual guides on through-hole and basic SMD techniques, the SparkFun Soldering Tutorial remains an invaluable companion resource for beginners.
Calibrating the Digital Offset: Fixing Factory Errors
A common edge case with the 8586 digital soldering station is a factory calibration error. You might set the dial to 350°C, but the tip barely melts leaded solder. This is due to thermocouple variance. You can fix this using the digital offset feature.
How to Apply the Offset:
- Power on the station and let the iron heat to 350°C.
- Measure the actual tip temperature using a high-quality thermocouple probe or a soldering tip thermometer.
- Calculate the difference. If the display reads 350°C but the tip measures 330°C, your offset is -20°C.
- Press and hold the temperature encoder knob (or the 'SET' button, depending on your exact 8586 revision) for 3 seconds until the display flashes 'CAL' or shows a negative/positive value.
- Adjust the value to compensate for the difference, then press the button again to save.
Common Failure Modes and Troubleshooting
Even the best budget stations experience wear and tear. Recognizing these failure modes early will save you from ruined PCBs and wasted money.
1. The Melted Hot Air Handle
The plastic housing of the 8586 hot air gun is not rated for prolonged high-heat exposure. If you frequently run the station at 450°C+ with low airflow, the heat travels up the metal nozzle and melts the internal plastic baffles, eventually warping the handle. Solution: Never exceed 400°C for standard SMD work, and always allow the internal cooling fan to run its post-shutdown cycle before unplugging the main power.
2. Soldering Iron Tip Oxidation (The 'Black Tip' Syndrome)
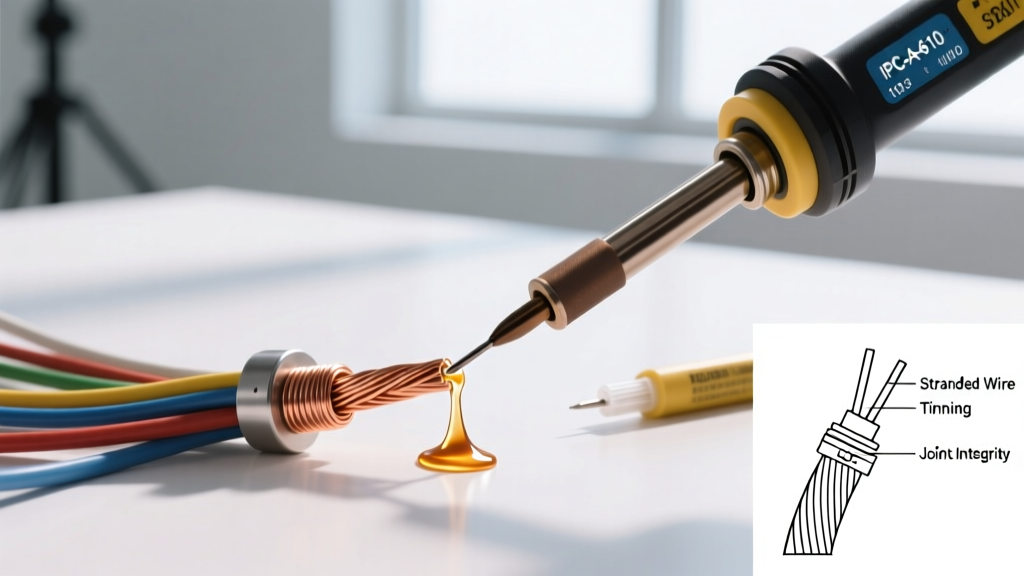
If your iron tip turns black and solder balls up and falls off, the iron layer has oxidized. This usually happens when the station is left on at 400°C without use. Solution: Never use sandpaper or a steel file on a 900M tip; this destroys the microscopic iron plating. Instead, use a damp cellulose sponge or brass wire cleaner, and immediately re-tin the tip with a blob of rosin-core solder before turning off the power.
3. Erratic Temperature Display
If the LED display jumps wildly (e.g., from 320°C to 450°C and back), the thermocouple connection is compromised. This is often caused by a loose 5-pin DIN connector at the base of the iron. Unplug the station, inspect the pins for bending, and ensure the retaining collar is screwed on tightly.
Final Thoughts for the Aspiring Technician
The 8586 digital soldering station is a remarkably capable tool when treated with respect and understood beyond its basic manual. By dialing in your airflow matrix, respecting the magnetic sleep switch, and maintaining your 900M tips with rigorous tinning habits, this $70 investment will easily handle everything from basic Arduino header soldering to complex 0603 SMD rework. Master these fundamentals, and your workbench will be ready for any electronic challenge you tackle in 2026 and beyond.