
The Thermal Challenge: Why Brass Defeats Standard Soldering Irons
Brass is an alloy of copper and zinc, prized for its machinability, acoustic properties, and corrosion resistance. However, from a soldering perspective, brass is a thermal nightmare. According to fundamental brass metallurgy, its thermal conductivity ranges between 109 and 121 W/(m·K) depending on the exact zinc ratio. While this is lower than pure copper, it is still high enough to turn any thick-walled brass fitting, RC chassis, or stained glass came into a massive heat sink.
If you attempt to solder a 1/4-inch brass plumbing fitting or a heavy-gauge wire to a brass terminal block with a standard 40W hobby iron, the metal will rapidly wick heat away from the joint. The result? Burnt flux, oxidized zinc, and a classic 'cold joint' that will fail under mechanical stress or vibration. To achieve proper wetting and capillary action, you need a tool that can deliver and sustain high thermal mass. In this 2026 buying guide, we break down the exact high-wattage soldering irons, specialized tips, and chemical fluxes required to master brass.
Top 3 High-Wattage Soldering Irons for Brass (2026 Review)
1. Weller W100PG (100W Heavy-Duty Soldering Iron)
The Weller W100PG remains the undisputed workhorse for heavy thermal loads. Unlike modern digital stations that can throttle power when their thermocouples misread surface temperatures, the W100PG uses a magnetic 'Magnastat' temperature control system. This means the heater element stays fully engaged (drawing a full 100 watts) until the tip physically reaches its set temperature, then cuts off via a magnetic switch.
- Best For: Heavy brass plumbing, thick stained glass leads, and large RC battery connectors.
- Recommended Tip: CT6C (600°F / 315°C) or CT6D (700°F / 371°C). The heavy chisel shape maximizes surface area contact.
- 2026 Pricing: ~$85 - $95
Expert Insight: Never use a conical tip on brass. The surface area is too small to transfer the necessary BTUs. Always use a wide chisel or bevel tip to create a thermal bridge between the iron and the workpiece.
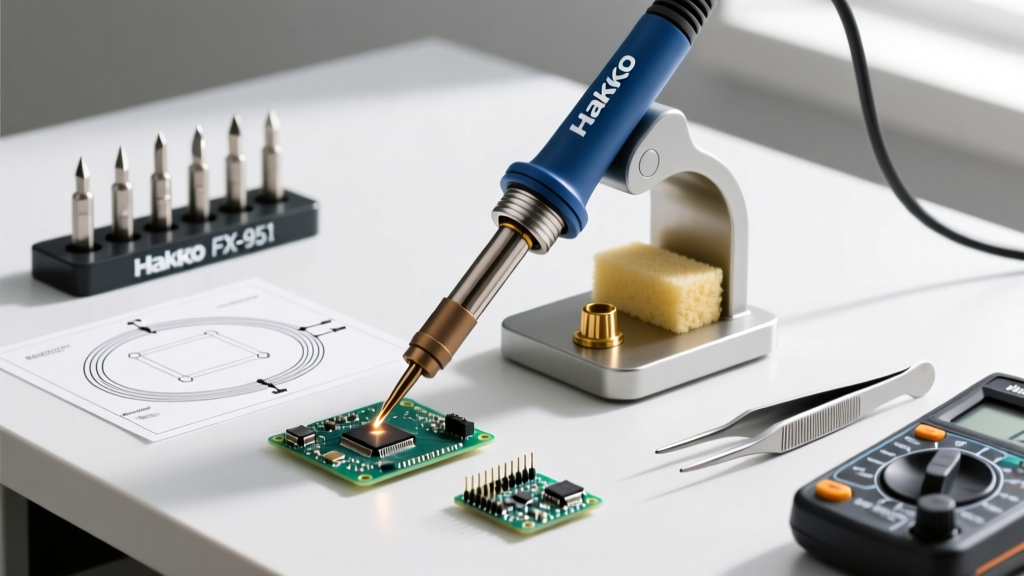
2. Hakko FX-601-02/P (67W Adjustable Temperature Iron)
For medium-duty brass work—such as soldering 12AWG silicone wires to brass XT90 connectors, repairing brass musical instruments, or crafting jewelry—the Hakko FX-601 is the premier choice. It features a ceramic heater with an integrated sensor that recovers heat exceptionally fast. While its peak wattage is 67W, its closed-loop feedback system pushes maximum voltage to the element the millisecond it detects a temperature drop.
- Best For: Electronics, RC models, jewelry, and medium-thickness stained glass.
- Recommended Tip: T19-D52 (Wide Chisel) or T19-K (Knife edge for corner wetting).
- 2026 Pricing: ~$75 - $82
3. American Beauty 100W/300W Resistance Soldering System
When you are dealing with massive brass valves, 1-inch plumbing lines, or heavy architectural metalwork, even a 100W iron will struggle. Resistance soldering passes a low-voltage, high-amperage current directly through the brass joint, causing the metal itself to generate heat from the inside out. The American Beauty 100W/300W unit (Model 105A2) uses carbon electrodes or copper tweezers to apply localized, intense heat exactly where the solder needs to flow.
- Best For: Industrial plumbing, thick architectural brass, and heavily oxidized vintage restorations.
- 2026 Pricing: ~$380 - $420 (Professional/Industrial Investment)
Brass Soldering Station Comparison Matrix
| Model | Wattage | Temp Control | Thermal Recovery | Best Application | Est. Price (2026) |
|---|---|---|---|---|---|
| Weller W100PG | 100W | Magnetic (Magnastat) | Slow but sustained | Heavy plumbing, stained glass | $89 |
| Hakko FX-601 | 67W | Digital Dial (Closed-loop) | Very Fast | RC models, electronics, jewelry | $78 |
| American Beauty 105A2 | 100W/300W | Foot Pedal / Dial | Instant (Internal) | Industrial valves, thick pipes | $395 |
The Chemistry of Brass: Flux and Solder Selection
Having a 100W Weller iron is only half the battle. Brass contains zinc, and when heated, zinc rapidly oxidizes, forming a crust of zinc oxide that solder absolutely will not adhere to. Standard mild rosin flux (RMA) used for PCB work is entirely insufficient for raw brass.
Choosing the Right Flux
- Zinc Chloride (Plumber's Acid): Mandatory for plumbing and structural brass. It chemically strips zinc oxide at high temperatures. Must be neutralized with water and baking soda post-solder to prevent long-term corrosion.
- High-Activity Rosin / Organic Acid (OA): Suitable for electrical connections to brass (like RF shielding or terminal blocks). Rubyfluid or Superior No. 30 are excellent choices that clean brass without the extreme corrosiveness of zinc chloride.
Choosing the Right Solder
While the industry pushes lead-free, 60/40 (Tin/Lead) rosin-core solder remains the superior choice for manual brass soldering in non-ROHS environments. Its eutectic melting point of 370°F (188°C) requires less thermal dwell time, reducing the chance of burning your flux or warping the brass. If you must use lead-free for commercial compliance, opt for SAC305 (Sn96.5/Ag3.0/Cu0.5), but be prepared to push your iron to 400°F+ and use a highly active flux.
Step-by-Step Protocol for Flawless Brass Joints
Follow this exact sequence to guarantee capillary wetting and structural integrity.
- Mechanical Prep (Crucial): Use 220-grit sandpaper or a fiberglass scratch pen to remove surface oxidation and clear coats (lacquer) from the brass. Brass is often sold with a protective clear coat that will melt into a sticky resin and ruin your joint.
- Chemical Prep: Apply your chosen flux generously to both mating surfaces. Do not rely on the flux core inside your solder wire; brass requires external, liquid or paste flux.
- Pre-Tinning (The Secret Step): Never try to solder two raw brass pieces together at once. Apply the iron and feed solder directly onto each individual brass surface first, creating a thin, shiny layer of 'tinning'. If the solder balls up and rolls off, your brass is still dirty or oxidized.
- Mating and Flow: Place the tinned surfaces together. Apply the Hakko or Weller iron to the joint. Because both surfaces are pre-tinned, the solder will reflow and fuse the pieces together in 3 to 5 seconds. Remove heat immediately to prevent zinc leaching.
- Clean and Neutralize: Wipe with isopropyl alcohol. If you used acid flux, scrub with a baking soda/water solution to halt chemical corrosion.
Common Failure Modes & Troubleshooting
- The 'Frosty' or Grainy Joint: Caused by movement during the cooling phase or using a non-eutectic solder (like 63/37 or lead-free) without proper heat management. Reheat with fresh flux to reflow.
- Solder 'Balling' and Refusing to Wet: You have encountered zinc oxide. Your flux has burned off before the brass reached flow temperature. Remove the iron, clean the area, sand lightly, apply fresh heavy-duty flux, and try again with a higher mass tip.
- Blackened, Burnt Residue: Your iron is too hot, or you are dwelling too long with a low-wattage iron. If using a 60W iron on a large fitting, the iron stays on continuously, scorching the flux before the brass core heats up. Upgrade to a 100W iron to heat the metal faster than the flux can burn.
Soldering brass demands respect for thermal dynamics. By pairing a high-wattage, temperature-stable iron like the Weller W100PG or Hakko FX-601 with aggressive flux and proper pre-tinning techniques, you can achieve joints that are both electrically flawless and mechanically bulletproof.