
Why Beginners Need a Fine Tip Soldering Iron
Transitioning from large through-hole components to surface-mount devices (SMDs) like 0805 resistors or SOIC-8 integrated circuits is a major milestone for any electronics hobbyist. While standard chisel tips are excellent for thick wires and large pads, they quickly become a liability when working with pin pitches of 0.65mm or smaller. This is where a fine tip soldering iron becomes an absolute necessity. However, simply swapping to the smallest tip in your kit is often a recipe for frustration, cold joints, and damaged pads. This guide will walk you through the physics of micro-soldering, help you select the right equipment, and provide a step-by-step framework for flawless SMD soldering.
The Physics of Micro-Soldering: Thermal Mass vs. Surface Area
The most common mistake beginners make is assuming that the sharpest, most needle-like tip is the best for fine work. In soldering, heat transfer is governed by thermal mass and contact surface area. A true conical 'pencil' tip (often designated as an 'I' or 'IL' type depending on the brand) has a very small contact patch. When you press it against a copper pad, the tiny tip rapidly loses its stored thermal energy. If the iron's heater cannot recover fast enough, the solder fails to reach its liquidus temperature, resulting in a dull, grainy 'cold joint' that lacks a proper intermetallic compound (IMC) layer.
According to the Adafruit Guide to Excellent Soldering, a proper solder joint requires the pad and the component lead to be heated simultaneously so the solder flows via capillary action, rather than just melting onto the iron and transferring as a blob. For fine-pitch work, a micro-chisel or a highly refined knife tip actually provides a superior balance of precision and thermal transfer compared to a standard conical needle.
Top Fine Tip Soldering Irons and Stations for 2026
The market for precision soldering tools has evolved significantly. As of 2026, direct-drive irons and high-frequency stations dominate the landscape. Below is a comparison of the best setups for beginners and intermediate makers focusing on SMD work.
| Model / Station | Tip Series | Best Fine Tip Shape | Price Range (2026) | Thermal Recovery |
|---|---|---|---|---|
| Pine64 Pinecil V2 | TS100 / Pine64 TS | TS-IL (Micro Chisel) | $25 - $32 | Excellent (RISC-V PID tuning) |
| Weller WE1010NA | ET Series | ETP (Pencil) or ETA (Mini Chisel) | $110 - $130 | Good (70W Ceramic) |
| Hakko FX-951 | T15 Series | T15-IL (Micro Chisel) | $290 - $330 | Outstanding (Direct Heat) |
For absolute beginners on a budget, the Pine64 Pinecil V2 is virtually unbeatable. Its motion-sensing auto-sleep feature is critical for fine tips, which oxidize rapidly if left idle at high temperatures. For those wanting a traditional benchtop station, the Weller WE1010NA offers reliable, consistent heat, while the Hakko FX-951 remains the gold standard for rapid thermal recovery when tackling ground planes.
Understanding Tip Geometries for SMD Work
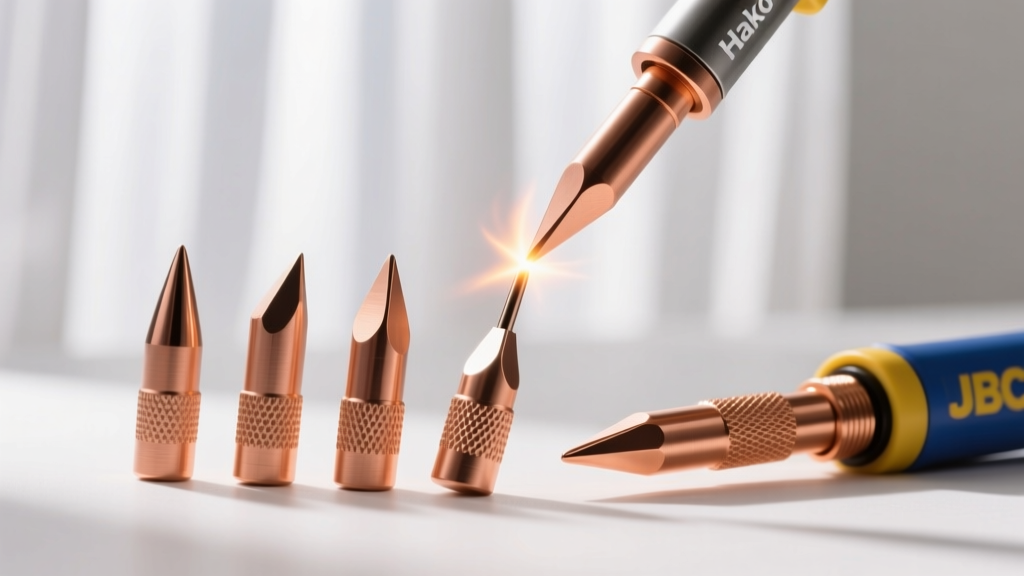
The Conical Tip Trap: Avoid standard 'I' (conical) tips for 0805 and 0603 SMD components. The rounded point tends to push solder away from the pad and offers terrible thermal transfer. Always opt for a micro-chisel ('IL' or 'D' shape) or a fine knife ('K' shape) tip. The flat edge allows you to bridge the gap between the component lead and the PCB pad, ensuring simultaneous heating.
Micro-Chisel (IL / Mini-Wave)
The micro-chisel is the workhorse of SMD soldering. With a tip width of roughly 0.8mm to 1.2mm, it is narrow enough to fit between the pins of an SOIC-16 chip but wide enough to hold a small meniscus of molten solder. It is ideal for 'drag soldering' fine-pitch ICs.
Fine Knife (K-Type)
Knife tips are exceptional for drag soldering and cleaning up solder bridges. By using the very point of the knife for precision heating and the flat edge of the blade for drag soldering, you essentially get two tools in one. They are highly recommended for TQFP-48 or QFN packages.
Step-by-Step: Soldering 0805 SMD Components
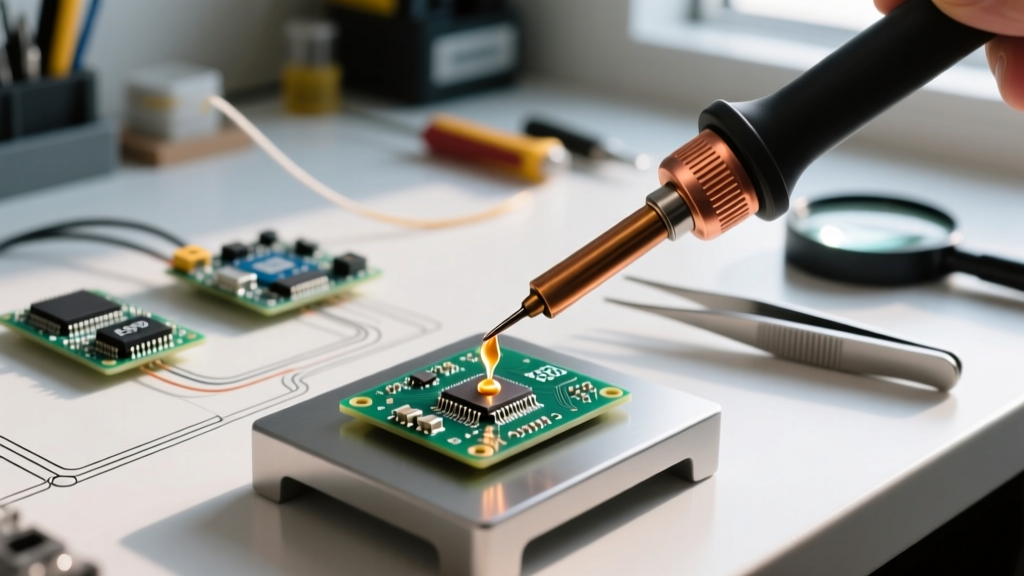
Soldering tiny 0805 (2.0mm x 1.25mm) components requires a shift in technique. You cannot rely on feeding solder wire directly into the joint as you would with through-hole parts. Instead, we use a 'tack and reflow' method.
- Prep and Flux: Apply a small amount of tacky flux (such as Chip Quik SMD291AX or Amtech NC-559) to the pads. Tacky flux acts as a mild adhesive, holding the component in place and lowering the surface tension of the solder.
- Tin One Pad: Set your fine tip soldering iron to 320°C for leaded solder (Sn63/Pb37) or 350°C for lead-free (SAC305). Touch the iron to one pad and feed a tiny amount of 0.5mm solder wire until a small fillet forms. Remove the solder, then the iron. Do not exceed 3 seconds of contact time to prevent pad delamination.
- Place and Reflow: Using precision tweezers, place the component flat on the pads. Press it down gently. Apply the iron to the tinned pad to remelt the solder. While the solder is liquid, slide the component into perfect alignment and remove the iron. Let it cool for 2 seconds.
- Solder the Second Pad: Apply a touch of fresh flux to the second pad. Touch the iron to the pad and component lead simultaneously, feed a microscopic amount of solder, and remove. Inspect the joint; it should have a smooth, concave 'fillet' resembling a volcano slope.
Maintenance: Preventing Oxidation on Micro-Tips
Fine tips have a high surface-area-to-volume ratio, making them incredibly susceptible to oxidation. When the iron plating oxidizes, it turns black and will no longer accept solder (a condition known as 'non-wetting'). Once a fine tip oxidizes, it is often ruined permanently because you cannot use abrasive files or sandpaper to clean it without destroying the microscopic iron plating.
The Golden Rules of Fine Tip Care
- Ditch the Wet Sponge: Wiping a 350°C fine tip on a wet cellulose sponge causes severe thermal shock. This micro-fractures the iron plating, allowing the inner copper core to dissolve into the solder, destroying the tip from the inside out.
- Use Brass Wool: Always use a dry brass wire sponge. It cleans oxidation without dropping the tip's temperature drastically.
- Always Tin Before Powering Down: Never turn off your station with a clean tip. Melt a generous blob of cheap, rosin-core solder over the entire working surface of the tip before switching off the power. This sacrificial layer oxidizes instead of the tip's plating while it cools.
- Use Tip Tinner: If your tip develops black scale, use a chemical tip tinner (a mixture of phosphoric acid and solder powder). Dip the hot tip in for 2-3 seconds, then wipe on brass wool. This chemically reduces the oxidation and re-tins the surface simultaneously.
Troubleshooting Common SMD Soldering Defects
Even with the best fine tip soldering iron, beginners will encounter defects. Understanding the IPC-A-610 standards for electronic assemblies helps in diagnosing these issues. For a deeper dive into industry acceptability standards, refer to the IPC-A-610 Acceptability of Electronic Assemblies documentation.
| Defect | Visual Symptom | Root Cause | Solution |
|---|---|---|---|
| Tombstoning | Component stands up vertically on one end. | Uneven heating of pads; one pad reaches reflow temperature before the other. | Ensure both pads have equal thermal mass. Heat the center of the component body slightly to equalize temperature. |
| Solder Bridging | Solder connects two adjacent fine-pitch pins. | Too much solder applied; lack of flux; tip too wide for the pitch. | Apply generous tacky flux. Use a clean knife tip to 'drag' the excess solder away from the bridge. |
| Cold Joint | Solder looks dull, grainy, or forms a convex ball. | Insufficient heat transfer; tip oxidized; iron temp set too low. | Clean tip in brass wool. Increase temp by 15°C. Ensure tip is making flat contact with both pad and lead. |
Final Thoughts for Beginners
Mastering a fine tip soldering iron is less about having a steady hand and more about understanding thermal dynamics and flux chemistry. By abandoning the conical tip trap, utilizing micro-chisels, and respecting the oxidation limits of your equipment, you will transition from frustrating, messy solder joints to professional-grade SMD assemblies. Invest in high-quality tacky flux, use 0.3mm or 0.5mm solder wire, and let the capillary action do the heavy lifting for you.