
The Anatomy of a Transformer-Based Soldering Gun
When you hear the distinct, low-frequency hum of a transformer spooling up, you know you are dealing with a soldering gun, not a standard ceramic soldering iron. For decades, the Craftsman soldering gun has been a staple in automotive garages, stained glass studios, and heavy-duty electrical workshops. Unlike pencil-style irons that rely on a resistive ceramic heating element to slowly warm an iron-plated tip, a soldering gun utilizes a step-down transformer. The primary coil connects to your standard 120V AC mains, while the secondary coil consists of a single, massive turn of copper that terminates at the soldering tip.
This configuration drops the voltage down to roughly 0.15V to 0.3V AC, but pushes the amperage to well over 150 amps. The result is instantaneous, brute-force thermal energy capable of melting heavy-gauge solder joints in seconds. However, this raw power comes with strict operational parameters and specific failure modes that every technician must understand before adding one to their bench in 2026.
Transformer Guns vs. Ceramic Irons: When to Use Which
A common mistake among DIYers is attempting to use a soldering gun for delicate printed circuit board (PCB) work. To clarify the application boundaries, review the comparison matrix below:
| Feature | Craftsman Soldering Gun (Transformer) | Standard Soldering Station (Ceramic) |
|---|---|---|
| Heat-Up Time | Instantaneous (2-4 seconds) | Gradual (20-60 seconds) |
| Tip Material | Pure Copper Loop (consumable) | Iron-Plated Copper (long-lasting) |
| Thermal Mass | Extreme (Ideal for 10 AWG+ wire) | Low to Medium (Ideal for PCB pads) |
| Magnetic Field | High (Can magnetize tools/induce current) | Negligible |
| Primary Use Case | Automotive grounds, plumbing, stained glass | Microelectronics, SMD, hobbyist PCBs |
Craftsman Soldering Gun Models: 2026 Market Breakdown
Craftsman has streamlined its soldering lineup over the years, moving away from the massive 250W+ industrial models of the 20th century toward more ergonomic, dual-trigger designs. Here is the current landscape of Craftsman soldering guns available on the market.
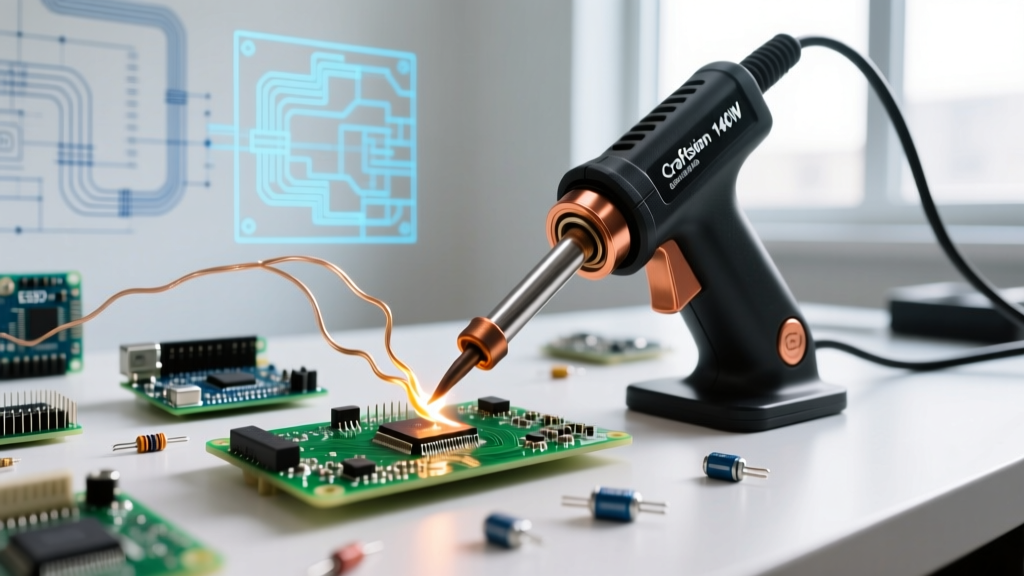
- Craftsman 100/140W Dual Trigger (Model CMHT50133): Priced around $55-$65. This is the flagship model for modern consumers, featuring a pistol grip with a two-stage trigger. Pulling the trigger halfway engages the 100W tap; squeezing it fully engages the 140W tap for heavy thermal loads.
- Craftsman 200W Heavy Duty (Vintage/Refurbished): Priced between $30-$50 on secondary markets. Older single-trigger models that run exceptionally hot but suffer from heavier chassis fatigue and outdated, non-ergonomic housings.
- Craftsman 75W Compact Gun (Discontinued): Once a popular entry-level model, it has largely been phased out in favor of cheap, imported ceramic irons, though it still appears in estate sales and older tool chests.
Deep Dive: Craftsman 100/140W Dual Trigger (CMHT50133)
The CMHT50133 represents the best intersection of heritage and modern safety standards in the Craftsman lineup. The dual-trigger mechanism is not merely a gimmick; it is a vital thermal management tool. By resting your finger on the 100W position, you can maintain a baseline temperature for tinning, then squeeze to 140W when wrapping a thick 8 AWG battery cable to a lug.
Heating Element and Duty Cycle Realities
The most critical specification of any transformer gun is its duty cycle. The CMHT50133 is rated for a maximum of 60 seconds of continuous ON time, followed by a mandatory 120 seconds of OFF time. Failure Mode Alert: If you leave the trigger depressed and rest the gun in a holster, the secondary winding will overheat, the internal thermal fuse will blow, or the plastic bezel holding the copper loop will melt, permanently warping the chassis. Soldering guns are trigger-activated tools; they are not designed to idle.
The 'Pitting' Problem and Tip Maintenance
Because the tip is made of raw, uncoated copper, it is highly susceptible to oxidation and pitting from acidic fluxes. Unlike a Hakko or Weller iron where you simply wipe the tip on a brass sponge, a pitted copper loop must be physically reformed or replaced. To maintain your Craftsman tip, keep a small wire brush handy to remove carbon buildup, and always leave a heavy coating of rosin-core solder on the loop when powering down to seal out oxygen.
Step-by-Step: Soldering 10 AWG Automotive Grounds
Soldering heavy gauge wire requires a specific methodology to ensure a joint that meets mechanical and electrical standards. According to the guidelines set forth in the IPC J-STD-001 standard for soldered electrical assemblies, a proper heavy-wire joint must exhibit complete wetting and a smooth, concave fillet without cold joint fractures.
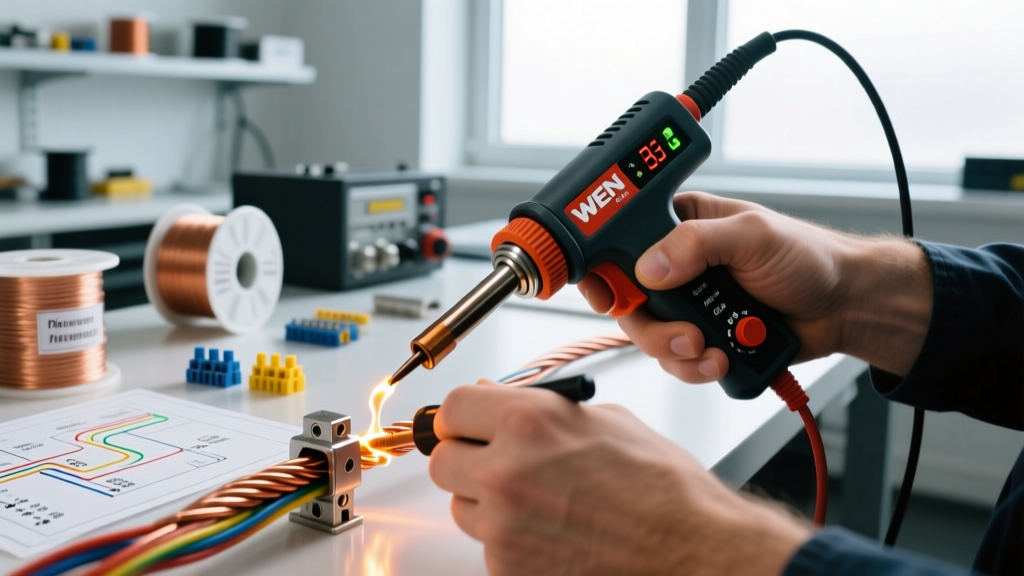
- Mechanical Preparation: Strip 3/8 inch of insulation from the 10 AWG wire. Insert the wire through the ring terminal and fold it back over the barrel, or wrap it tightly if using a lug. The joint must be mechanically sound before solder is applied.
- Flux Application: Apply a small amount of high-quality rosin paste flux. Never use plumbing acid flux on automotive or electrical connections, as the residual acid will corrode the copper strands over time.
- The Heat Application: Hook the copper loop of the Craftsman gun over the barrel of the terminal. Squeeze the trigger to the 140W position. Wait exactly 3 to 5 seconds for the terminal to reach the melting point of your solder.
- Feed the Solder: Touch your 60/40 rosin-core solder (or SAC305 for lead-free compliance) to the opposite side of the terminal from the gun tip. When the solder flows through the wire strands via capillary action, release the trigger immediately.
- Cooling: Allow the joint to cool naturally for 10 seconds. Do not blow on it or move the wire, as this will cause a crystalline 'cold joint' fracture.
Safety, Isolation, and Fume Extraction
While the voltage at the tip of a Craftsman soldering gun is less than 1 volt, the magnetic field generated by the step-down transformer can induce stray voltages in nearby sensitive circuitry. Never use a transformer gun near unpowered CMOS chips or sensitive microcontrollers, as the inductive spike can latch up or destroy silicon gates.
Furthermore, vaporized flux poses a significant respiratory hazard. As noted by Princeton University's Environmental Health and Safety guidelines, soldering fumes contain colophony (rosin) derivatives that can trigger occupational asthma and contact dermatitis. Always pair your Craftsman soldering gun with an active HEPA and activated carbon fume extractor, especially when working with the high-heat 140W setting that vaporizes flux aggressively.
Pro-Tip for Left-Handed Users: The CMHT50133 features a symmetrical barrel design, allowing you to bend the copper loop tip to your preferred angle using needle-nose pliers. Ensure the loop is tight and the mounting nuts are secured firmly to prevent arcing at the contact posts.
Frequently Asked Questions
Can I use a Craftsman soldering gun for stained glass work?
Yes, but with caveats. Stained glass artists often use specialized rheostat-controlled irons (like the Weller 100PG) to maintain a constant temperature for long copper foil runs. A Craftsman gun requires constant trigger-pulsing to manage heat, which can lead to uneven solder beads and thermal shock to the glass if the 140W tap is applied too aggressively.
How do I know if the internal thermal fuse has blown?
If the gun hums but fails to heat, or if it is completely dead and shows no continuity across the plug prongs, the internal thermal cutoff has likely tripped due to duty-cycle abuse. Repairing this requires opening the chassis, sourcing a matching 150-degree Celsius thermal fuse, and crimping it into the primary winding circuit.
Is it safe to use on household plumbing?
While it can melt 50/50 tin-lead plumbing solder, the 100/140W output is generally too low for sweating 3/4-inch or 1-inch copper water lines, which require a 200W+ gun or a propane/MAPP gas torch to overcome the heat-sinking effect of the water inside the pipes.