
The Transformer Reality: Understanding Your Chicago Electric 100W
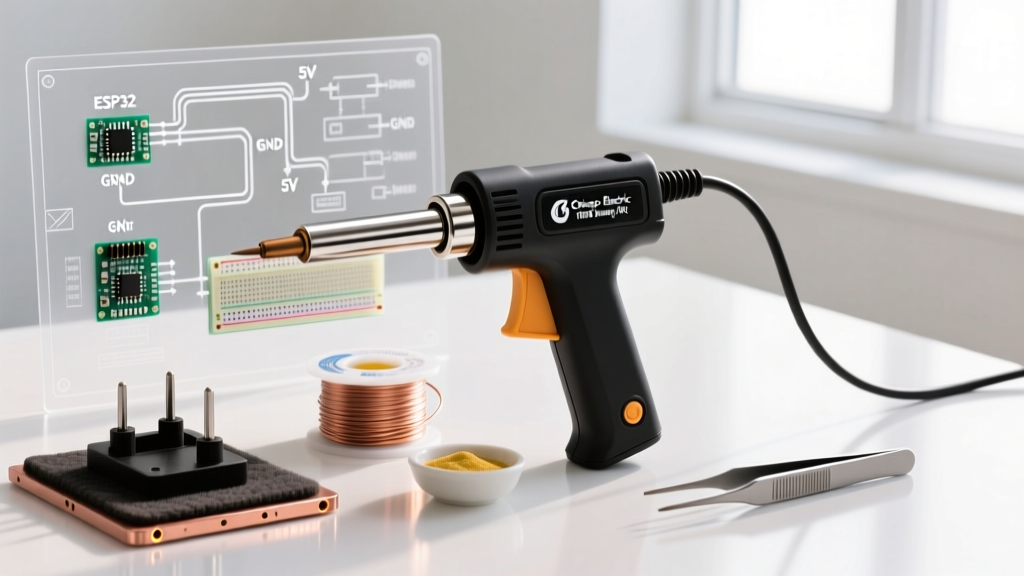
When you unbox the Chicago Electric 100 Watt Soldering Gun Kit (commonly item #60525 or similar variants retailed around $16.99 at Harbor Freight), you are not holding a standard resistive soldering iron. You are holding a step-down transformer. Unlike ceramic-heated irons that use a high-resistance element to generate heat, this gun passes a massive, low-voltage current directly through the copper tip itself. The tip is the heating element.
For a beginner, this distinction is critical. It means the gun heats up in roughly 3 to 5 seconds, delivering aggressive thermal mass perfect for heavy-gauge wires, large ground planes, and basic plumbing. However, it also generates a localized 60Hz AC magnetic field at the tip. If you touch this tip to a sensitive CMOS chip, MOSFET gate, or unshielded microcontroller, the induced voltage can instantly destroy the component. Therefore, this kit is strictly for through-hole components, heavy wiring, and mechanical joints—never for surface-mount devices (SMD) or sensitive logic boards.
Kit Inventory Breakdown: What You Actually Get
The appeal of the Chicago Electric kit lies in its out-of-the-box readiness. While the build quality reflects its budget price point, the included accessories are sufficient to complete your first dozen projects.
| Component | Specification / Details | Beginner Utility |
|---|---|---|
| Soldering Gun Body | 120V AC, 60Hz, 100W Max Output | High thermal recovery for thick wires. |
| Chisel Tip | 1/8" flat blade | Best for general through-hole and wire tinning. |
| Conical Tip | Pointed needle | Limited use; loses heat too fast on large joints. |
| Smoothing/Cutting Tip | Flat edge with notch | Useful for shaping leads and flat solder tabs. |
| Rosin-Core Solder | ~0.031" diameter, 60/40 Sn/Pb | Melts at ~190°C. Good wetting action. |
| Solid Flux Paste | Petroleum-based rosin | Essential for re-tinning oxidized tips. |
Where the 100W Gun Shines (and Where It Fails)
Before striking your first arc, you must understand the operational boundaries of this specific tool.
The Pros
- Thermal Inertia: A 100W transformer output will not bog down when you apply it to a 12 AWG copper wire. It pushes heat into the metal faster than a standard 40W pencil iron.
- Instant On/Off: The trigger mechanism means the tip only gets hot when you need it, saving the tip from continuous oxidation when resting on the stand.
- Cost-to-Performance Ratio: At under $20, it is the most accessible heavy-duty soldering tool on the market.
The Cons
- Weight and Ergonomics: The internal copper transformer makes the gun front-heavy and fatiguing for precision work lasting more than 10 minutes.
- Tip Longevity: Because the tip carries the heating current, it is prone to rapid pitting and oxidation if not constantly re-tinned.
- Electromagnetic Interference (EMI): As mentioned, the magnetic field makes it hazardous to sensitive solid-state electronics.
Expert Insight: Never use the Chicago Electric 100W gun on a circuit board with a ground plane larger than a square inch without pre-heating the board. The gun will pull heat away from the surrounding components, potentially causing thermal shock or lifting the copper pads off the FR4 substrate.
Step-by-Step: Soldering 12 AWG Wire Like a Pro
To maximize the utility of this kit, we will focus on what it does best: soldering heavy-gauge wire, such as 12 AWG stranded copper used in automotive or high-current DC applications.
Step 1: Mechanical Preparation
Strip exactly 3/8" of insulation from the 12 AWG wire. Twist the stranded copper tightly. A mechanical connection must always precede a solder joint; solder is not a structural glue. If you are joining two wires, use a Western Union splice. If attaching to a ring terminal, crimp the terminal first using a proper ratcheting crimper.
Step 2: Tinning the Tip
Squeeze the trigger. Within 4 seconds, the tip will reach operating temperature (roughly 450°C at the core). Immediately wipe the tip on a damp cellulose sponge or brass wire sponge, then melt a small amount of the included 60/40 rosin-core solder directly onto the working face of the chisel tip. This creates a thermal bridge. Never apply the dry, oxidized tip directly to your workpiece.
Step 3: Heat Transfer and Solder Flow
- Press the tinned face of the chisel tip against the copper wire (or terminal), not the solder.
- Count to three. Allow the thermal mass of the wire to absorb the heat.
- Touch the rosin-core solder to the opposite side of the wire, directly where the wire meets the tip. If the wire is hot enough, the solder will instantly wick into the strands via capillary action.
- Feed exactly enough solder to coat the joint. For 12 AWG, this is roughly 1/2" of 0.031" solder wire.
- Release the trigger and hold the joint perfectly still for 3 seconds while the solder transitions from a liquid to a solid crystalline state.
For a deeper understanding of proper solder wetting and joint inspection criteria, refer to the foundational tutorials provided by SparkFun Electronics' Through-Hole Soldering Guide, which outlines the visual characteristics of a perfect concave fillet.
Troubleshooting Common Chicago Electric Failure Modes
Budget soldering guns have specific failure points. Recognizing them early will extend the life of your kit from a few weeks to several years.
Trigger Switch Arcing
The internal microswitch handles the full 120V AC primary current. Over time, carbon buildup from electrical arcing will cause the switch to stick or fail to deliver full voltage to the transformer, resulting in a weak, lukewarm tip. The Fix: Unplug the gun, open the ABS plastic housing (usually two Phillips screws), and spray the switch contacts with an electronics-grade contact cleaner (e.g., DeoxIT). Actuate the trigger 50 times to work the cleaner in.
Rapid Tip Oxidation and Pitting
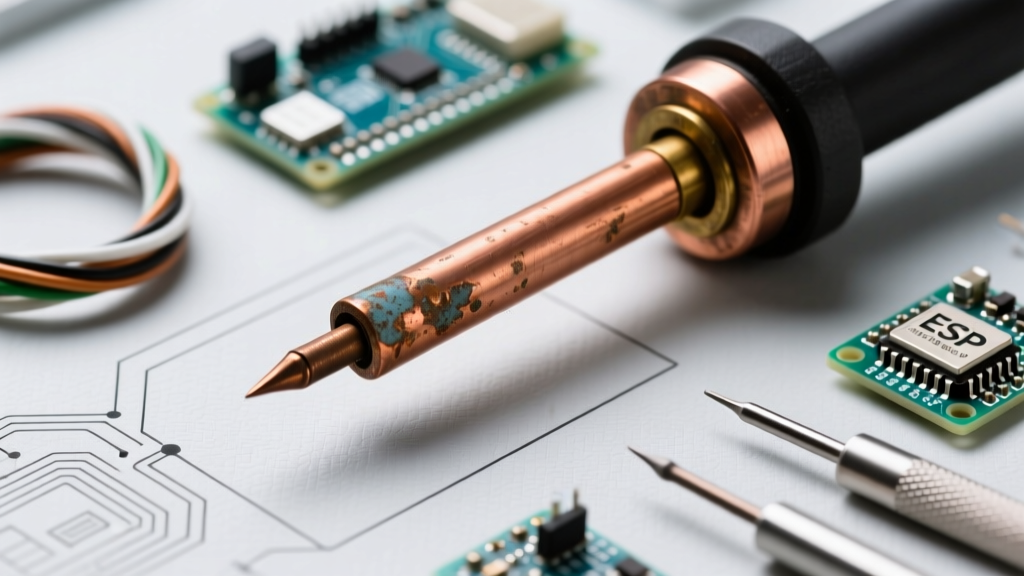
If the tip turns black and solder rolls off it in balls, the copper is oxidized. Because these tips are bare copper (unlike the iron-plated tips on high-end stations), they degrade quickly. The Fix: Unplug the gun, let it cool, and use a fine-grit sanding sponge or a brass wire brush to physically remove the black copper oxide layer until bare copper shines. Immediately plug the gun in, hit the trigger, and melt a heavy glob of rosin flux and solder over the tip to seal it from the air.
Health, Safety, and Ventilation Standards
Soldering with 60/40 lead-based solder and rosin flux presents two distinct health hazards: lead exposure and colophony (flux) fume inhalation. The Chicago Electric kit does not include a fume extractor, so you must manage your environment.
- Lead Hygiene: Lead does not vaporize at soldering temperatures; the risk comes from ingestion via hand-to-mouth transfer. Always wash your hands with cold water and soap immediately after soldering. Adhere strictly to OSHA's Lead Safety guidelines regarding workspace cleanliness and avoiding eating in the soldering area.
- Flux Fumes: Vaporized rosin flux contains colophony, a known respiratory sensitizer that can trigger occupational asthma. Never lean directly over the solder joint. Use a desktop HEPA/Carbon fume extractor, or at minimum, position a small fan to blow the smoke away from your breathing zone. University environmental health departments, such as Princeton University's EHS Soldering Safety guide, strongly mandate active ventilation for any indoor soldering operations.
Final Verdict: Is This Kit Right for Your Workbench?
The Chicago Electric 100 Watt Soldering Gun Kit is not a precision instrument, nor is it a replacement for a temperature-controlled Hakko or Weller station. However, as a beginner's introduction to heavy-duty electrical joints, automotive wiring, and stained glass foil work, it is an undeniable bargain. By respecting its thermal mass, avoiding sensitive microchips, and maintaining the copper tip with rigorous tinning habits, this $17 kit will reliably serve your DIY workbench for years.