
Decoding the Diagram of a Soldering Iron: Core Subsystems
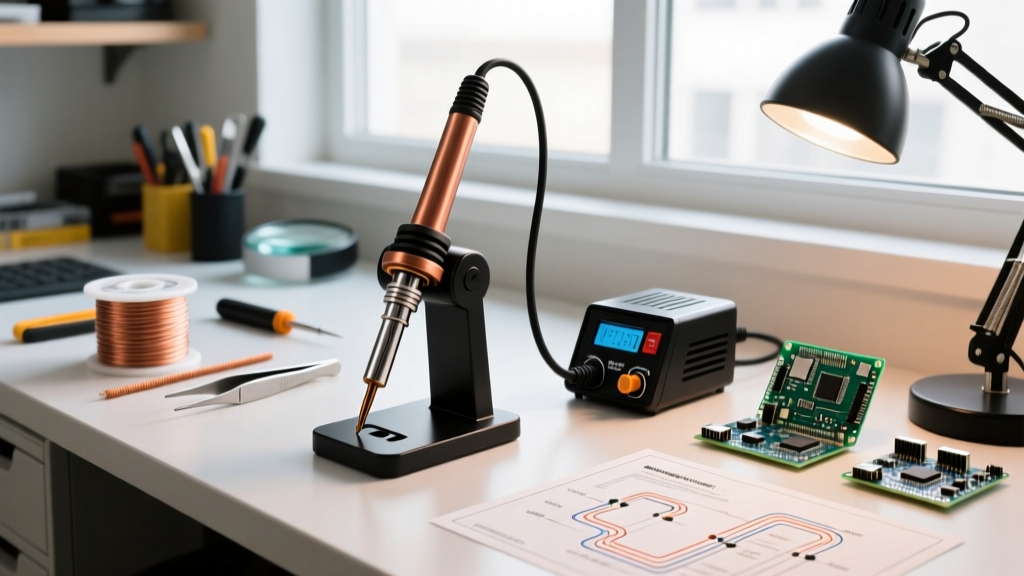
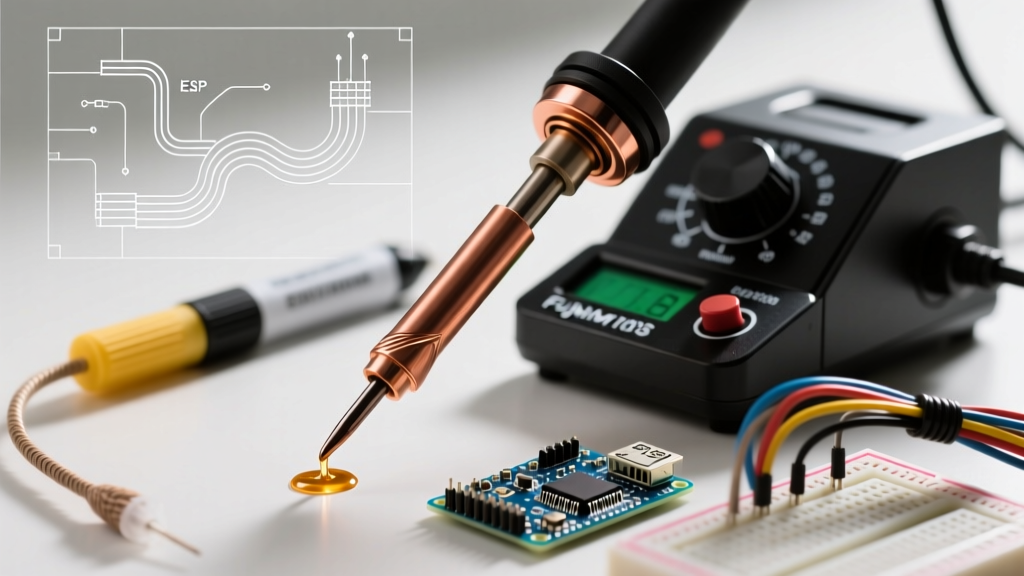
When setting up a new workstation or troubleshooting erratic thermal behavior, simply guessing the temperature dial is a recipe for cold joints and damaged PCB pads. To achieve true precision, you must understand the internal diagram of a soldering iron and how its electromechanical subsystems interact. Whether you are using an analog workhorse like the Weller WES51 ($115) or a digital PID station like the Hakko FX-888D ($110), the fundamental block diagram remains consistent: a power supply, a microcontroller or op-amp comparator, a heating element, and a closed-loop thermal sensor.
According to the NASA Workmanship Standards for soldering, thermal recovery and tip temperature accuracy are critical for preventing intermetallic compound (IMC) overgrowth and pad delamination. By mapping the schematic of your station, you can perform accurate offset calibrations, diagnose failing components, and optimize your PID (Proportional-Integral-Derivative) tuning.
The Four Pillars of the Soldering Iron Schematic
- The Heating Element (Actuator): Modern stations use ceramic heaters (e.g., Hakko’s T18 series or Weller’s RT series) which offer rapid thermal transfer and high resistivity. Older or budget models may use nichrome wire wound around a ceramic core, which introduces higher thermal mass and slower response times.
- The Thermocouple (Sensor): In most professional setups, a K-type thermocouple is embedded directly into the base of the soldering tip. This generates a millivolt signal proportional to the tip’s exact temperature, feeding back to the controller.
- The Controller (Comparator/PID): Analog stations use an operational amplifier (op-amp) to compare the thermocouple voltage against a reference voltage set by the user’s potentiometer. Digital stations use an ADC (Analog-to-Digital Converter) and a microcontroller running a PID algorithm to pulse the heater via a TRIAC or MOSFET.
- The Power Delivery Network: A step-down transformer or switching power supply delivers low-voltage AC or DC (typically 24V AC for Weller, 26V AC for Hakko) to isolate the user from mains voltage and safely drive the heater.
The Calibration Setup: Tools and Tolerances
Before adjusting any internal trim pots or digital offsets, you must establish a baseline using traceable measurement tools. The IPC standards (specifically J-STD-001) dictate that soldering equipment must be verified to ensure the tip temperature does not deviate beyond acceptable tolerances, typically ±5°C (±9°F) for lead-free SAC305 alloys.
Required Calibration Instrumentation
- Tip Thermometer: The industry standard is the Hakko FG-100B ($165), which uses a specialized, low-mass K-type sensor with a built-in spring mechanism to ensure consistent contact pressure against the tip.
- High-Temp Thermal Compound or Liquid Solder: Air is a thermal insulator. To get an accurate reading, a microscopic layer of thermal transfer medium must bridge the gap between the tip and the sensor.
- Flathead/Phillips Precision Screwdrivers: For accessing physical calibration potentiometers on analog PCBs.
Step-by-Step Calibration via Schematic Analysis
Understanding the diagram of a soldering iron allows you to locate the exact node where the feedback loop is adjusted. Here is how to calibrate the two most common architectures in 2026.
Scenario A: Analog Op-Amp Calibration (Weller WES51)
The WES51 schematic features a physical trim potentiometer on the main PCB that adjusts the reference voltage offset.
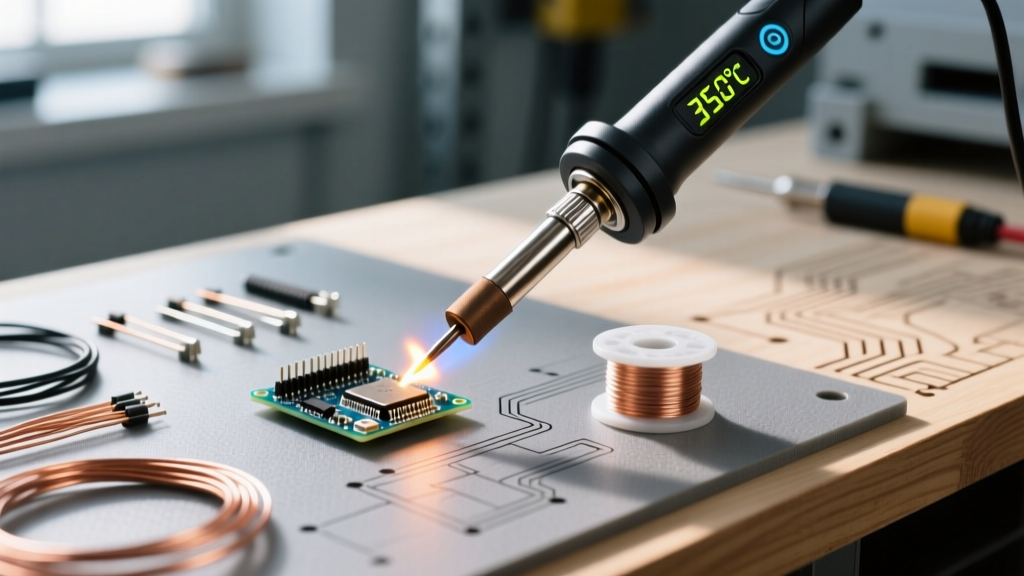
- Thermal Equilibrium: Set the station dial to 350°C (662°F). Allow the station to idle for 5 minutes. The heater will cycle on and off; wait until the indicator light shows a steady, slow pulse, indicating the PID loop has stabilized.
- Sensor Application: Apply a tiny bead of fresh SAC305 solder to the tip, then press the FG-100B sensor into the molten bead. Wait exactly 15 seconds for the reading to peak and stabilize.
- Offset Adjustment: If the sensor reads 342°C (an 8-degree deficit), open the station housing. Locate the calibration trim pot (usually marked 'CAL' on the silkscreen). Using a non-inductive ceramic screwdriver, turn the pot clockwise in micro-increments (1/8th of a turn) while monitoring the thermometer until it reads exactly 350°C.
Scenario B: Digital Microcontroller Calibration (Hakko FX-888D)
Digital stations do not use physical pots. The diagram of this soldering iron routes the thermocouple signal to an ADC, and calibration is handled via firmware offsets stored in EEPROM.
- Enter Calibration Mode: Turn on the station while holding the 'UP' arrow button. The display will show the current sensor reading in raw ADC values or direct temperature.
- Input the Measured Value: Measure the tip with your FG-100B. If the station display reads 355°C but your external thermometer reads 348°C, use the 'UP' and 'DOWN' arrows to adjust the station's display to match the external thermometer (348°C).
- Save to EEPROM: Press and hold the 'ENTER' button for 3 seconds. The microcontroller writes the new offset matrix to non-volatile memory, shifting the entire PID target curve.
Thermal Response Matrix: Tip Geometry vs. Calibration Offset
Not all tips behave identically on the same schematic. The thermal mass of the tip alters the feedback loop's response time. When reviewing the diagram of a soldering iron, you must account for the physical distance between the heating element core and the tip's working surface.
| Tip Geometry | Thermal Mass | Stabilization Time | Calibration Offset Tendency |
|---|---|---|---|
| Conical (0.4mm) | Very Low | 8 - 12 Seconds | Prone to overshoot; requires aggressive derivative (D) damping in digital PID. |
| Chisel (1.6mm - 2.4mm) | Medium | 15 - 20 Seconds | Standard baseline; minimal offset required if station is calibrated to this tip. |
| Heavy Bevel (3.2mm+) | High | 30 - 45 Seconds | Surface temp lags behind core sensor; may require +5°C to +10°C manual offset. |
| Knife (K-Type) | Asymmetrical | 18 - 25 Seconds | Varies by contact point; calibrate using the flat edge, not the razor tip. |
Troubleshooting Schematic Anomalies and Failure Modes
When your calibration attempts fail or the station exhibits erratic behavior, referring back to the diagram of a soldering iron will help you isolate the fault. Here are the most common edge cases and how to diagnose them.
1. Thermal Runaway (Heater Stays On Indefinitely)
The Schematic Fault: The feedback loop is broken. The controller is sending power to the heater, but the thermocouple signal is not returning to the comparator.
Diagnosis: In Hakko stations, this triggers an H-E (Heater Error) or S-E (Sensor Error) flashing code. Use a multimeter to check the resistance across the thermocouple pins on the handpiece connector. A healthy K-type sensor in a T18 tip should read between 1.5 and 3.0 ohms at room temperature. An open circuit (OL) indicates a snapped internal thermocouple wire, requiring a tip replacement.
2. Rapid Cycling and Audible Clicking
The Schematic Fault: The TRIAC or relay on the PCB is failing to latch, or the PID integral windup is miscalculated.
Diagnosis: If using an analog station like the WES51, the internal relay may be pitted from years of arcing. If the clicking occurs precisely every 0.5 seconds without the tip heating, check the 24V AC secondary winding on the transformer. A voltage drop below 20V AC under load indicates a failing transformer or a shorted heating element drawing excessive current.
3. Inconsistent Readings Across Different Tips
The Schematic Fault: Oxidation on the tip sleeve interface.
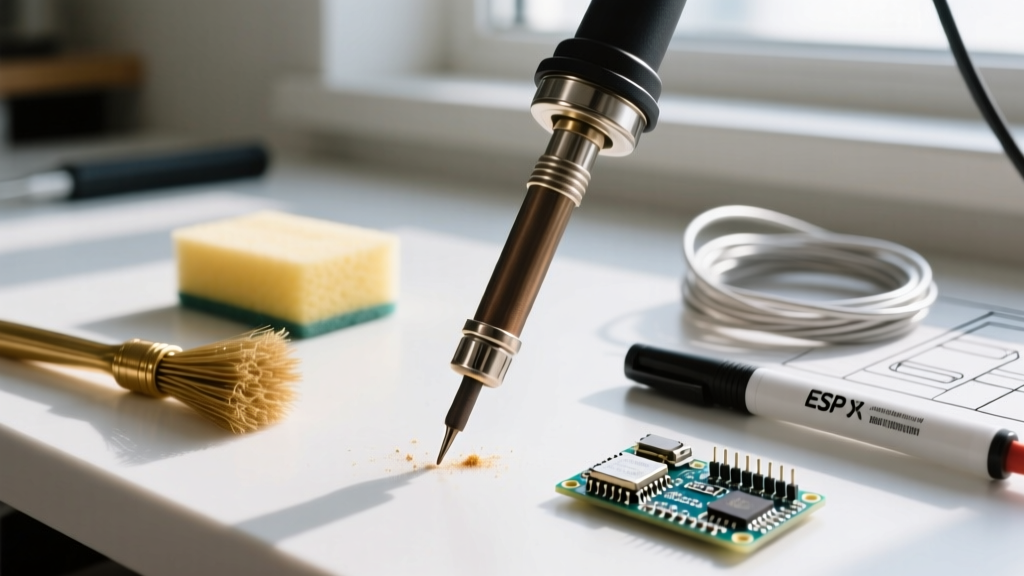
Diagnosis: The thermocouple is embedded in the hollow base of the tip. If the inner bore of the tip is oxidized, it creates a thermal barrier between the ceramic heater’s sensor and the tip mass. Never use sandpaper or a metal file to clean the inner bore. Instead, apply a drop of liquid flux and heat the station to 250°C to dissolve the oxides, then wipe with a damp cellulose sponge.
Expert Insight: "Many hobbyists attempt to calibrate their stations using cheap, $15 infrared thermometers. This is a fundamental misunderstanding of thermal dynamics. IR cameras and guns measure surface emissivity, which changes drastically depending on whether the tip is tinned, oxidized, or flux-coated. Always use a physical contact thermocouple with a low-thermal-mass wire gauge (0.1mm or smaller) to avoid the sensor itself acting as a heatsink and drawing heat away from the tip during measurement."
Maintaining Calibration Integrity
Calibration is not a one-time event. According to traceability guidelines referenced by the National Institute of Standards and Technology (NIST), measurement equipment must be verified periodically. For a daily-use soldering station in a professional rework environment, verify the tip temperature weekly. For hobbyist setups, a bi-annual check is sufficient.
By internalizing the diagram of a soldering iron—understanding how the transformer, controller, heater, and sensor form a delicate closed-loop ecosystem—you transition from a passive user to an active technician. This knowledge ensures your solder joints meet the highest metallurgical standards, preventing costly rework and ensuring the longevity of your sensitive electronic components.