
Why Solder Without a Soldering Iron?
When most people think of joining electronic components or wires, they picture a traditional pencil-style soldering iron. However, in professional electronics manufacturing, heavy-duty electrical work, and advanced DIY prototyping, a standard iron is often the wrong tool for the job. Whether you are reflowing a dense 0.4mm pitch BGA chip, tinning fifty 14 AWG wires for a custom harness, or joining thick 8 AWG battery tabs, trying to use a 60W pencil iron will result in cold joints, damaged pads, or melted insulation.
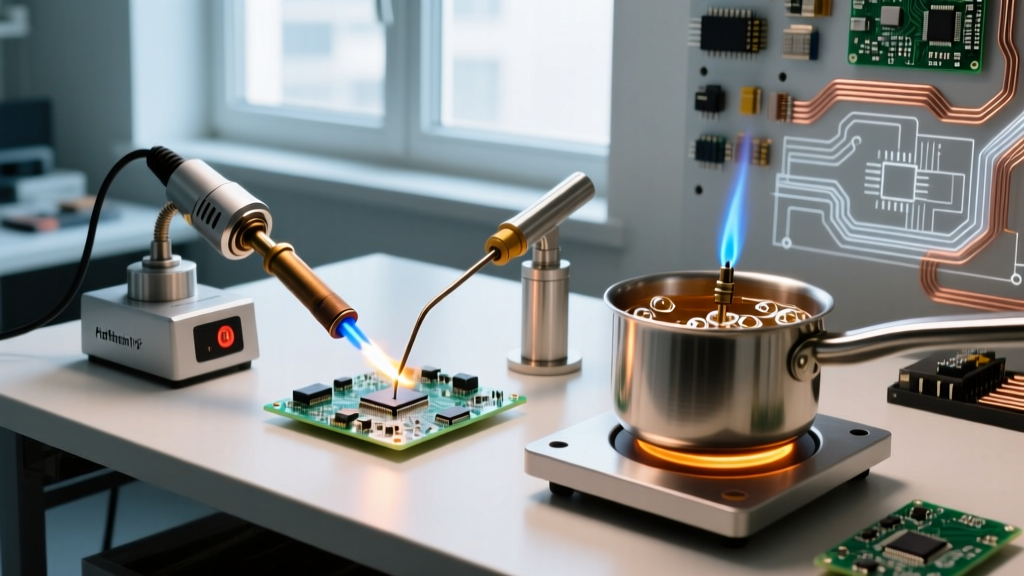
Knowing how to solder without a soldering iron is a critical skill that expands your fabrication capabilities. By leveraging directed hot air, localized micro-flames, molten solder baths, and conductive hotplates, you can achieve superior thermal transfer and joint reliability. In this 2026 guide, we compare the four best alternative soldering methods, breaking down exact equipment models, temperature profiles, and ideal use cases.
Alternative Soldering Methods: Comparison Matrix
| Method | Best Application | Typical Temp Range | Avg. Cost (2026) | Precision Level |
|---|---|---|---|---|
| Hot Air Rework Station | SMD components, QFN/BGA ICs, heat-shrink | 100°C – 480°C | $150 – $250 | High (Sub-millimeter) |
| Micro Butane Torch | Heavy gauge wire, XT90 connectors, plumbing | 600°C – 1,300°C (Flame) | $40 – $70 | Low (Macro-scale only) |
| Electric Solder Pot | Batch wire tinning, component lead prep | 200°C – 480°C | $120 – $180 | Medium (Uniform coating) |
| PTC Hotplate / Skillet | Full PCB SMD reflow, solder paste applications | Up to 350°C | $15 – $60 | High (Whole-board) |
1. Hot Air Rework Station: The SMD Standard
Surface-mount technology (SMT) relies almost entirely on hot air. Components like 0402 resistors or QFP-48 microcontrollers cannot be soldered efficiently with a traditional iron without specialized drag-soldering techniques. A hot air rework station uses a heated airflow to melt solder paste or pre-tinned pads uniformly.
Equipment Spotlight: Quick 861DW
As of 2026, the Quick 861DW remains the gold standard for serious hobbyists and repair technicians, priced around $230. It features a 1200W heating element and a maximum airflow of 120 L/min. The digital feedback loop ensures that when you set the dial to 350°C, the air hitting the PCB actually maintains that temperature, compensating for the thermal mass of copper ground planes.
Technique & Airflow Dynamics
- Nozzle Selection: Use a 4mm nozzle for SOIC-8 chips and a 12mm nozzle for QFP or BGA packages. The nozzle should be slightly larger than the component to ensure even heat distribution.
- Airflow Control: This is where beginners fail. Setting airflow too high (above 40 L/min) will blow tiny 0603 capacitors across the room. Keep airflow between 15-25 L/min for small passives.
- Flux is Mandatory: Always apply a tacky flux like Amtech NC-559-V2-TF before applying heat. The flux prevents oxidation and uses surface tension to pull the component into perfect alignment as the solder melts.
2. Micro Butane Torch: The Heavy-Duty Wire Solution
If you need to solder 10 AWG silicone wire to an XT90 connector for an RC battery, a standard soldering iron will act as a heat sink, failing to bring the massive copper mass up to the 183°C melting point of Sn63/Pb37 solder. You need a micro butane torch.
Equipment Spotlight: Blazer Big Shot GT 8000
The Blazer GT 8000 (approx. $60) produces a concentrated, wind-resistant flame reaching 2,500°F (1,370°C) at its core. However, you will never use the core flame for electronics.
Step-by-Step Torch Soldering
- Prep and Flux: Strip the wire, twist the strands, and apply a generous amount of Kester 186 RMA liquid flux. For heavy connectors, use heat-shrink tubing with pre-installed solder rings if possible.
- The Outer Flame: Use the blue, outer envelope of the flame (approx. 600°C - 800°C). Keep the torch moving in small circles around the connector barrel to distribute heat evenly.
- Feed the Solder: Do not melt the solder with the torch. Heat the connector and wire until they are hot enough to melt the solder wire on contact. When you touch the 60/40 solder to the joint and it flashes into liquid instantly, remove the torch.
Expert Warning: Never use a plumbing torch (like a Bernzomatic TS8000) on PCB traces or thin wires. The extreme thermal shock will delaminate FR4 fiberglass boards and vaporize thin copper traces instantly. Stick to precision micro-torches for electrical work.
3. Electric Solder Pot: The Batch Tinning Powerhouse
When building custom wiring harnesses, aerospace assemblies, or automotive looms, tinning the ends of dozens of wires individually with an iron is a massive waste of time. An electric solder pot holds a crucible of molten solder, allowing you to tin wires in seconds.
Equipment Spotlight: Hakko FX-300
The Hakko FX-300 (approx. $160) features a 200W ceramic heater and a 500g capacity crucible. It maintains temperatures between 200°C and 480°C with high stability. For lead-free SAC305 solder, you will set the pot to roughly 260°C to 280°C.
Dross Management and Safety
Molten solder reacts with oxygen to form dross (a crusty oxide layer on the surface). Before dipping a wire, you must skim the dross away using a stainless steel spatula. If you push a wire through the dross, it will contaminate the joint and prevent proper wetting. Furthermore, always ensure the wires are completely dry; introducing moisture into a 270°C molten solder bath will cause violent steam explosions and splatter.
4. PTC Hotplate / Electric Skillet: The DIY Reflow Oven
For full PCB assemblies featuring dozens of SMD components, manually soldering each pad is tedious and prone to bridging. By using solder paste and a hotplate, you can reflow an entire board simultaneously. This method mimics the reflow ovens used in professional SMT manufacturing.
The Reflow Thermal Profile
Soldering paste requires a specific thermal profile to activate the flux, evaporate solvents, and melt the alloy without damaging silicon chips. If you are using a modified $15 Oster electric skillet or a dedicated 85x85mm PTC heating element, you must manually manage the zones:
- Preheat Zone (150°C for 90 seconds): Slowly ramps the board temperature to prevent thermal shock and activates the flux.
- Soak Zone (175°C for 60 seconds): Evaporates volatile solvents in the paste, preventing solder splatter.
- Reflow Zone (220°C+ for 45 seconds): The paste turns shiny and liquid as the tin-silver-copper alloy melts.
- Cooling: Turn off the plate and let the board cool naturally. Do not use compressed air, which can cause micro-cracks in the solder joints.
Safety and Fume Extraction
Regardless of the method you use to solder without a traditional iron, fume management is non-negotiable. The rosin and synthetic resins in solder flux release colophony fumes when heated, which are known respiratory sensitizers and can trigger occupational asthma. According to guidelines referenced by IPC standards and occupational health bodies, you must use a localized fume extractor equipped with a HEPA and activated carbon filter (such as the Hakko FA-400 or a BOFA system) positioned within 6 inches of the work area. Open windows are insufficient for capturing sub-micron particulate matter.
Frequently Asked Questions
Can I use a hair dryer or heat gun instead of a rework station?
No. Standard hardware store heat guns lack precise temperature control and localized airflow nozzles. They will easily overheat and melt plastic connectors, scorch FR4 PCBs, and blow components away due to excessive, uncollimated airflow.
Is it safe to use a candle or lighter for emergency soldering?
While technically possible in a dire survival situation to melt 60/40 solder, it is highly discouraged. The soot from the flame will embed into the flux, creating a highly resistive, dirty joint. Furthermore, the lack of temperature control makes cold joints almost guaranteed. Stick to the four professional methods outlined above.
What solder alloy is best for hotplate reflow?
For DIY hotplate reflow, Sn63/Pb37 (lead-based) is vastly superior. It melts at a lower 183°C and has a eutectic transition (goes from solid to liquid instantly), preventing disturbed joints during the cooling phase. Lead-free SAC305 requires higher temperatures (217°C+) that can easily scorch cheap PTC elements or warp budget PCBs.