
The Transformer Advantage: Why Choose a Soldering Gun Kit?
When tackling heavy-gauge electrical work, automotive wiring, or stained glass assembly, a standard 40-watt soldering iron simply lacks the thermal mass to overcome the heat-sink effect of thick copper. This is where a dedicated soldering gun kit becomes indispensable. Unlike resistive heating irons, traditional soldering guns utilize a step-down transformer. The primary coil connects to your mains power, while the secondary coil—consisting of a single loop of thick copper or nichrome wire that forms the tip—carries hundreds of amps at less than one volt. This physics principle allows the tip to reach operating temperatures (up to 500°F / 260°C) in under three seconds.
However, wielding this much raw thermal energy requires specific techniques. Misapplying a high-wattage soldering gun can result in oxidized tips, melted insulation, or catastrophic damage to sensitive electronics. In this guide, we break down expert strategies for selecting, operating, and maintaining a heavy-duty soldering gun kit in 2026.
CRITICAL WARNING: Never use a traditional transformer-based soldering gun on printed circuit boards (PCBs) or near Hall-effect sensors. The intense 60Hz alternating magnetic field generated at the tip can magnetize nearby components, induce parasitic voltages, and permanently destroy sensitive integrated circuits. Reserve transformer guns for heavy-gauge wire (10 AWG and thicker), chassis grounding, and plumbing.
2026 Market Breakdown: Corded vs. Cordless Soldering Gun Kits
The soldering gun landscape has evolved. While the classic corded transformer remains a bench staple, brushless lithium-ion cordless models have captured the field-service market. Below is a comparison of the top-tier configurations available today.
| Kit Type | Top Model Example | Avg. Price (2026) | Best Application | Thermal Profile |
|---|---|---|---|---|
| Corded Transformer | Weller D550PK (260W) | $115 - $130 | Bench work, stained glass, heavy grounding straps | Instant heat, massive thermal recovery, high magnetic emission |
| Cordless Li-Ion 'Gun' | Milwaukee M18 Soldering Iron | $180 - $210 | Automotive field repair, 4 AWG battery cables | Ceramic heater, high thermal mass block, zero magnetic emission |
| Adjustable Ceramic | Hakko FX-601 (50W-130W) | $75 - $90 | Precision heavy-duty, large ground planes | Variable temp control, low thermal shock risk |
Pro Technique: Soldering 4 AWG Automotive Battery Cables
Soldering thick, multi-strand copper requires overcoming the wire's immense thermal conductivity. If you simply touch the solder to the gun tip and then to the wire, you will create a 'cold wrap'—a mechanically weak joint where the solder adheres only to the outer strands. Follow this expert step-by-step protocol for a flawless, IPC J-STD-001 compliant heavy-gauge joint.
- Preparation and Stripping: Strip exactly 3/4-inch of insulation from the 4 AWG wire. Use a wire brush to lightly abrade the outer copper strands, removing surface oxidation.
- Flux Application: Apply a generous amount of high-activity rosin paste flux (e.g., Kester 135) directly into the wire strands. Do not rely solely on rosin-core solder for heavy-gauge work; the flux core will burn off before the deep strands reach flow temperature.
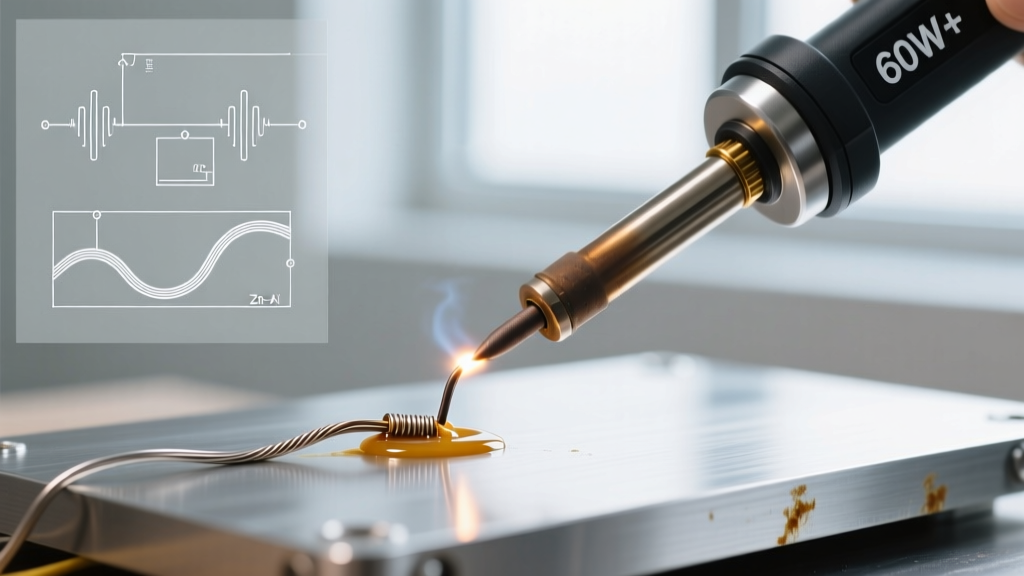
- The Thermal Bridge: Depress the soldering gun trigger and press the flattened tip directly against the copper wire, not the solder. Hold for 3 to 5 seconds. You will hear the flux begin to boil and sizzle.
- Feed the Solder: Touch your 60/40 (Sn60Pb40) rosin-core solder to the opposite side of the wire, not the gun tip. When the copper reaches 361°F (183°C), the solder will instantly wick through the fluxed strands via capillary action.
- The Cooling Phase: Release the trigger and remove the gun. Hold the wire completely still for 10 seconds. Moving the wire while the eutectic solder transitions from liquid to solid will fracture the crystalline matrix, resulting in a dull, grainy 'disturbed joint' that is prone to micro-cracking under vibration.
Metallurgy Matters: Why 60/40 Eutectic Solder is Still King for Guns
While the industry has largely shifted to lead-free SAC305 (Tin/Silver/Copper) for PCB manufacturing due to environmental regulations, expert electrical mechanics still prefer 60/40 (Tin/Lead) eutectic solder for heavy-gauge soldering gun applications. According to safety and handling guidelines outlined by OSHA regarding lead hazards, proper ventilation and hygiene must be maintained, but the metallurgical benefits for field work are undeniable.
SAC305 has a liquidus temperature of roughly 424°F (218°C) and a pasty, plastic phase change. When applied to a massive heat sink like a battery terminal, the solder cools rapidly, often solidifying unevenly and creating brittle joints. 60/40 solder is eutectic, meaning it transitions from liquid to solid instantly at a single temperature (361°F / 183°C) with no plastic state. This drastically reduces the window for disturbed joints and requires less dwell time from the soldering gun, minimizing the risk of melting the cable's PVC or XLPE insulation.
Common Failure Modes and Edge Cases
Even seasoned technicians encounter issues when pushing a soldering gun kit to its limits. Here is how to troubleshoot the most common high-wattage failure modes:
- Symptom: Solder balls up and rolls off the tip.
Cause: Severe tip oxidation. This happens when the trigger is held down while the tip is not in contact with a thermal mass (like a wire or terminal). The exposed copper reacts with oxygen in the air at 500°F, forming a black, non-conductive copper oxide layer.
Fix: Never 'dry fire' the gun. Keep a block of sal ammoniac or a damp cellulose sponge nearby to clean and re-tin the tip immediately after every joint. - Symptom: The joint looks dull, grainy, and feels brittle.
Cause: A disturbed eutectic joint or flux exhaustion. The wire moved during the cooling phase, or the flux burned away before the solder flowed.
Fix: Re-flow the joint with fresh liquid flux and a quick pulse of the soldering gun. Do not simply add more solder without fresh flux. - Symptom: The gun hums loudly but the tip barely heats up.
Cause: Loose tip screws or a failing secondary winding. The tips on transformer guns are held by two brass or copper screws. If these loosen due to thermal expansion cycles, electrical resistance increases at the joint, starving the tip of current.
Fix: Unplug the unit, let it cool, and tighten the tip mounting screws with a flathead screwdriver. If the hum persists without heat, the internal transformer winding has likely shorted, requiring a complete unit replacement.
Maintenance: Maximizing Tip Life in High-Wattage Environments
The tips in a standard soldering gun kit are typically made of bare copper or a copper-nichrome alloy. Unlike modern iron-plated soldering iron tips, gun tips are sacrificial. The high current and aggressive fluxes used in heavy electrical work will eventually pit and dissolve the copper. To maximize the lifespan of your Weller or comparable soldering gun tips:
- Always Tin Before Storage: Before releasing the trigger for the final time in a work session, melt a large blob of 60/40 solder over the entire working surface of the tip. This sacrificial layer will oxidize instead of the tip itself while it sits on your bench.
- File with Caution: When pitting becomes severe, you can lightly dress a bare copper gun tip with a fine bastard file. However, do not over-file. Changing the geometry of the tip alters its electrical resistance, which can cause it to run hotter or cooler than the transformer's designed output.
- Use the Right Cleaning Tools: Never use steel wool or sandpaper to clean a hot gun tip. Steel fibers can short across the tip loop, and sandpaper will aggressively strip the copper. Use a brass wire sponge or a specialized high-temp tip cleaner paste.
Frequently Asked Questions (FAQ)
Can I use a soldering gun kit for desoldering large through-hole components?
While the high heat can melt large solder joints (like those on vintage amplifier chassis or heavy transformer lugs), the magnetic field and broad tip make precision desoldering difficult. For large through-hole components, a dedicated desoldering station with a vacuum pump (like the Hakko FR-301) is a far superior and safer choice.
How do I know if my cordless 'soldering gun' is actually just a high-wattage iron?
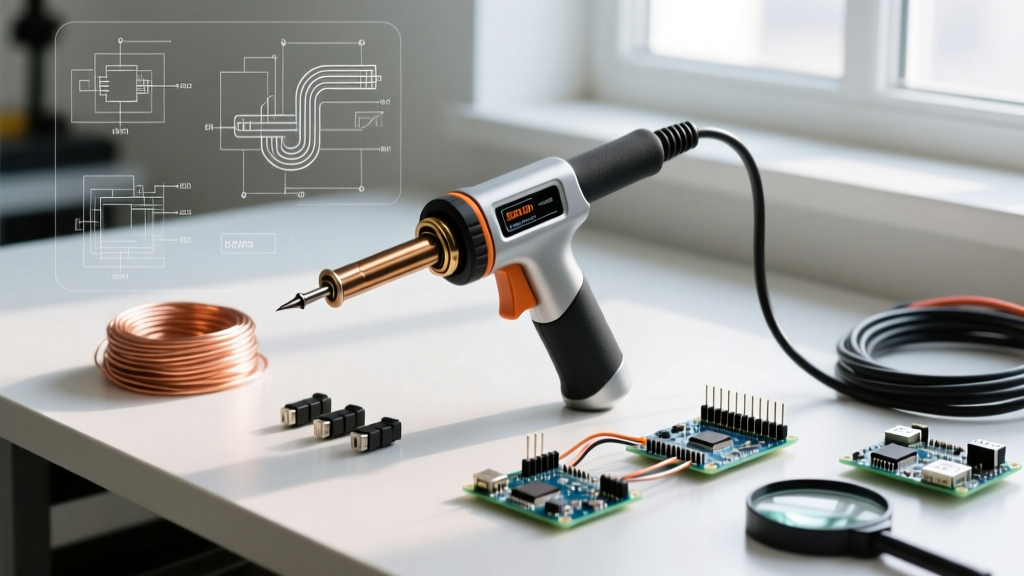
Marketing terminology in 2026 is often blurred. A true soldering gun has a pistol grip, a trigger switch, and uses a step-down transformer. Many cordless tools marketed as 'guns' are actually high-thermal-mass irons with a pistol grip for ergonomic leverage. Check the heating element: if it uses a ceramic core and a standard barrel tip, it is an iron. If it uses a thick, looped copper tip that heats in 3 seconds via magnetic induction or direct high-amperage resistance, it functions as a gun.
Is it safe to use a soldering gun on copper plumbing pipes?
Yes, a 100W to 260W soldering gun kit can be used for minor copper plumbing repairs (like 1/4-inch ice maker lines), provided you use the correct plumbing flux (e.g., Oatey No. 95 Tinning Flux) and a lead-free silver-bearing solder. However, for standard 1/2-inch or 3/4-inch residential water lines, a propane or MAPP gas torch is required, as the water inside the pipe will act as an infinite heat sink, overwhelming even the most powerful electric soldering gun.