
The Allure and Danger of Vintage Soldering Tools
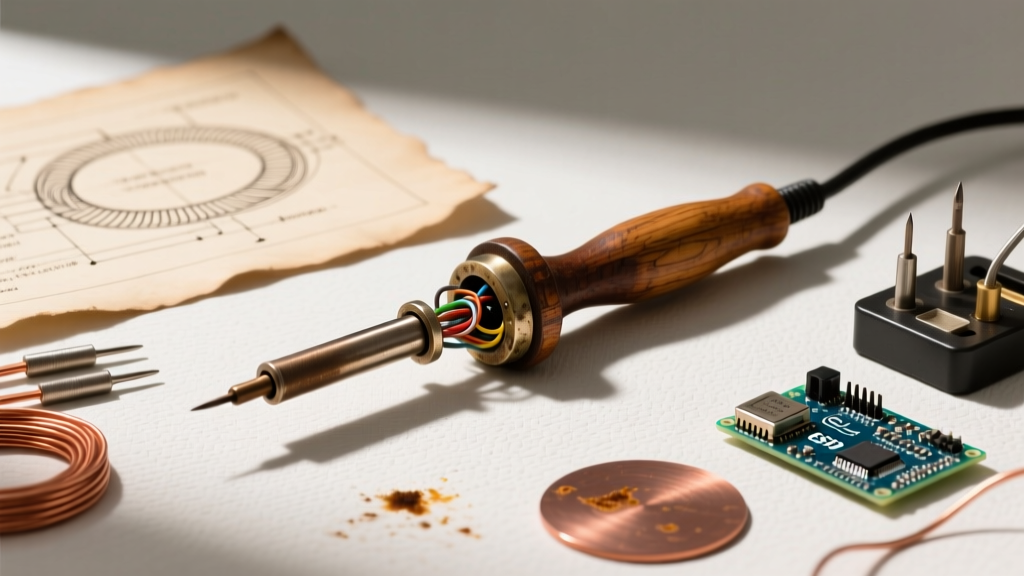
Collectors, traditionalists, and heavy-duty plumbing enthusiasts often seek out an antique electric soldering iron—such as the 1940s American Beauty Model 200, the 1930s Hexacon, or early Wahl grip-style models—for their massive thermal mass and unmatched mechanical durability. Unlike modern ceramic heating elements, these vintage tools rely on heavy mica-wound nichrome wire and solid copper tips that can retain heat long enough to sweat large-gauge copper pipes or heavy mechanical lugs.
However, using a tool manufactured before the advent of modern electrical safety standards and closed-loop temperature control requires specialized restoration and technique. An unrestored vintage iron is a severe shock hazard. This guide details the exact procedures to safely rewire, restore, and master soldering techniques with an antique electric soldering iron in a modern 2026 workshop.
Phase 1: Electrical Safety and Rewiring Protocol
According to the Electrical Safety Foundation International (ESFI), vintage appliances equipped with original cloth-covered rubber wiring pose severe shock and fire hazards. The rubber insulation turns to a brittle dust over decades, leaving bare, live copper wires exposed near the metal housing.
Step-by-Step Rewiring Procedure
- Teardown and Inspection: Remove the set screw holding the handle and heating element. Slide the bakelite or wood handle off. Inspect the mica heater wrap for cracking. If the mica is delaminating, the heater must be replaced or carefully re-wrapped with fresh mica sheets.
- Wire Selection: Discard the original 2-prong cloth cord. For irons rated between 100W and 150W, use 18 AWG high-temperature silicone stranded wire. For heavy-duty 200W+ models (like the American Beauty 200W), step up to 16 AWG silicone wire to prevent voltage drop and internal heating.
- Grounding the Chassis: Most antique irons feature a metal outer shroud. The National Fire Protection Association (NFPA) strongly advises grounding metal-chassis tools. Run a third ground wire from the metal shroud to the ground pin of a modern 3-prong plug. If the tool is entirely bakelite, use a GFCI-protected outlet as a secondary safety measure.
- Strain Relief: Vintage cords were often held in place by a simple knot. Replace this with a modern nylon cord grip or a 3D-printed high-temp PETG strain relief insert to prevent the wire from pulling against the hot mica element.
Phase 2: Restoring Unplated Copper Tips
Modern soldering stations use iron-plated copper tips to resist corrosion. Antique electric soldering irons use pure, solid copper tips. While pure copper offers vastly superior thermal conductivity, it is highly susceptible to pitting and erosion from molten tin and flux acids.
Dressing the Tip
If your vintage tip is pitted or misshapen, do not use a grinding wheel, which will embed metallic contaminants into the soft copper. Instead, use a single-cut mill bastard file.
- Angle: File the working face to a 30-degree to 45-degree chisel bevel. This angle maximizes surface area for thermal transfer while providing a sharp edge for precision work.
- Cleaning: Wipe the filed copper with isopropyl alcohol to remove copper dust.
The 'Hot-Dip' Tinning Technique
Because you cannot simply wipe a cold, unplated copper tip with solder, you must use a hot-dip method to prevent instant oxidation the moment the iron is powered on.
- Coat the cold, filed copper tip heavily in a non-corrosive, high-solids rosin flux paste (such as Kester 135 or MG Chemicals 8341).Plug in the iron and hold it vertically over a brass sponge.
- As the iron reaches melting temperature (approx. 350°F / 176°C), continuously press 63/37 rosin-core solder wire against the tip, allowing the melting flux to shield the copper from oxygen.
- Once fully coated, wipe gently on a damp cellulose sponge to remove carbonized flux residue.
Thermal Management: Acting as the Thermostat
The IPC J-STD-001 standard emphasizes controlled thermal profiles to prevent thermal shock to components. Antique irons lack a thermostat; they operate on a continuous duty cycle, meaning tip temperatures will climb to 800°F+ if left idle, instantly oxidizing the tinning layer and ruining the tip.
The 'Idle Solder Blob' Technique
When using an antique electric soldering iron, the operator must act as the thermostat. Whenever you set the iron down in its stand, melt a large, generous blob of 63/37 solder onto the tip. This 'sacrificial blob' acts as a thermal heat sink, drawing heat away from the copper surface and creating an airtight seal that prevents oxygen from causing black oxide scale. Wipe the blob off on a brass sponge only at the exact moment you are ready to make a joint.
Pacing Your Joints
For large mechanical lugs or plumbing joints, the massive thermal mass of a vintage 200W iron is an advantage. However, for delicate PCB work, you must use the 'touch-and-retreat' method. Apply the iron for no more than 3 seconds, remove it to allow the component to dissipate heat, and reapply if necessary.
Comparison: Antique vs. Modern Thermal Characteristics
| Characteristic | Antique Iron (e.g., American Beauty 200W) | Modern Digital Station (e.g., Hakko FX-951) |
|---|---|---|
| Heating Element | Mica-wound Nichrome Wire | Ceramic Cartridge |
| Tip Material | Solid Unplated Copper | Iron-Plated Copper |
| Thermal Recovery | Slow (High Mass, No Feedback) | Instant (Closed-Loop Sensor) |
| Idle Temp Control | None (Requires Manual Blob Method) | Auto-Sleep / Digital PID |
| Best Application | Heavy Lugs, Thick Wire, Copper Pipe | SMD, Delicate PCBs, Precision Wire |
Solder Alloy Selection for Vintage Irons
Do not attempt to use modern lead-free alloys (like SAC305) with an antique electric soldering iron. Lead-free solders require higher melting points (approx. 430°F / 221°C) and demand rapid thermal recovery to form a proper metallurgical bond. Because vintage irons lack closed-loop feedback, attempting to melt SAC305 will cause you to hold the iron on the joint too long, leading to pad lift and severe tip erosion.
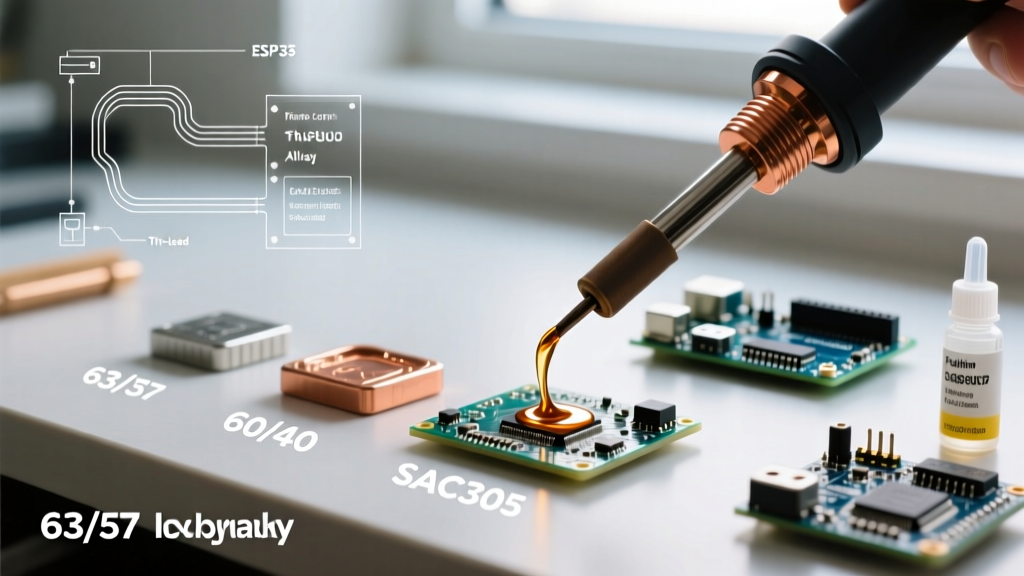
Always use 63/37 (Eutectic) or 60/40 Leaded Rosin-Core Solder. The eutectic 63/37 alloy melts and freezes at a single temperature (361°F / 183°C), eliminating the 'plastic state' that causes cold joints when the massive copper tip inevitably drops in temperature during a heavy soldering session. Use a diameter of 0.031-inch for electronics and 0.062-inch for heavy gauge wiring.
Troubleshooting Mica Heating Elements
If your restored antique iron fails to heat, or if the metal shroud becomes electrically 'live' (a shock hazard), the internal mica heater has likely failed. Mica is a natural mineral that delaminates and flakes when subjected to decades of thermal expansion and contraction.
- Testing: Use a digital multimeter to check the resistance across the plug prongs. A 100W iron at 120V should read approximately 144 Ohms. A 200W iron should read roughly 72 Ohms. An 'OL' (Open Loop) reading indicates a broken nichrome wire.
- Short Circuit Check: Test resistance between one plug prong and the metal tip/shroud. It must read 'OL'. Any continuity indicates the nichrome wire has breached the mica insulation and is shorting to the chassis. The tool must not be used until the element is replaced.
Expert Insight: Never submerge a vintage soldering iron heating element in liquid flux or water to clean it. The porous nature of aged mica will absorb the liquid, which turns to steam upon the next power-up, violently cracking the heater wrap and causing an immediate short circuit.
Mastering an antique electric soldering iron is a rewarding exercise in historical preservation and raw thermal physics. By properly rewiring the tool for modern safety standards, meticulously dressing the solid copper tip, and respecting the manual thermal management required, you can breathe new life into a tool that will easily outlast its modern plastic counterparts.