
The Shift to Cordless: Why Your Soldering Iron Battery is the Real Bottleneck
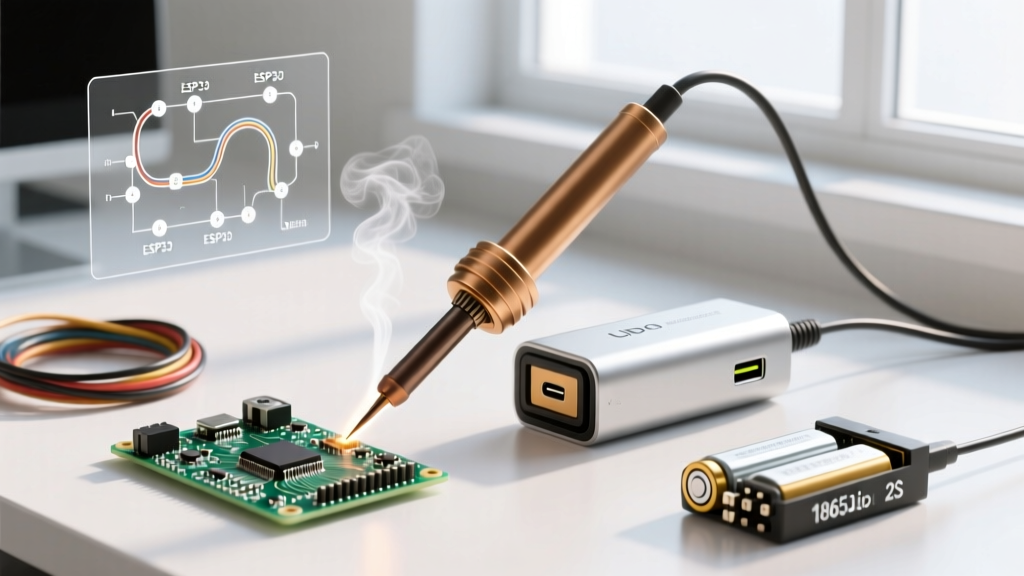
In 2026, the era of carrying bulky butane-powered irons or hunting for AC outlets in server rooms is effectively over for precision electronics work. Modern USB-C Power Delivery (PD) smart irons have completely revolutionized field repairs, drone maintenance, and automotive diagnostics. However, as heating elements and RISC-V microcontrollers have become hyper-efficient, the limiting factor in your mobile toolkit is no longer the iron itself—it is your soldering iron battery ecosystem.
Many technicians mistakenly assume that any USB-C power bank will suffice for field soldering. This is a critical error that leads to voltage sag, interrupted PD negotiations, and frustrating thermal recovery times when working on high-mass ground planes. In this guide, we break down the exact electrical requirements, battery chemistries, and expert runtime hacks you need to build a reliable, high-performance cordless soldering setup.
The Anatomy of a Soldering Iron Battery Setup
To understand battery selection, you must first understand the USB-C PD negotiation process. When you plug a smart iron into a power bank, they perform a digital handshake. The iron requests a specific voltage and amperage profile. According to the USB Implementers Forum, PD 3.1 now supports up to 240W, but most portable soldering irons are engineered to pull between 65W and 100W (typically 20V at 3.25A to 5A).
If your battery lacks the proper Power Management IC (PMIC) or if you use an unmarked cable, the handshake fails. The battery defaults to a safe 5V/3A (15W) output. At 15W, your iron will barely melt 63/37 rosin-core solder, let alone handle lead-free SAC305 alloys on a multi-layer PCB.
Commercial PD Power Banks vs. Hobbyist LiPo Packs
When building your mobile kit, you generally have two routes: a commercial PD power bank or a raw Lithium Polymer (LiPo) pack paired with a PD decoy board. Here is how they compare for field technicians in 2026:
| Power Source | Max Output | Weight | Cost (2026) | Best Use Case |
|---|---|---|---|---|
| Commercial PD Bank (e.g., Anker 737) | 140W (28V/5A) | 490g | $105 | Plug-and-play enterprise IT & field repair |
| Raw 4S LiPo + XT60 PD Decoy | 100W+ (Unregulated) | 320g | $45 | Weight-conscious FPV drone technicians |
| High-Capacity Laptop Bank (100W) | 100W (20V/5A) | 650g | $85 | Heavy ground-plane soldering & long shifts |
While raw LiPo packs offer superior energy density and weight savings, they require manual voltage management and lack the sophisticated over-current protection (OCP) found in commercial banks. For 90% of technicians, a high-quality commercial PD bank with an integrated digital display (to monitor real-time wattage draw) is the safest and most reliable choice.
Top Portable Irons and Their Specific Battery Demands
Not all irons draw power equally. Your battery must be matched to the thermal mass and firmware of your specific tool.
- Pine64 Pinecil V2 ($26): The undisputed king of budget smart irons. The Pine64 Wiki notes that while the V2 can boot on 12W, it requires a strict 65W PD negotiation to reach its maximum 450°C ceiling. If your battery drops voltage under load, the Pinecil's firmware will aggressively throttle the heater to prevent a brownout.
- FNIRSI HS-01 ($45): This iron features a larger ceramic heating core and a heavier tip assembly. It actively demands 100W PD to maintain thermal recovery when dragging through thick solder joints on 10AWG wire or large ground planes. Pairing this with a 65W battery will result in constant 'Low Power' warnings on the OLED screen.
- Miniware TS101 ($55): The legacy standard. It performs beautifully on 65W, but its older PID tuning algorithm is less efficient at managing sleep-state power draw compared to newer RISC-V based models.
Expert Tips for Maximizing Soldering Iron Battery Runtime
Getting the most out of your cordless setup is not just about buying a battery with a massive mAh rating; it is about thermal management and electrical efficiency. Implement these expert strategies to double your field runtime.
1. Respect the 330°C Thermal Sweet Spot
A common mistake among junior technicians is cranking their iron to 400°C 'just to be safe.' Lead-free SAC305 solder melts at 217°C. Running your iron at 400°C not only oxidizes your tip at an accelerated rate, but it forces the battery to sustain a 100% duty cycle to fight ambient heat loss. By dropping your target temperature to 320°C–330°C, you maintain optimal wetting action while reducing continuous power draw by up to 22%. Your battery will run significantly cooler, extending its overall lifespan.
2. Calibrate Your Motion Sensor Sleep Modes
Modern irons feature accelerometers that detect when the tool is set down. Do not rely on factory defaults. Go into your iron's settings and configure the sleep timer to 120 seconds, with a sleep temperature of 150°C. This keeps the tip warm enough to resume work instantly without drawing the 40W+ required to maintain full soldering temperature while you are stripping wires or positioning components.
3. Eliminate the Cable Bottleneck with E-Marker Chips
The physical cable connecting your battery to your iron is a frequent point of failure. Standard USB-C cables are rated for 3A (60W max). To pull 65W to 100W, you must use a cable equipped with an E-Marker chip, which tells the battery it is safe to push 5A. Furthermore, cable length matters. A 2-meter 5A cable will experience noticeable voltage drop compared to a high-quality, ultra-flexible 0.8-meter silicone cable. Voltage drop forces the battery to work harder, generating excess heat in the power bank's BMS (Battery Management System).
Expert Insight: 'Thermal mass is your battery's worst enemy. If you are doing heavy field work on automotive harnesses, swap the standard chisel tip for a high-capacity bevel tip (like the TS-B2). The extra copper mass stores heat locally, meaning the iron's heater—and your battery—doesn't have to work as hard to recover temperature between joints.'
Real-World Failure Modes & Troubleshooting
Even with the right gear, field environments introduce variables that can crash your soldering iron battery setup. Here is how to diagnose and fix the most common issues.
- Voltage Sag and BMS Tripping: When you touch a cold iron to a massive copper ground plane, the thermal shock causes the iron's PID controller to max out the heater, pulling a sudden 5A+ spike. Cheaper power banks interpret this instantaneous spike as a short circuit and trigger their OCP, shutting down completely. Fix: Pre-heat the board with a hot air gun, or invest in a premium power bank (like the Sharge Storm2) known for high instantaneous discharge thresholds.
- PD Handshake Looping: If your iron constantly reboots or the screen flashes the voltage negotiation menu, your cable is likely damaged, or the power bank's PD port is failing to maintain the 20V rail under load. Swap the cable first; if the issue persists, try a different port on the battery.
- Thermal Throttling of the Power Bank: Pushing 100W out of a dense lithium cell generates immense heat. If your power bank gets too hot, its internal thermistors will throttle the output to 45W to prevent a fire. Keep your battery out of direct sunlight and avoid insulating it inside a closed toolkit bag while actively soldering.
Travel Safety: Flying with Your Soldering Iron Battery
Field technicians frequently fly to client sites. Aviation authorities strictly regulate lithium-ion batteries. According to FAA PackSafe guidelines, spare lithium batteries and power banks must be carried in carry-on baggage only; they are strictly prohibited in checked luggage due to the risk of thermal runaway in the cargo hold.
Furthermore, power banks are limited to a maximum of 100 Watt-hours (Wh) per battery without special airline approval. A standard 20,000mAh power bank (at 3.7V nominal) equates to roughly 74Wh, making it perfectly legal for global air travel. Always ensure your power bank's capacity is clearly printed on the casing; if the label has rubbed off, TSA agents will confiscate it, regardless of its actual size.
Frequently Asked Questions
Can I use a standard 10,000mAh phone charger for my soldering iron?
Only if the phone charger explicitly supports USB-C PD at 20V. Most standard phone chargers max out at 9V or 12V. While an iron like the Pinecil will technically boot on 12V (yielding about 25W of power), it will lack the thermal recovery needed for anything beyond delicate 0402 SMD rework. For reliable field work, a dedicated 65W+ PD laptop charger or power bank is mandatory.
Why does my power bank shut off after 30 seconds of soldering?
This is almost always caused by an under-specced USB-C cable lacking a 5A E-Marker chip. The power bank attempts to send 3A, the iron demands more, the voltage sags, and the power bank's safety circuit cuts the power to protect the cells. Upgrade to a certified 100W/5A braided cable to resolve this.
Is it safe to leave my smart iron plugged into the battery when not in use?
Modern smart irons have near-zero standby draw when powered off via the software menu. However, if you leave the iron in 'sleep mode' rather than fully powered down, it will continuously ping the battery's accelerometer circuit, slowly draining the power bank over a week. Always fully power down the iron and, for long-term storage, disconnect the cable to prevent parasitic drain.