
The Hidden Cost of Improper Sponge Hydration
The humble cellulose sponge is arguably the most abused accessory on the ESD mat. While modern soldering stations feature advanced PID temperature controllers and rapid-heating ceramic cores, the physical interface between your tip and the cleaning medium dictates the longevity of your equipment. A poorly prepared soldering iron sponge does more than leave oxidation on your tip; it induces severe thermal shock, micro-fractures the iron plating layer, and forces your station's PID controller into destructive overshoot cycles.
In this setup and calibration tutorial, we will engineer the perfect sponge hydration protocol, test thermal recovery times using K-type thermocouples, and establish an IPC-compliant maintenance routine for 2026 and beyond.
The Thermodynamics of Tip Wiping: Why Moisture Matters
Modern soldering tips (such as the Hakko T18 series or Weller ET series) are constructed from a high-conductivity copper core coated with a protective iron plating layer typically measuring between 100 and 150 microns thick. When a 350°C (662°F) tip strikes a soaking wet sponge, the localized temperature at the apex plummets instantly.
This rapid delta-T (temperature change) causes thermal shock. Over hundreds of cycles, this shock creates micro-fissures in the iron plating. Once compromised, molten solder wicks into the fissures and dissolves the underlying copper core, resulting in the dreaded 'hollow tip' failure mode. Furthermore, when the tip temperature drops below the solder alloy's liquidus point during wiping, the station's thermocouple detects a massive thermal deficit. The PID controller responds by driving the heating element to a 100% duty cycle, frequently causing a thermal overshoot of 30°C to 40°C above your setpoint once the tip recovers. This overshoot accelerates intermetallic compound (IMC) growth and degrades the flux chemistry on your next joint.
Step-by-Step Soldering Iron Sponge Setup Protocol
To prevent thermal shock and calibration drift, follow this exact hydration procedure for standard cellulose sponges (e.g., Hakko B2034 or Edsyn CS-1).
Step 1: Water Selection and the Scaling Hazard
Never use tap water. Tap water contains dissolved calcium and magnesium ions. When the 350°C tip vaporizes the water on the sponge's surface, these minerals precipitate into calcium carbonate. This white, crusty scale acts as a severe thermal insulator, preventing proper heat transfer and accelerating tip oxidation. Rule: Use only distilled or deionized (DI) water, which costs less than $2 per gallon at any automotive or pharmacy store.
Step 2: The Saturation Phase
- Remove the dry, compressed cellulose sponge from its packaging.
- Submerge it completely in a beaker of distilled water.
- Allow it to soak for exactly 3 to 5 minutes. Do not rush this step; the internal cell structure requires time to fully expand and hydrate uniformly.
Step 3: The Mechanical Wring (Calibrating Moisture)
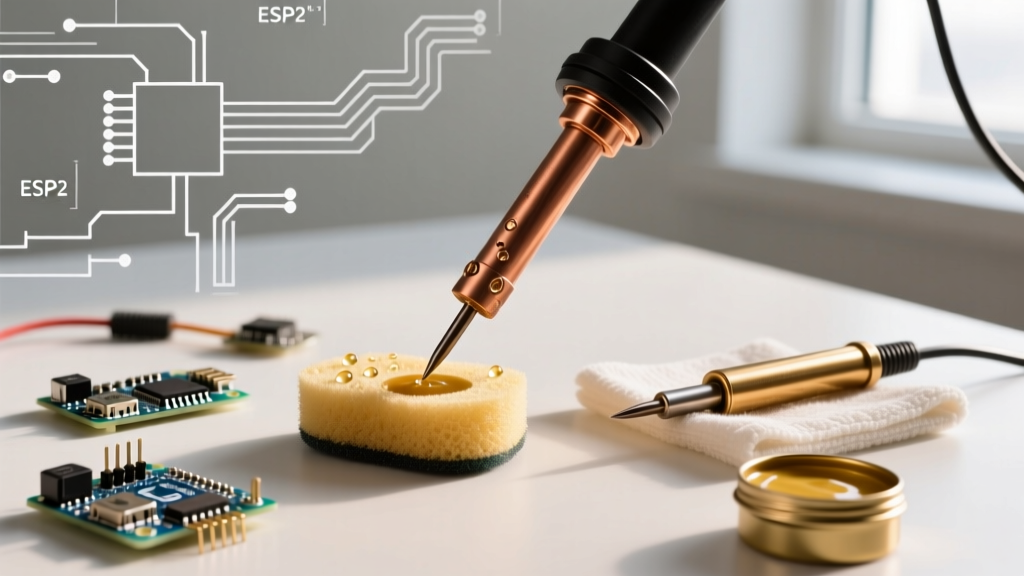
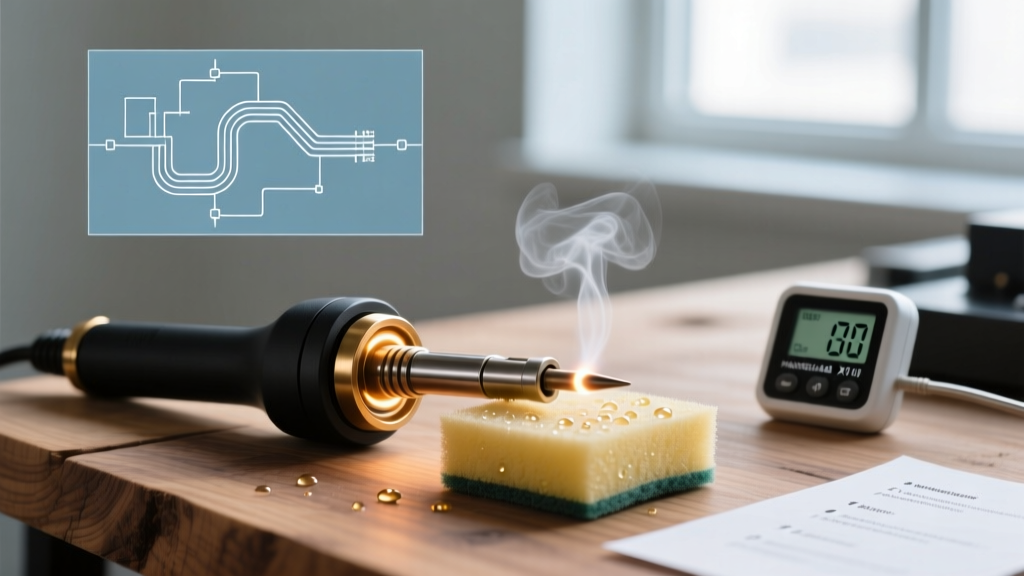
Remove the sponge and perform the mechanical wring. Squeeze the sponge firmly until it stops dripping. The target moisture content is roughly 60% of its dry weight in retained water. When you press your thumb into the sponge, it should feel damp and cool, but no water should pool on the surface or run down your fingers. Place it into the station's brass or high-temperature plastic holder.
Calibrating Thermal Recovery with the Sponge
How do you know if your sponge is prepped correctly? You must measure the thermal recovery. According to workmanship requirements outlined by IPC, maintaining strict thermal profiles is critical for reliable solder joints. To test your setup, you will need a tip thermometer with a K-type thermocouple (such as the Hakko FG-100B or Weller WSDCB).
The Recovery Test Procedure
- Set your station (e.g., Weller WE1010NA or Hakko FX-888D) to 350°C (662°F).
- Allow the tip to stabilize for 3 minutes.
- Measure the baseline tip temperature using the thermocouple tester.
- Wipe the tip across the prepped sponge using a single, smooth figure-eight motion.
- Immediately place the tip onto the thermocouple sensor and start a stopwatch.
- Record the time it takes for the tip to recover to 345°C.
Thermal Drop & Recovery Data Matrix
| Sponge Moisture Level | Temperature Drop (Delta-T) | Recovery Time to 345°C | PID Controller Behavior |
|---|---|---|---|
| Soaking Wet (Failure) | -110°C to -140°C | > 6.5 seconds | Severe overshoot (+40°C), high thermal shock |
| Optimally Wrung (Target) | -40°C to -60°C | 1.8 to 3.2 seconds | Smooth recovery, minimal overshoot |
| Too Dry / Crusty | -10°C to -20°C | < 1.0 seconds | Fails to remove oxidation, flux carbon buildup |
Note: If your recovery time exceeds 4.5 seconds, your sponge is too wet. Remove it and wring it further. If the tip fails to clean properly despite a fast recovery, the sponge is too dry or scaled with minerals.
Cellulose vs. Brass Wool: Material Comparison
While the cellulose sponge is the industry standard, it is not the only option. NASA's Electronic Parts and Packaging (NEPP) program highlights in their soldering workmanship standards that alternative cleaning methods must not compromise the tip's plating. Brass wire sponges (like the Hakko 599B) have gained massive popularity in high-thermal-mass soldering scenarios.
| Feature | Cellulose Sponge (Distilled Water) | Brass Wire Shavings |
|---|---|---|
| Thermal Drop | Moderate (-50°C average) | Negligible (-5°C to -10°C) |
| Oxidation Removal | Excellent (steam action lifts flux) | Good (mechanical scraping) |
| Plating Wear | Low (if properly hydrated) | Moderate (abrasive over time) |
| Best Use Case | Standard PCB, SMD, and through-hole | Heavy ground planes, large gauge wire |
Common Failure Modes & Edge Cases
- Sponge Melting or Charring: If you see black burn marks or melted divots in the cellulose, the user is resting the iron directly on the sponge rather than wiping and returning it to the holder. This destroys the sponge's cellular structure and creates a fire hazard.
- Black Crust Accumulation: Over a 40-hour work week, the sponge will accumulate carbonized flux and oxidized solder flakes. If the sponge turns dark brown or black, it will re-deposit oxidation onto your clean tip. Solution: Rinse the sponge in distilled water and wring it out at the end of every shift. Replace the sponge entirely every 3 to 4 weeks.
- Hard Water Scaling: If the sponge feels stiff or crunchy after drying, it has been contaminated with tap water. Discard it immediately; the mineral deposits will scratch the 100-micron iron plating.
Expert Tip: Manufacturers like Hakko explicitly warn against leaving a tip 'bare' after wiping. The moment you wipe the tip on the sponge, you expose raw, hot iron to atmospheric oxygen. You must immediately apply a small amount of rosin-core solder to 'tin' the tip before placing it back in the holder. This sacrificial solder layer protects the iron plating from oxidizing while idle.
Frequently Asked Questions (FAQ)
Can I use isopropyl alcohol (IPA) to wet the sponge?
No. IPA vaporizes at 82.6°C (180.7°F). When a 350°C tip touches an IPA-soaked sponge, it will instantly flash-vaporize, creating a highly flammable vapor cloud and leaving the sponge completely dry in seconds. Stick to distilled water.
Why does my sponge shrink and harden over time?
Cellulose sponges naturally degrade when exposed to repeated high-heat steam and acidic flux residues. If the sponge no longer expands to its original size after a 5-minute soak in distilled water, the polymer structure has collapsed. Replace it.
How do I clean a sponge that has solder embedded in it?
If molten solder drips into the sponge, it will solidify into sharp metallic nodules. Do not attempt to pick them out, as you will tear the cellulose fibers. Allow the sponge to dry completely; the solder balls will often fall out when flexed. If they remain trapped, discard the sponge to prevent scratching your soldering tips.
Summary
Treating your soldering iron sponge as a calibrated instrument rather than a disposable rag is the hallmark of a professional electronics technician. By strictly using distilled water, performing the mechanical wring test, and verifying thermal recovery times, you protect your station's PID calibration and extend the lifespan of expensive soldering tips by months or even years.