
The Physics of the Gun Type Soldering Iron
Unlike modern pencil-style soldering stations that rely on resistive ceramic heaters and PID temperature controllers, a traditional gun type soldering iron operates on the principles of a step-down transformer. When you pull the trigger, mains voltage (120V or 240V) passes through a primary coil, inducing a massive current in a single-turn secondary coil made of thick copper. This secondary loop operates at a fraction of a volt but delivers between 200 and 250 amps of current directly through the removable copper tip. The extreme electrical resistance of the narrow tip wire causes it to glow red-hot in less than three seconds.
This brute-force thermal delivery makes the gun type soldering iron an indispensable tool for heavy-duty electrical work, automotive battery cables, and large grounding lugs where high thermal mass quickly saps heat from standard pencil irons.
Critical Warning: The Magnetic Field Hazard
WARNING: Never use a transformer-based soldering gun on printed circuit boards (PCBs), surface-mount devices (SMDs), or sensitive microcontrollers.
The single-turn secondary loop of a soldering gun generates a highly concentrated, alternating current (AC) magnetic field at the tip. According to the IPC J-STD-001 standards for soldered electrical assemblies, tool selection must account for electromagnetic interference (EMI) risks. The magnetic pulse from a soldering gun can:
- Erase magnetic storage media or RFID tags.
- Destroy Hall effect sensors and magnetoresistive components.
- Induce destructive voltage spikes in CMOS logic gates and EEPROM memory chips.
- Magnetize nearby ferrous hand tools and screwdriver shafts.
For delicate electronics, always default to a temperature-controlled ceramic station. Reserve the gun type soldering iron strictly for heavy-gauge wire, mechanical lugs, and non-sensitive electromechanical assemblies.
Comparison Matrix: Soldering Gun vs. Digital Station
Understanding when to deploy the right tool is critical for efficient workflow and preventing thermal damage to wire insulation. Below is a direct comparison between a classic transformer gun and a modern digital station.
| Feature | Transformer Gun (Weller D550PK) | Digital Station (Weller WE1010NA) |
|---|---|---|
| Heating Mechanism | Step-Down Transformer (AC) | Ceramic Resistive Heater (DC) |
| Wattage Output | 120W / 150W (Dual Trigger) | 70W (Continuous) |
| Heat-Up Time | < 3 Seconds | 15 - 30 Seconds |
| Thermal Recovery | Poor (Relies on manual pulsing) | Excellent (PID Sensor Feedback) |
| Ideal Use Case | 4 AWG to 10 AWG wire, heavy lugs | PCBs, 18 AWG to 24 AWG wire, SMDs |
| Average Price (2026) | $58.00 | $115.00 |
Step-by-Step Technique for Heavy-Gauge Wiring
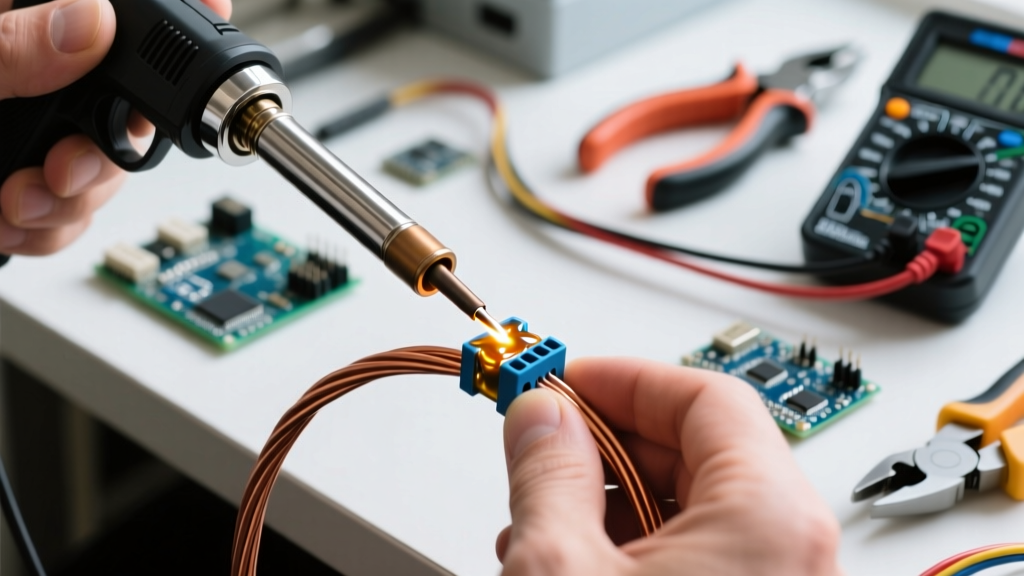
Soldering heavy-gauge wire (such as 4 AWG battery cables or solar panel lugs) requires managing massive thermal sinks. Copper wire conducts heat away from the joint faster than a low-wattage iron can supply it. Follow this procedure to ensure a proper metallurgical bond that complies with NFPA 70 (National Electrical Code) guidelines for secure electrical terminations.
Step 1: Mechanical Prep and Fluxing
Strip the wire and insert it into the copper lug. Crimp it mechanically first; solder is not a substitute for a proper mechanical crimp. Apply a generous amount of high-activity rosin paste flux to the wire strands and lug barrel. For heavy electrical work, avoid plumbing acid fluxes, which will cause galvanic corrosion over time.
Step 2: The 'Pulse and Retreat' Heat Method
Because a gun type soldering iron lacks a thermostat, leaving the trigger depressed continuously will overheat the copper tip, causing it to oxidize instantly and pit.
- Press the trigger to the low setting (120W) and apply the tip to the thickest part of the copper lug.
- Hold for 3 to 5 seconds, then release the trigger for 1 second to prevent tip overheating.
- Repeat this pulsing action until the flux begins to bubble and flow into the wire strands.
Step 3: Feeding the Solder
Once the lug is hot enough to melt rosin-core solder on contact, apply 60/40 or 63/37 tin-lead solder to the opposite side of the lug from where the iron tip is resting. Capillary action will draw the molten solder through the wire strands. For large 2 AWG lugs, you may need to switch to the high trigger setting (150W) to maintain thermal equilibrium.
Step 4: Cooling and Inspection
Remove the heat and hold the wire perfectly still for 15 to 20 seconds. Moving a heavy lug while the solder is in its plastic (semi-solid) state will cause a 'cold solder joint' characterized by a dull, grainy finish and high electrical resistance.
Tip Maintenance and Failure Modes
The tips on transformer-based guns (such as the standard Weller CT6F7) are made of bare copper wire, unlike modern pencil tips which feature an iron-clad coating. This makes them highly susceptible to specific failure modes:
- Copper Pitting and Alloying: Molten solder dissolves copper. Over time, the tip will develop deep grooves and pits. When the tip loses its physical shape, it can no longer maintain maximum surface contact with the lug, drastically reducing heat transfer. File the tip flat with a fine mill bastard file or replace it entirely.
- Terminal Nut Loosening: The extreme thermal cycling (from room temperature to 800°F in seconds) causes the copper terminal nuts on the secondary winding to loosen over time. A loose nut introduces electrical resistance at the connection point, causing the gun body to overheat while the tip stays cold. Fix: Once a month, use a 5/16-inch nut driver to snug the terminal nuts. Do not over-torque, as the copper studs can snap.
- Oxidation Blackening: If you leave the trigger pulled while not actively soldering, the tip will turn black with copper oxide. Solder will not stick to this layer. Keep a damp brass sponge nearby and wipe the tip immediately after every joint.
Clarification: Pistol-Grip vs. True Soldering Guns
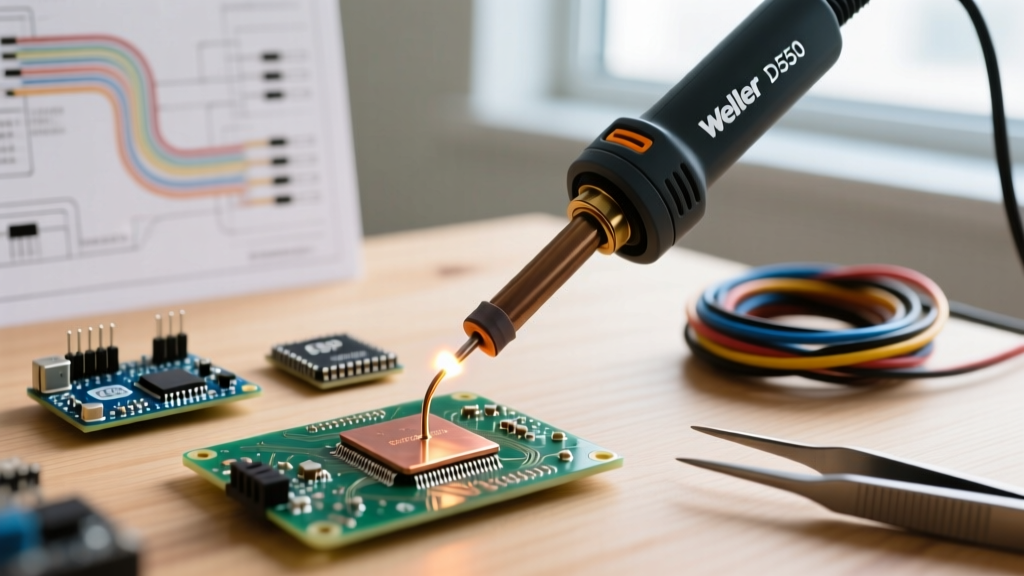
A common point of confusion in the 2026 market is the distinction between a 'pistol-grip' iron and a true transformer gun. For example, the Hakko FX-601 features a pistol-style handle, but it is fundamentally a temperature-controlled ceramic station (up to 540W) designed for stained glass and heavy electronics. It does not generate a magnetic field and is safe for sensitive components. True soldering guns, like the Weller D550 and 9400 series, are identifiable by their heavy internal transformers, dual-stage triggers, and replaceable bare copper wire tips.
Frequently Asked Questions
Can I use a gun type soldering iron for stained glass or jewelry?
While a 100W gun can melt solder for stained glass copper foil work, it is not recommended. The lack of precise temperature control makes it easy to overheat and crack the glass. Furthermore, the AC magnetic field can interfere with nearby metallic jewelry settings or magnetize your workbench tools. Use a high-wattage ceramic station (like the Hakko FX-601) instead.
Why is my soldering gun vibrating and buzzing loudly?
A loud 60Hz hum and physical vibration indicate that the internal transformer laminations are loose, or the secondary copper loop is not seated tightly against the primary core. This is common in older, heavily used units. While not immediately dangerous, it signifies mechanical wear. Ensure the external terminal nuts are tight, and if the buzzing persists internally, the unit should be retired or professionally serviced.