
The Smart Soldering Revolution: Why Fanttik?
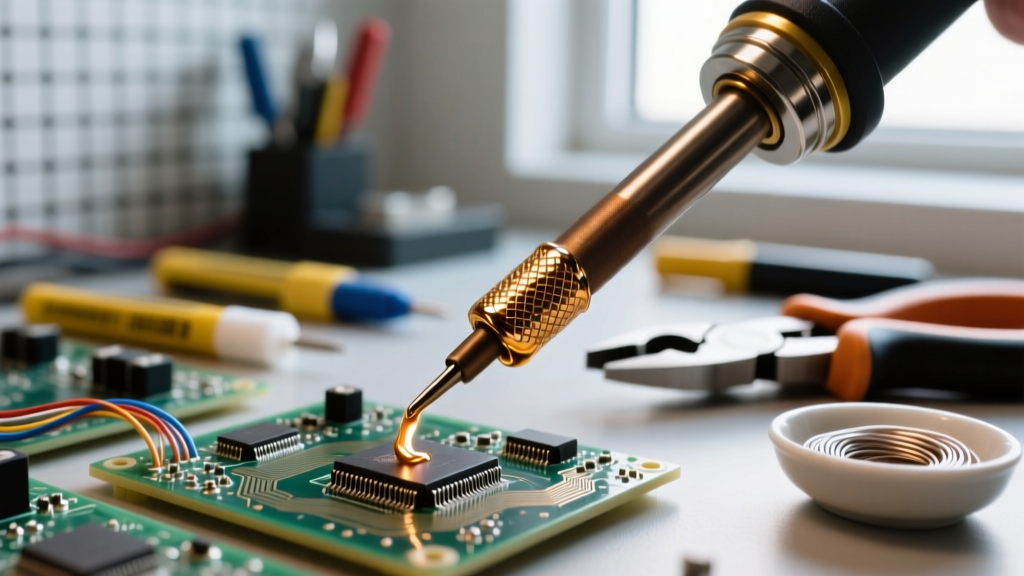
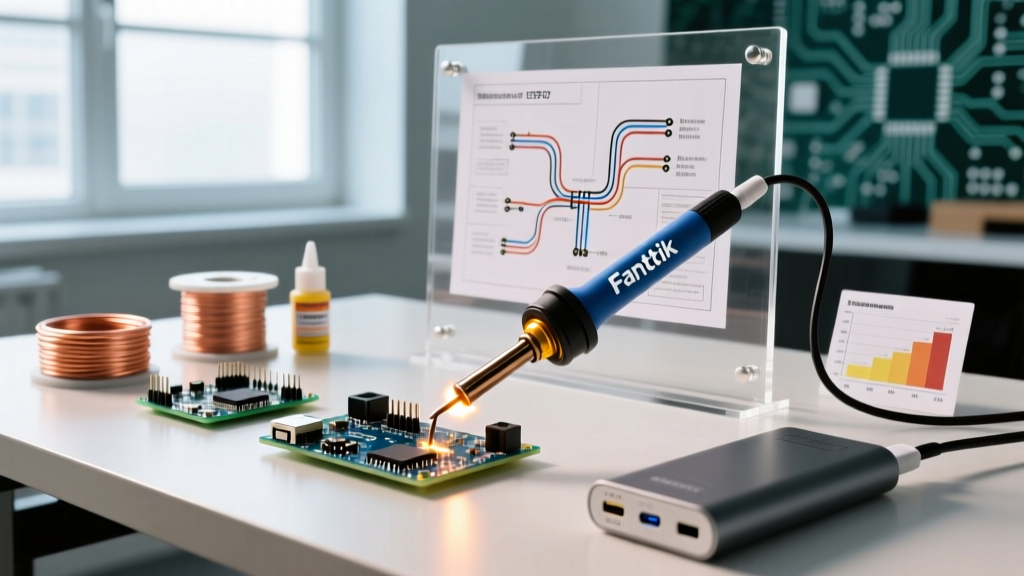
If you are stepping into the world of electronics repair, PCB modification, or DIY microcontrollers in 2026, the days of bulky, slow-heating wall-wart soldering stations are behind you. The Fanttik soldering iron represents the modern era of 'smart' portable soldering tools. By leveraging high-wattage USB-C Power Delivery (PD) and advanced microcontroller-driven thermal sensors, Fanttik has created a tool that heats up in seconds, recovers instantly from thermal drops, and fits in your pocket.
However, a smart iron requires a smart operator. Unlike traditional irons that you simply plug into a 120V wall outlet and wait five minutes, the Fanttik ecosystem relies on specific power profiles, precise temperature management, and proper tip maintenance. This beginner guide will walk you through the exact setup, power requirements, and metallurgical techniques you need to achieve flawless, IPC-standard solder joints on your very first project.
Fanttik Smart Iron vs. Traditional 60W Stations
Before we power on the device, it is crucial to understand how the Fanttik soldering iron differs from the generic 60W adjustable irons found in beginner kits. The core difference lies in thermal recovery and form factor.
| Feature | Generic 60W Wall-Wart Iron | Fanttik Smart Soldering Iron |
|---|---|---|
| Heat-Up Time | 45 - 90 seconds | 3 - 6 seconds (to 320°C) |
| Power Source | Fixed 110V/220V AC wall outlet | USB-C PD (65W/100W GaN Charger or Power Bank) |
| Temperature Control | Analog dial (often inaccurate by ±20°C) | Digital OLED with PID closed-loop control (±2°C) |
| Thermal Recovery | Slow; causes cold joints on large ground planes | Instantaneous; maintains set temp during heavy draw |
| Safety Features | None (stays hot indefinitely) | Accelerometer-based auto-sleep and timeout shutoff |
The USB-C PD Requirement: Avoiding the #1 Beginner Mistake
The most common reason beginners return their smart irons or claim they are 'broken' is a fundamental misunderstanding of USB-C Power Delivery. The Fanttik soldering iron does not operate on standard 5V USB power. If you plug it into a standard 5V/1A phone brick, the OLED screen will either remain blank or display a 'Low Voltage' warning.
The Golden Rule of Smart Irons: Your Fanttik soldering iron requires a USB-C PD (Power Delivery) charger capable of negotiating a 20V / 3.25A (65W) or 20V / 5A (100W) profile.
According to the USB Implementers Forum (USB-IF), Power Delivery allows devices to negotiate higher voltages over the USB-C cable. To power your iron correctly, you must use a 65W (or higher) GaN laptop charger or a specialized PD power bank. In 2026, a reliable 65W GaN charger costs between $15 and $25, making it a mandatory accessory if you do not already own one. Ensure the USB-C cable you use is rated for 3A or 5A; a cheap, thin smartphone cable will bottleneck the current and cause the iron to reset during heavy soldering sessions.
Step-by-Step: Your First Solder Joint
Soldering is not 'gluing' components to a board. It is a metallurgical process where molten solder dissolves a microscopic layer of the base metals (the component lead and the PCB copper pad) to form an intermetallic compound (IMC). This requires the right temperature, the right flux, and the right technique.
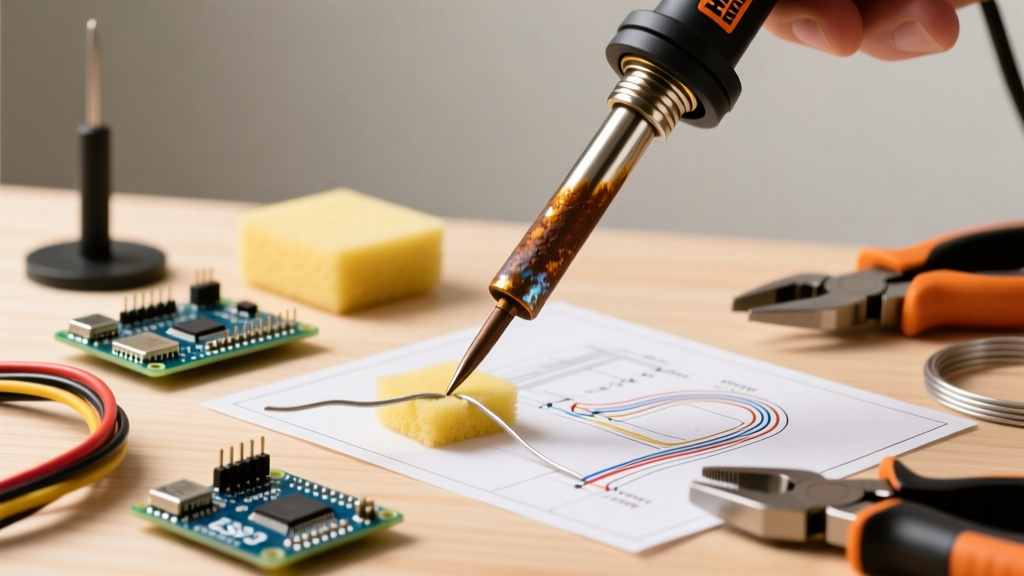
- Prep and Tin the Tip: Before turning the iron on, have a damp cellulose sponge or brass wire tip cleaner ready. Power on the Fanttik iron and set it to 300°C. As it heats, immediately apply a generous amount of 63/37 rosin-core solder to the tip. This 'tinning' layer prevents oxidation and ensures efficient heat transfer.
- Secure the Workpiece: Never hold the PCB in one hand and solder with the other. Use a silicone soldering mat and 'helping hands' or a PCB vise to secure your board. Mechanical stability is non-negotiable for preventing cold joints.
- Heat the Joint, Not the Solder: Place the flat side of the chisel or bevel tip against both the component lead and the PCB pad simultaneously. Hold for 1 to 2 seconds to allow the thermal mass to heat up.
- Feed the Solder: Touch your solder wire to the opposite side of the joint from the iron tip. If the joint is hot enough, the flux will activate (smoke and bubble), and the solder will instantly wick around the pin via capillary action.
- Inspect the Fillet: Remove the solder wire first, then the iron. A perfect through-hole joint should look like a smooth, shiny volcano (a concave fillet). If it looks dull, lumpy, or bulbous, you have a cold joint and must reheat it with a touch of fresh flux.
Temperature Profiles & Alloy Selection
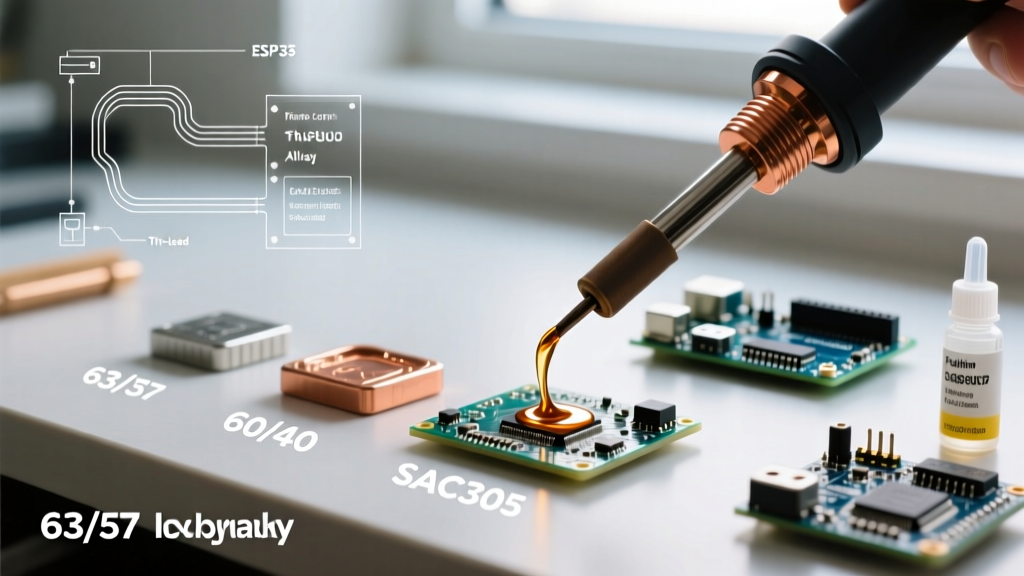
Setting the correct temperature on your Fanttik OLED screen depends entirely on the solder alloy you are using. Beginners should always start with 63/37 Sn/Pb (Tin/Lead) eutectic solder. Eutectic solder melts and freezes at the exact same temperature (183°C), meaning it has no 'plastic' or semi-solid phase. This eliminates the risk of disturbing the joint while it cools, which is the primary cause of fractured, high-resistance connections.
| Solder Alloy | Melting Point | Fanttik Set Temp | Best Use Case |
|---|---|---|---|
| 63/37 Sn/Pb (Eutectic) | 183°C (361°F) | 300°C - 320°C | Beginners, DIY, through-hole, general SMD |
| 60/40 Sn/Pb | 183°C - 190°C | 310°C - 330°C | General purpose (has a slight plastic phase) |
| SAC305 (Lead-Free) | 217°C - 220°C | 340°C - 360°C | Commercial repair, RoHS compliance |
| Sn99.3/Cu0.7 | 227°C (440°F) | 350°C - 370°C | Plumbing, heavy-gauge wires (not PCBs) |
Safety: Fumes and Lead Exposure
The smoke you see when soldering is not lead vapor; lead does not vaporize at 350°C. The smoke is vaporized flux (rosin or synthetic resins). However, inhaling rosin flux fumes can cause occupational asthma and respiratory sensitization over time. Furthermore, handling leaded solder requires strict hygiene to prevent ingestion. The Centers for Disease Control and Prevention (CDC) emphasizes that lead exposure in hobbyist environments almost exclusively occurs via hand-to-mouth transfer, not inhalation. Always wash your hands with cold water and soap after soldering, and use a dedicated carbon-fan fume extractor positioned 4 to 6 inches from your workpiece to pull flux vapors away from your breathing zone.
Troubleshooting Edge Cases & Maintenance
Even with a smart iron, beginners encounter specific failure modes. Here is how to diagnose and fix them using the Fanttik interface:
- Black, Crusty Tip (Oxidation): If solder rolls off the tip like water on a hot skillet, your tip is oxidized. Fix: Turn the iron off, let it cool slightly, and scrub gently with brass wool. Re-tin immediately. Never use sandpaper or a file on a modern iron tip; you will destroy the microscopic iron plating.
- Screen Flashing / Rebooting: This happens when the iron attempts to draw 65W, but your power supply or cable cannot sustain the current, causing a voltage drop. Fix: Upgrade to a verified 100W GaN charger and a 5A-rated USB-C cable.
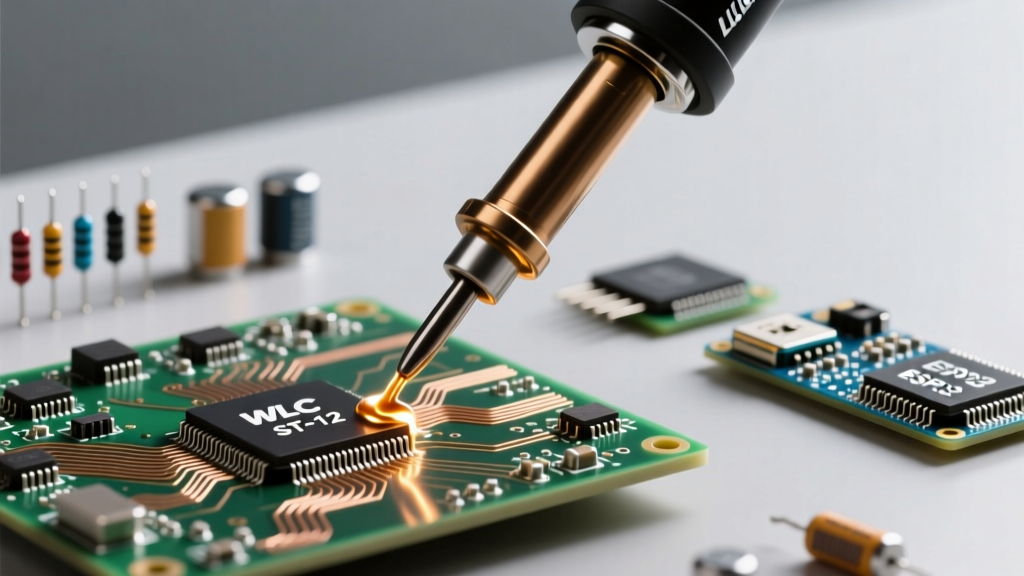
- Solder Bridging on SMD Pins: If you accidentally connect two tiny microchip pins with solder, do not panic. Apply a generous amount of liquid tacky flux to the pins, clean your tip, and gently drag the tip across the pins. The flux's surface tension chemistry will pull the excess solder away from the bridge.
Frequently Asked Questions (FAQ)
Can I use the Fanttik soldering iron with a standard power bank?
Only if the power bank explicitly supports USB-C PD output at 20V. Standard 5V/10,000mAh power banks designed for phones will not trigger the PD negotiation, and the iron will not heat up. Look for 'PD 65W' or 'PD 100W' on the power bank's spec sheet.
How do I change the tip on the Fanttik iron?
The Fanttik utilizes a quick-release collar system. Ensure the iron is completely cool (or use a silicone heat-resistant glove). Simply pull the metal collar forward, slide the old tip out, insert the new tip ensuring the alignment notch matches, and release the collar. Always tin a new tip the second it reaches melting temperature to preserve its lifespan.
What is the best tip shape for a beginner?
Discard the ultra-fine conical (needle) tips included in cheap kits; they have terrible thermal mass and transfer heat poorly. For 90% of beginner projects, a 2.4mm Chisel (D24) or a Bevel/Hoof (BC2) tip offers the perfect balance of precision and thermal transfer for both through-hole components and basic 0805 surface-mount devices.