
The Physics of Thermal Mass: Why You Need a Big Soldering Iron
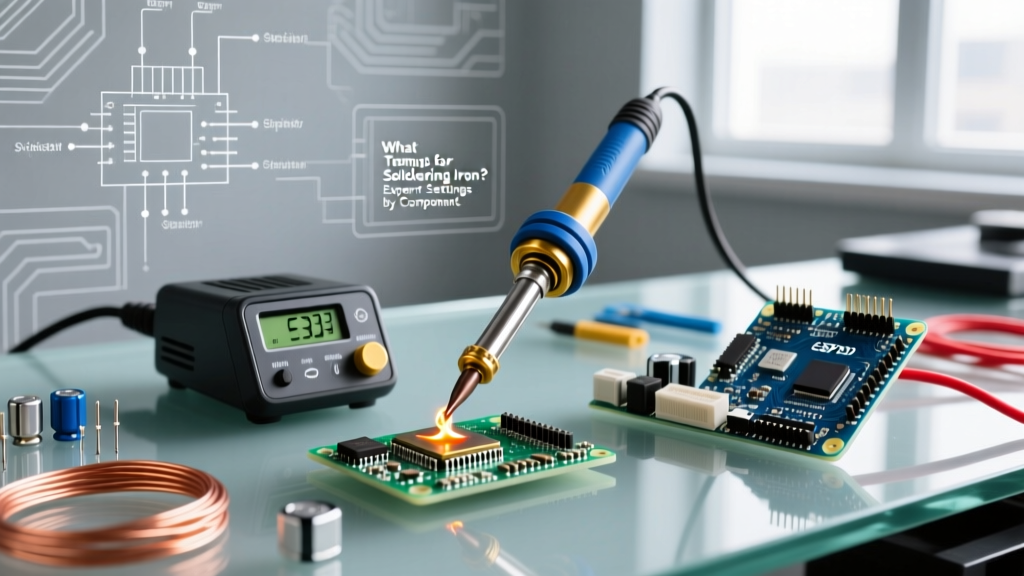
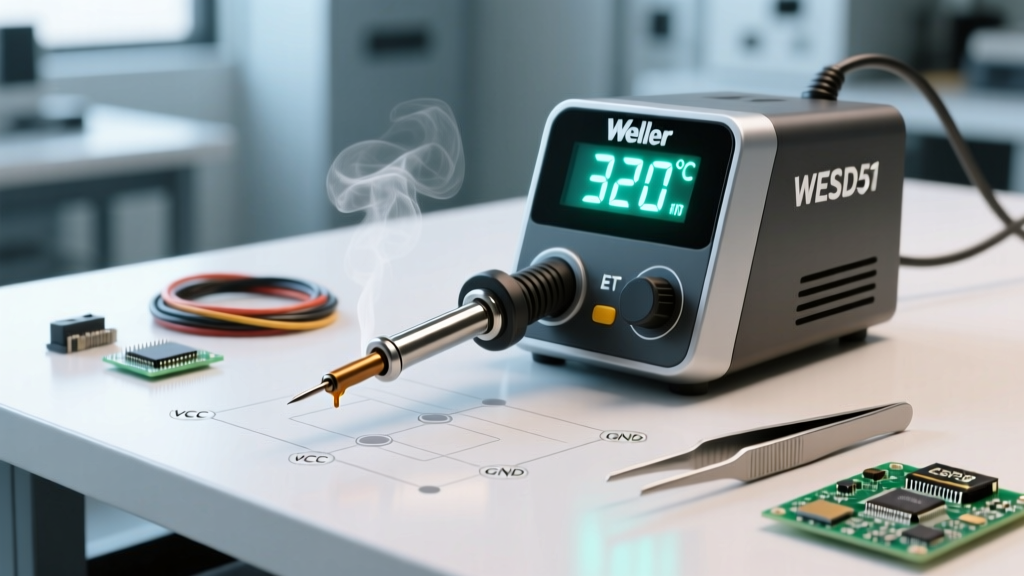
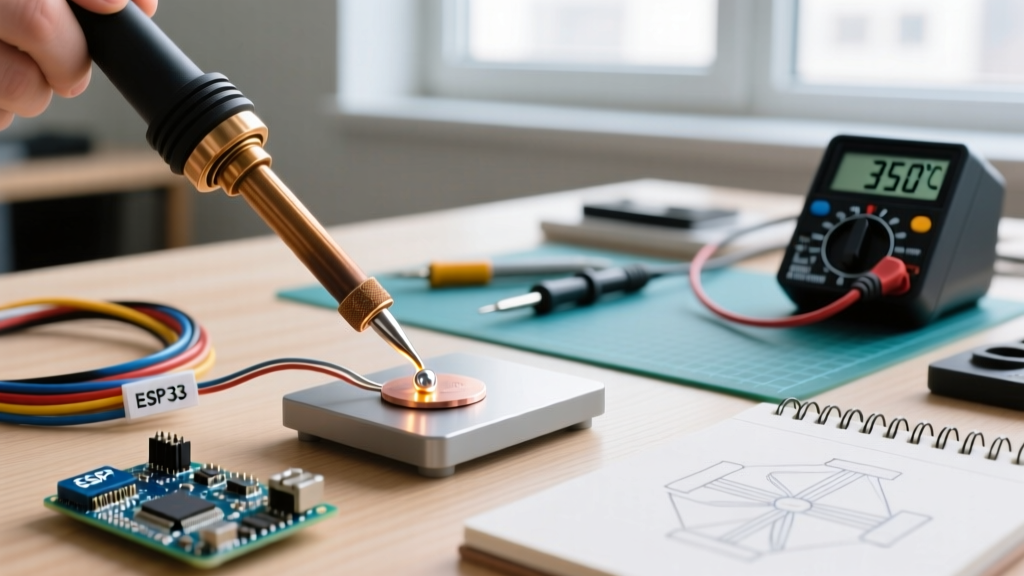
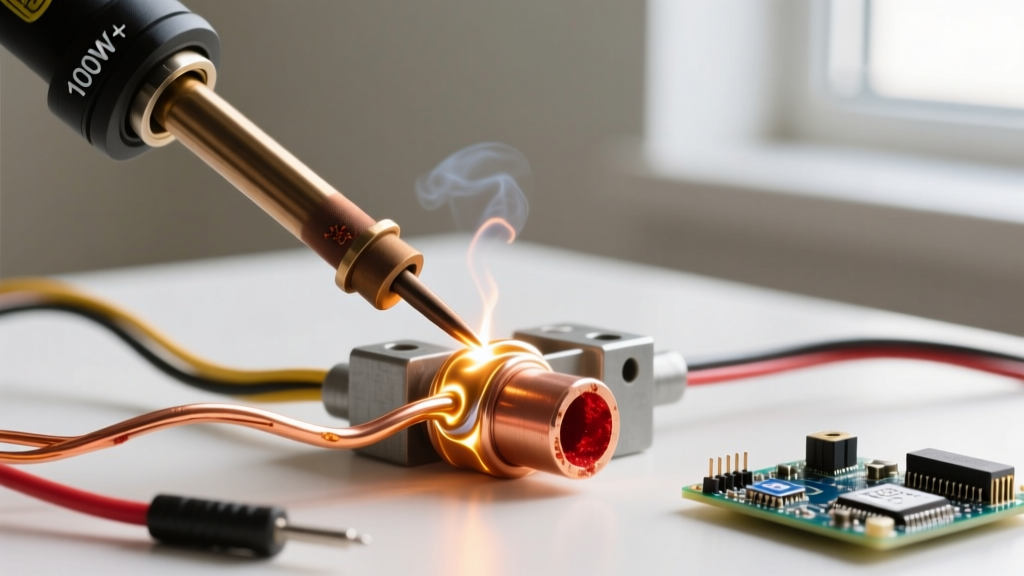
In the world of electronics and electrical fabrication, the term 'big soldering iron' does not merely refer to the physical dimensions of the tool. It refers to high thermal recovery rates, massive tip surface areas, and wattages typically ranging from 100W to over 500W. While a standard 60W ceramic station is perfect for 0805 SMD components or 22 AWG through-hole LEDs, it catastrophically fails when faced with high thermal mass applications. When you attempt to solder a 4 AWG silicone wire, a heavy copper ground plane, or stained glass copper foil with an undersized iron, the workpiece acts as a massive heat sink. The iron's tip temperature plummets instantly, resulting in a dull, grainy cold joint that violates the strict IPC J-STD-001 reliability standards.
To achieve proper wetting, the solder alloy must reach its liquidus temperature and maintain it long enough for the flux to clean the oxidation layer and for the tin to form an intermetallic bond with the base metal. As of 2026, with the widespread adoption of high-tin lead-free alloys like SAC405 in automotive and solar applications—which require process temperatures exceeding 240°C (464°F)—deploying a high-wattage tool is no longer optional for heavy-duty work; it is a strict requirement for joint integrity.
Soldering Guns vs. High-Wattage Irons: A Technical Breakdown
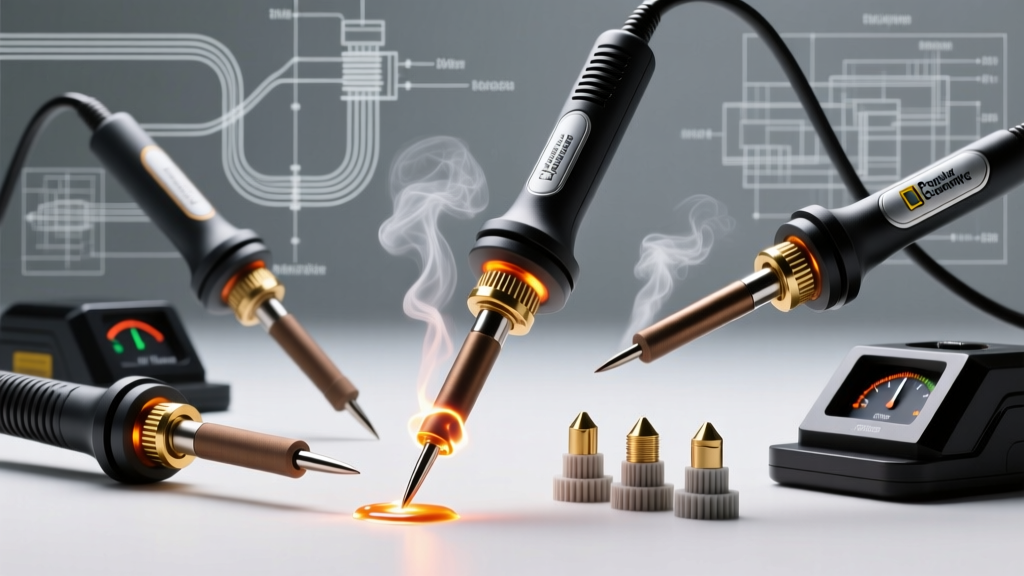
Professionals generally divide heavy-duty soldering tools into two distinct categories: transformer-based soldering guns and high-wattage ceramic irons. Understanding the operational differences is critical for selecting the right tool for your specific thermal challenge.
| Tool Type | Popular 2026 Model | Wattage / Output | Best Application | Primary Drawback |
|---|---|---|---|---|
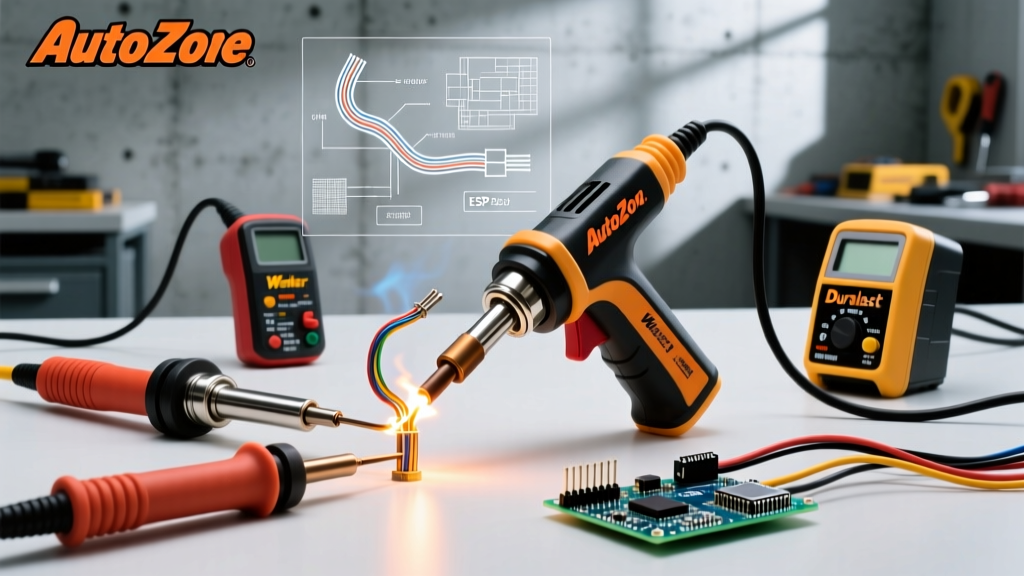
| Soldering Gun | Weller D550PK | 260W (Trigger Peak) | Quick automotive wiring, household plumbing, stained glass | Heavy transformer hum; magnetic field can damage sensitive ICs |
| High-Wattage Iron | Hakko FX-601 | 135W (Continuous) | Large gauge battery cables, RC LiPo connectors, heavy ground planes | Larger physical footprint; slower initial heat-up than a gun |
| Heavy-Duty Iron | American Beauty 315 | 300W (Fixed) | Industrial harness assembly, thick copper busbars | Fixed temperature; requires heavy-duty stand; high tip oxidation rate |
According to the Hakko Technical Documents on thermal recovery, a tool like the FX-601 utilizes a specialized ceramic heater that maintains tip temperature far more effectively than traditional wire-wound elements. However, soldering guns like the Weller D550 offer instantaneous heat via a low-voltage, high-current secondary transformer loop, making them ideal for intermittent, quick heavy joints where leaving a 300W iron idling would rapidly destroy the tip plating.
Expert Execution: Step-by-Step for High-Gauge Wiring
Soldering 8 AWG to 4/0 AWG battery cables requires a disciplined approach to thermal management. Relying on the solder to hold the wires together is a critical failure point. Follow this protocol for heavy-duty joints:
- Mechanical Preparation: Never rely on solder for structural integrity. Create a Western Union splice, use a copper crimp barrel, or twist the strands tightly. The solder should only provide electrical conductivity and environmental sealing.
- Aggressive Flux Application: High thermal mass joints require time to heat up, which burns off standard mild fluxes. Use a high-activity rosin paste (like Kester 186) or a specialized tack flux. Apply it liberally to the bare copper before applying heat.
- Pre-Tinning the Tip: Load your big soldering iron's tip with a generous blob of solder. This 'thermal bridge' dramatically increases the surface area contact and accelerates heat transfer into the heavy wire.
- The 5-Second Rule: Apply the tinned tip to the joint. Wait 3 to 5 seconds for the flux to actively bubble and the copper to reach temperature. Do not immediately feed solder into the joint.
- Feed the Joint, Not the Iron: Touch your solder wire (preferably a thick diameter, 0.062" or larger) to the opposite side of the workpiece from the iron. When the copper is hot enough, it will draw the solder through the strands via capillary action.
Expert Pro-Tip: When soldering large XT90 or AS150U RC battery connectors, pre-tin both the wire and the connector cup separately. Use a pair of locking hemostats to hold the connector; they act as a localized heat sink, protecting the plastic housing from melting while you flow the final joint.
The Thermal Shock Danger: Tip Maintenance at 800°F
Operating a big soldering iron at 400°C (752°F) or higher introduces severe maintenance challenges. The most common mistake amateurs make is wiping a high-temperature tip on a wet cellulose sponge. The rapid temperature drop causes micro-fractures in the iron plating that protects the copper core. Once the plating cracks, the molten solder dissolves the copper core in a process called 'pitting,' destroying a $15 tip in a single session.
Instead, exclusively use dry brass wool (sometimes called a tip cleaner) for high-wattage irons. Furthermore, always 'tin and bin'—leave a massive glob of solder on the tip before turning off the power. This sacrificial layer oxidizes instead of the iron plating, ensuring the tip is ready for the next high-thermal-mass job.
When to Put the Big Iron Away (Edge Cases)
While a big soldering iron is indispensable for heavy joints, misapplying it can cause catastrophic damage. The NASA Electronic Parts and Packaging (NEPP) Program extensively documents the dangers of excessive thermal dwell times on printed circuit boards. You must avoid using high-wattage irons in the following scenarios:
- Multi-Layer PCB Vias: Applying 300W to a plated through-hole on a 4-layer board can cause the via barrel to separate from the internal copper traces (barrel cracking), creating an intermittent open circuit that is nearly impossible to diagnose.
- Heat-Sensitive Semiconductors: MOSFETs and voltage regulators in TO-220 packages have strict maximum soldering dwell times (usually 10 seconds at 300°C). A high-wattage iron will transfer heat too rapidly into the silicon die, causing latent thermal degradation.
- RF and High-Frequency Traces: Excessive heat can delaminate the PTFE (Teflon) substrates used in high-frequency RF boards, altering the dielectric constant and ruining the impedance matching of the trace.
FAQ: Heavy-Duty Soldering Troubleshooting
Why is my solder balling up and refusing to stick to the thick copper wire?
This is a classic symptom of insufficient pre-heating and oxidation. The copper wire is pulling heat away from the joint faster than the iron can replenish it. Increase your iron's temperature by 30°C, switch to a wider chisel tip to maximize surface contact, and ensure you are using an active, high-solids rosin flux.
Can I use my big soldering iron for copper plumbing pipes?
Yes, but with caveats. A 200W+ iron or gun can solder 1/2" copper water lines using 95/5 tin-antimony plumbing solder. However, for 3/4" or larger pipes, or lines that cannot be completely drained of water, a propane or MAPP gas torch is required. Water inside the pipe will absorb the heat and prevent the joint from reaching the 450°F required for capillary flow.
How do I manage the toxic fumes generated by large solder joints?
Heavy joints require massive amounts of flux, which off-gasses volatile organic compounds (VOCs) and rosin smoke. In 2026, local extraction is mandatory for professional shops. Position a HEPA and activated carbon fume extractor (like the Hakko FA-400 or a BOFA system) within 6 inches of the joint to capture the plume before it reaches your breathing zone.