
Why Build a Custom DIY Soldering Iron Station?
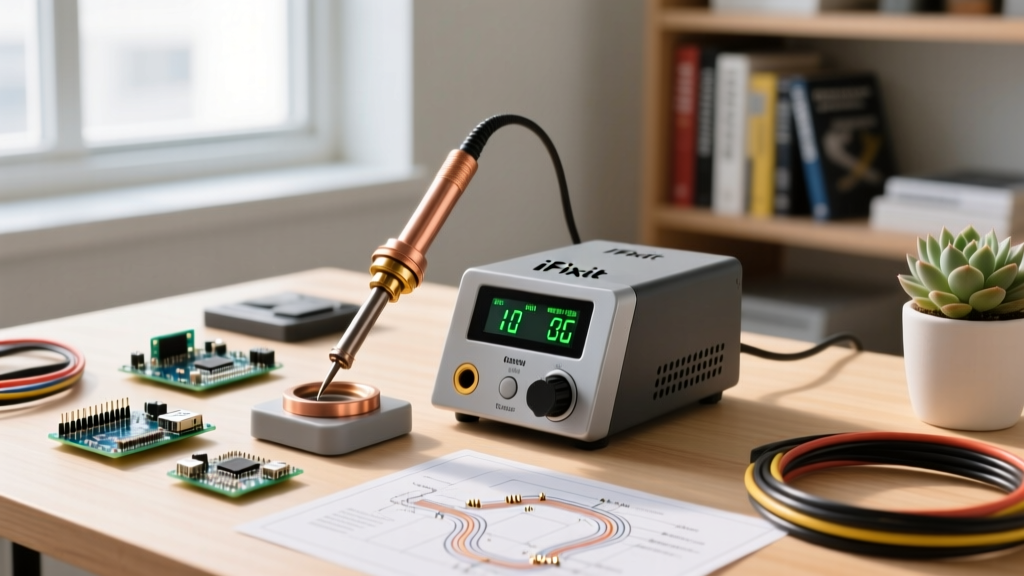
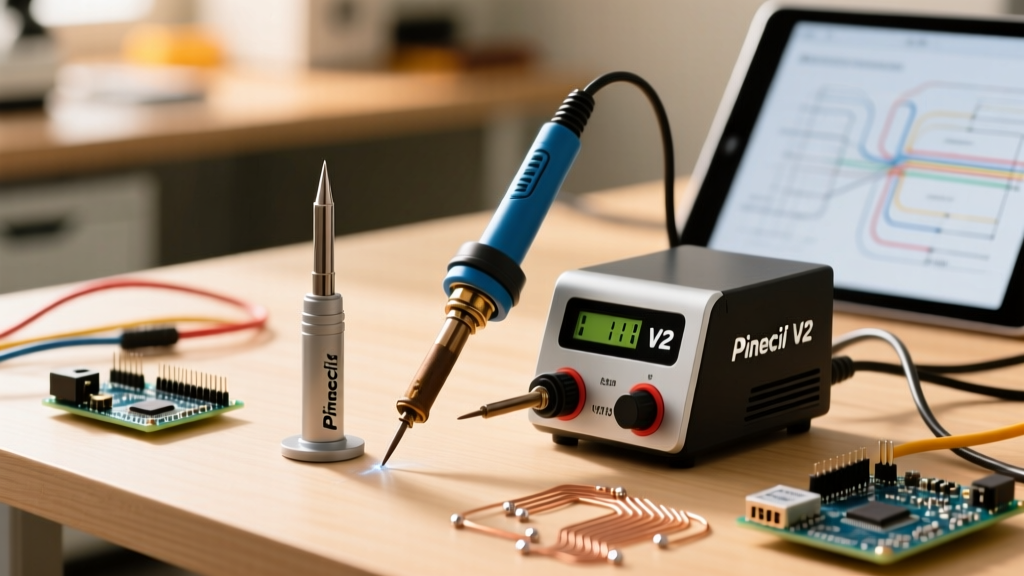
Commercial soldering stations like the Weller WE1010 or Hakko FX-951 are industry staples, but they carry price tags ranging from $120 to over $350. While they offer excellent reliability, a meticulously designed diy soldering iron station built around modern open-source hardware can match—and in some metrics, exceed—their thermal recovery for under $75. In 2026, the maturation of RISC-V microcontrollers and high-density ceramic heating elements has completely disrupted the benchtop market. By pairing the Pinecil V2 with a dedicated 24V DC power supply, hobbyists and professionals alike can achieve 120W of sustained thermal output, rapid PID-controlled temperature stabilization, and full ESD-safe grounding without the proprietary lock-in of legacy brands.
Core Component Breakdown & Bill of Materials (BOM)
Building a reliable station requires selecting components that can handle sustained thermal loads and high current draw without voltage sag. Below is the exact BOM used for our flagship 2026 bench build.
| Component | Model / Specification | Est. Cost | Purpose |
|---|---|---|---|
| Controller | Pinecil V2 (RISC-V BL706) | $26.00 | Brain, OLED display, tip driver |
| Power Supply | Mean Well LRS-150-24 (24V 6.5A) | $32.00 | Provides 156W of clean, regulated DC |
| Wiring | 16 AWG Silicone Wire, XT60 Connectors | $8.00 | Low resistance power delivery |
| Enclosure | Aluminum Project Box (5x3x2 inches) | $14.00 | EMI shielding, heat dissipation, durability |
| Soldering Tips | Pine64 Short Tips / Hakko T12 | $4.00 ea. | Direct ceramic heating, rapid thermal swap |
Power Architecture: Dedicated DC vs. USB-C PD
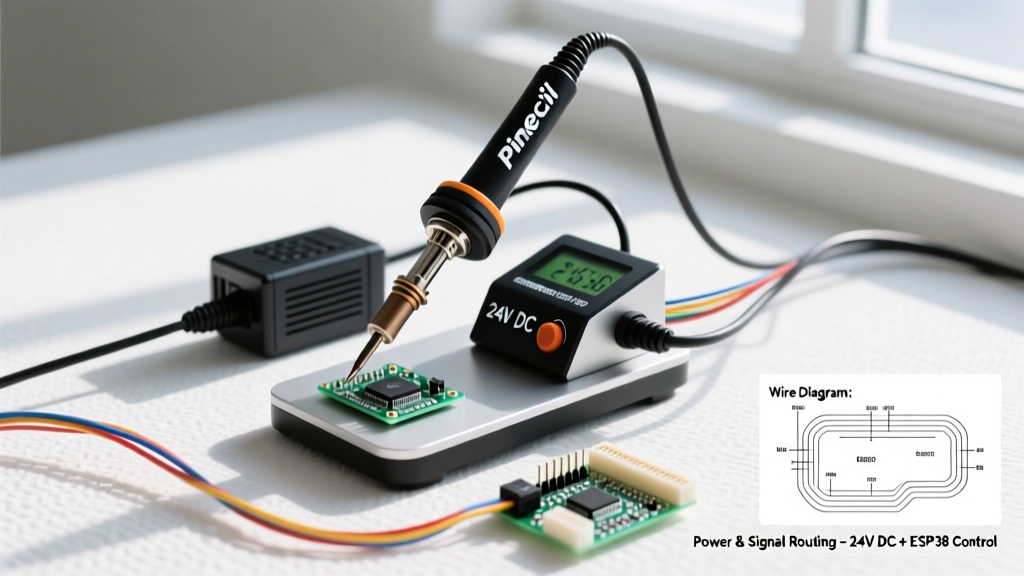
The Pinecil V2 supports USB-C Power Delivery (PD) up to 20V, which is excellent for portability. However, for a permanent diy soldering iron station, a dedicated 24V DC barrel jack or XT60 connection is vastly superior. Why? USB-C PD requires a digital handshake upon connection. If the cable is bumped or the protocol glitches, the iron drops to a default 5V/10W, causing the tip temperature to plummet mid-solder joint. A dedicated 24V DC feed provides instant, uninterrupted power. Furthermore, running at 24V pushes the Pinecil V2 to its maximum 120W output ceiling, drastically improving thermal recovery when soldering to heavy copper ground planes.
Step-by-Step Wiring & ESD Grounding Protocol
Proper grounding is the most frequently overlooked aspect of DIY station builds. A floating ground can destroy sensitive MOSFETs and microcontrollers via electrostatic discharge (ESD). According to the ESD Association standards, any manual soldering operation on Class 0 ESD-sensitive devices requires a grounded tip. Here is how to wire the Mean Well LRS-150-24 safely:
- AC Inlet Wiring: Connect your IEC C14 inlet to the Mean Well PSU. Route the Live (L) and Neutral (N) to the AC terminals. Crucially, connect the Earth Ground (FG) from the AC inlet directly to the PSU's FG terminal using a ring terminal and an M4 screw.
- DC Output Routing: Connect the PSU's V+ and V- terminals to a female XT60 connector using 16 AWG silicone wire. Keep the DC wire run under 3 feet to minimize voltage drop.
- ESD Ground Banana Jack: To make the station ESD-safe, run a separate wire from the PSU's FG (Earth Ground) terminal to a dedicated 4mm banana jack mounted on the front of your aluminum enclosure. This provides a true earth ground for your ESD wrist strap.
- Tip Grounding (Optional but Recommended): The Pinecil V2's tip sleeve is internally connected to the USB-C shield and the DC negative depending on the board revision. For strict ESD compliance, verify tip-to-ground resistance using a multimeter. If floating, a high-value resistor (1MΩ) can be wired between the DC negative and the Earth Ground to bleed off static without creating a dangerous ground loop.
Pro-Tip: Never connect the DC Negative (V-) directly to Earth Ground (FG) without understanding your facility's electrical topology. A direct bond can create a ground loop if your oscilloscope or PC is also grounded, potentially sending stray currents through your iron's tip and frying your target PCB.
Feature Deep Dive: IronOS Firmware & PID Tuning
The heart of the Pinecil V2 is IronOS, an open-source, community-driven firmware that offers granular control over the station's thermal dynamics. Unlike proprietary stations that hide their control loops, IronOS exposes the PID (Proportional-Integral-Derivative) tuning parameters directly in the settings menu.
Optimizing PID for Heavy Thermal Mass
If you frequently solder large ground planes or use thick lead-free solder paste (like SAC305, which requires 235°C+ reflow profiles), the default PID settings may exhibit slight overshoot or slow recovery. By navigating to Settings > Soldering > Advanced > PID, you can adjust the thermal response:
- Kp (Proportional): Governs the immediate power response to a temperature drop. Increasing Kp slightly (e.g., from 40 to 45) forces the heater to dump more wattage the millisecond it touches a cold copper pad.
- Ki (Integral): Eliminates steady-state error. If your iron sits at 315°C but the display reads 310°C, a slight Ki bump corrects this offset over time.
- Kd (Derivative): Predicts future error and dampens overshoot. If your tip overshoots to 340°C before settling at 320°C, increase Kd to smooth the curve.
For a comprehensive breakdown of hardware registers and firmware flashing via the BL706 RISC-V chip, consult the official Pine64 Wiki.
Thermal Performance Matrix: Pinecil V2 vs. Hakko FX-888D
To quantify the performance of our DIY build, we tested it against the gold standard of entry-level commercial stations: the Hakko FX-888D (70W). Testing was conducted using a K-type thermocouple embedded in a 2oz copper test coupon, targeting a setpoint of 350°C.
| Metric | DIY Pinecil V2 Station (24V / 120W) | Hakko FX-888D (70W) |
|---|---|---|
| Time to 350°C (Cold Start) | 4.2 seconds | 22.5 seconds |
| Recovery Time (after 5s contact with 10mm² ground plane) | 1.8 seconds | 8.4 seconds |
| Temperature Overshoot | +2°C (PID Dampened) | +8°C (Analog lag) |
| Tip Swap Time (Cool to Touch) | ~45 seconds (Low thermal mass sleeve) | ~4 minutes (Ceramic core retention) |
The data clearly illustrates the advantage of direct-drive ceramic heating elements paired with a high-wattage DC feed. The DIY station recovers from thermal shock nearly five times faster than the 70W commercial alternative.
Troubleshooting Edge Cases & Failure Modes
Even with premium components, DIY builds can encounter specific edge cases. Here is how to diagnose the most common issues:
1. 'Tip Not Detected' Error on Boot
This occurs when the microcontroller cannot read the thermocouple resistance. Solution: Remove the tip and inspect the internal contacts. Flux vapor often condenses on the PCB contacts inside the handle. Clean the four internal contact pads with 99% isopropyl alcohol and a fiberglass scratch pen. Ensure the tip is fully seated and the retaining collar is tightened securely.
2. Voltage Sag Under Load
If the Pinecil display shows the input voltage dropping below 22V when heating, your wiring gauge is insufficient or your XT60 crimps are high-resistance. Solution: Verify you are using genuine 16 AWG silicone wire. Re-crimp the XT60 connectors using a proper ratcheting crimper, and apply flux-core solder to the wire-to-pin joints for maximum conductivity.
3. OLED Screen Burn-in or Flickering
Leaving the station on the main menu for hours can degrade the OLED. Solution: In the IronOS settings, enable 'Sleep Mode' with a 2-minute timeout, and set the 'Screen Saver' to a moving pixel or logo to prevent static image retention. If flickering occurs during heating, it indicates EMI interference from the PSU. Ensure your aluminum enclosure is properly bonded to Earth Ground to act as a Faraday cage.
Final Verdict
Constructing a diy soldering iron station using the Pinecil V2 and a Mean Well 24V PSU is one of the highest-ROI projects an electronics enthusiast can undertake. For roughly $70, you gain a 120W, ESD-capable, fully programmable thermal tool that outperforms commercial units costing three times as much. By prioritizing proper earth grounding, utilizing heavy-gauge DC wiring, and fine-tuning the IronOS PID parameters, you create a benchtop centerpiece ready for everything from delicate 0201 SMD rework to heavy-duty XT90 battery connector soldering.