
Why Xtronic Dominates the Beginner Workbench
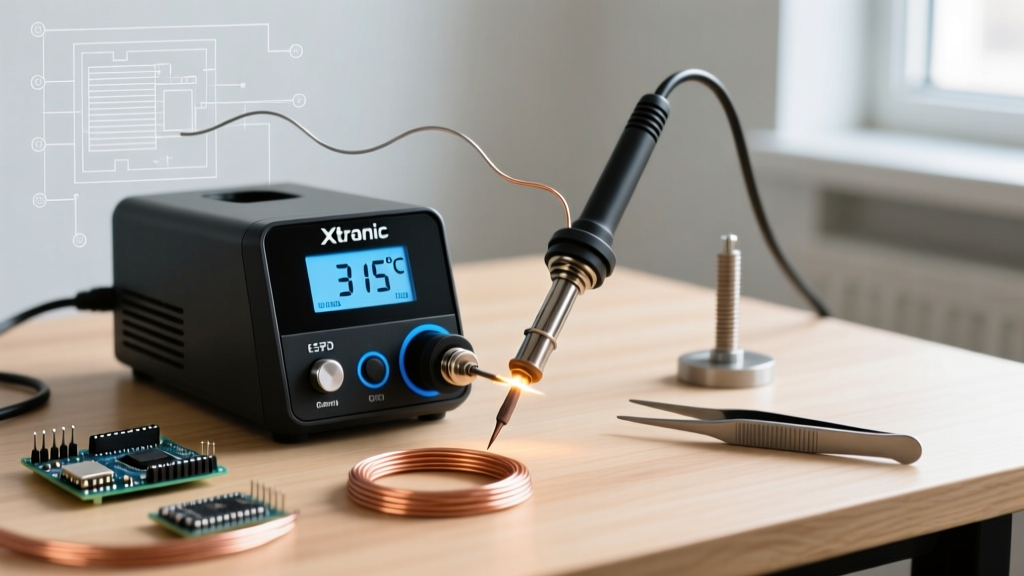
Entering the world of electronics repair and DIY microcontrollers requires reliable tools, and the Xtronic soldering station has become a staple for hobbyists and junior technicians alike. Unlike cheap, unregulated 'plug-in' irons that wildly overshoot temperatures and destroy delicate PCB pads, Xtronic stations utilize closed-loop PID (Proportional-Integral-Derivative) controllers. This means the station constantly monitors the thermocouple in your tip and adjusts power to the ceramic heating element in real-time, maintaining your target temperature within a ±2°C margin.
For beginners, this thermal stability is the difference between a shiny, reliable conical fillet and a lifted, heat-damaged pad. In this comprehensive 2026 beginner guide, we will walk through the exact setup, temperature profiling, and maintenance routines required to get professional results from your Xtronic equipment right out of the box.
Model Showdown: Xtronic 3060 vs. 10-3120
Before powering on, it is vital to understand which Xtronic model you are working with. The brand primarily caters to the entry-to-mid-level market with two flagship stations. Both utilize the universally available and highly affordable 900M series tip ecosystem, but their internal topologies differ slightly.
| Feature | Xtronic Model 3060 | Xtronic Model 10-3120 |
|---|---|---|
| Wattage Output | 75 Watts (Peak) | 75 Watts (Peak) |
| Temperature Range | 200°C - 480°C (392°F - 896°F) | 200°C - 480°C (392°F - 896°F) |
| Display Type | Blue Backlit LCD (Set & Actual) | Blue Backlit LCD (Set & Actual) |
| Sleep Mode | Yes (Auto-standby) | Yes (Auto-standby with buzzer) |
| Handle Material | Heat-Resistant Silicone/Plastic | Premium Anti-Static Silicone |
| Average Retail Price | $54.99 | $74.99 |
For pure through-hole beginner projects, the Xtronic 3060 offers unmatched value. However, if you plan to transition into sensitive surface-mount device (SMD) rework or work with static-sensitive CMOS chips, the upgraded ESD-safe grounding on the 10-3120 handle justifies the extra $20 investment.
Unboxing and Safe Station Calibration
A common beginner mistake is plugging the station in and immediately cranking the dial to maximum to 'heat it up faster.' This thermal shocks the ceramic heater and can crack the internal core. Follow this exact initialization sequence:
- Physical Assembly: Insert the 900M tip into the ceramic heating element tube. Ensure the tip seats fully against the heating core. Slide the silicone grip and locking nut over the handle, tightening it just enough to prevent wiggling—overtightening can crush the ceramic element.
- Power Sequence: Plug the station into a grounded 110V/220V outlet. Turn the main rocker switch on. The LCD will illuminate, displaying the ambient room temperature on the 'Actual' readout.
- Initial Set Point: Use the up/down buttons to set the temperature to 250°C (482°F). Do not exceed this for the first five minutes. This allows the ceramic core and the metal tip to expand at a matched rate, preventing micro-fractures in the heater casing.
The Eutectic Advantage: Choosing Your Solder
Your Xtronic station can only perform as well as the metallurgy you feed it. As a beginner, you must avoid lead-free solders (like SAC305) for your first few months. Lead-free alloys require higher temperatures (around 350°C+) and have a 'plastic' or pasty phase where the solder is semi-solid, leading to disturbed joints if the wire moves even a fraction of a millimeter during cooling.
Instead, source 63/37 Tin-Lead Rosin Core Solder (0.031 inch diameter). This is a eutectic alloy, meaning it transitions instantly from solid to liquid at exactly 183°C (361°F) with no pasty phase. This instant phase change makes it incredibly forgiving for beginners learning to read the visual cues of flux activation and wetting. For authoritative guidance on alloy selection and wetting angles, refer to SparkFun's through-hole soldering guide, which breaks down the physics of capillary action in plated through-holes.
Step-by-Step: Tinning Your 900M Tip
The moment your Xtronic station reaches 250°C, you must tin the tip. A bare, oxidized tip will not transfer heat; it will merely push molten solder around like water on a hot skillet.
The Golden Rule of Tinning: Never apply solder to a dry tip. The flux inside the solder needs to boil and clean the microscopic oxidation layer before the liquid metal can alloy with the iron plating.
- Hold your 63/37 rosin-core solder against the lower third of the 900M chisel or conical tip.
- As the rosin flux begins to bubble and emit a small amount of smoke, feed the solder wire continuously, coating the entire working surface of the tip.
- Wipe the tip gently on a damp cellulose sponge or a dry brass wire sponge. (Note: Brass sponges are superior as they do not cause the thermal shock and micro-cracking associated with wet sponges).
- Immediately apply a fresh, thick layer of solder before placing the iron back into the Xtronic holder. This sacrificial layer oxidizes in the air, protecting the actual iron plating underneath.
Temperature Profiling Matrix for Beginners
Understanding how to set your Xtronic PID controller based on the thermal mass of your joint is critical. The station's digital readout shows the tip temperature, but the joint temperature is what matters. Use this matrix as your baseline:
| Component / Joint Type | Thermal Mass | Recommended Xtronic Temp | Dwell Time Limit |
|---|---|---|---|
| Standard 1/4W Resistors & Signal Diodes | Low | 300°C - 320°C | 2 - 3 seconds |
| IC DIP Sockets & Transistors (TO-220) | Medium | 330°C - 350°C | 3 - 4 seconds |
| Large Electrolytic Capacitors & Ground Planes | High | 360°C - 380°C | 4 - 5 seconds |
| Desoldering / Rework (with copper wick) | Very High | 380°C - 400°C | 5 - 8 seconds |
For a deeper dive into how soldering station topology and wattage affect thermal recovery during high-mass joints, consult the technical breakdown on Electronics Notes regarding soldering station design.
Troubleshooting First-Joint Failures
Even with a calibrated Xtronic station, beginners will encounter visual defects. Here is how to diagnose and correct the three most common failure modes:
- Cold / Disturbed Joints (Dull, Grainy Appearance): This occurs when the component moves while the solder is in its plastic phase, or when the iron temperature was too low to properly melt the flux. Fix: Increase station temp by 20°C, apply fresh flux, and reflow without moving the part.
- Solder Balling / Non-Wetting (Solder rolls off the pad): The pad or lead is heavily oxidized, or the tip is dirty. Fix: Clean the PCB with isopropyl alcohol, scrape the component lead gently with a scalpel, and ensure your Xtronic tip is freshly tinned.
- Pad Lifting / Delamination: You applied the iron for too long, melting the epoxy adhesive binding the copper trace to the FR4 fiberglass. Fix: You exceeded the 5-second dwell time. Let the board cool completely, and in the future, use a higher temperature with a larger chisel tip to transfer heat faster, reducing overall contact time.
Long-Term Maintenance and Heater Longevity
The most frequent cause of Xtronic station failure is not electronic, but mechanical: the degradation of the 4-pin ceramic heating element. To ensure your station lasts for years, adhere to these strict maintenance protocols:
- Never File the Tip: 900M tips are made of copper but plated with a thin layer of iron to resist solder erosion. Using a file or sandpaper removes this plating, and the molten solder will dissolve the copper core in minutes, ruining the tip and potentially shorting the heater.
- Utilize Sleep Mode: Leaving a Xtronic station at 350°C while you read a schematic accelerates tip oxidation by a factor of 10. Program the auto-sleep function to drop the temperature to 150°C after 5 minutes of inactivity.
- Handle with Care: The ceramic heater inside the Xtronic handle is fragile. Dropping the handle onto a hard workbench can snap the ceramic core, resulting in an 'Error' code on the LCD and requiring a full handle replacement.
By respecting the thermal dynamics of your Xtronic soldering station and pairing it with eutectic solder and proper flux management, you will transition from a novice making messy blobs to a capable maker producing reliable, IPC-standard solder joints on every project.