
The 2026 Hardware Landscape: Smart Irons vs. Classic Stations
Learning how to solder with a soldering iron is a foundational skill for any electronics enthusiast, but the barrier to entry has shifted dramatically. In 2026, the market is split between traditional transformer-based soldering stations and ultra-portable, USB-C Power Delivery (PD) smart irons. Buying a $15 unregulated hardware store stick is a guaranteed path to frustration, lifted pads, and oxidized tips. To build reliable muscle memory, you need precise thermal recovery and interchangeable tips.
Below is a comparative analysis of the three best starter platforms for beginners learning through-hole and basic surface-mount (SMD) soldering.
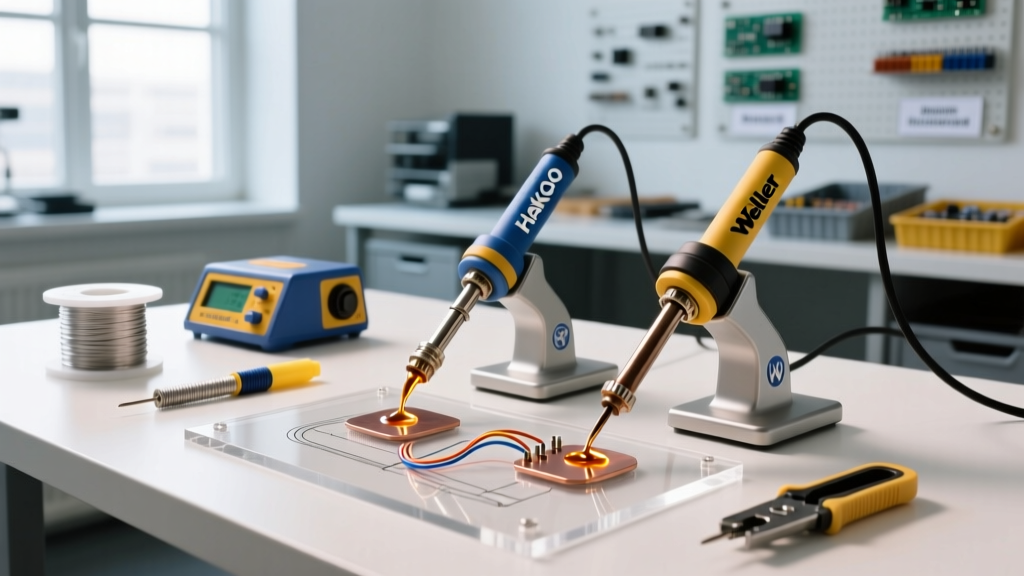
| Feature | Pine64 Pinecil V2 | Hakko FX-888D | Weller WE1010NA |
|---|---|---|---|
| Price (Approx.) | $26 (Iron only) | $115 (Station) | $125 (Station) |
| Power Output | 65W (via 20V PD) | 70W | 70W |
| Processor | RISC-V (Smart UI) | Analog-style Digital | Digital LCD |
| Tip Ecosystem | TS100 / Pine64 | T18 Series | ET Series |
| Heat-up Time | ~6 seconds | ~25 seconds | ~15 seconds |
| Best For | Travel, Desk-space, Techies | Durability, Lab Environments | Fast-paced Hobbyist Benches |
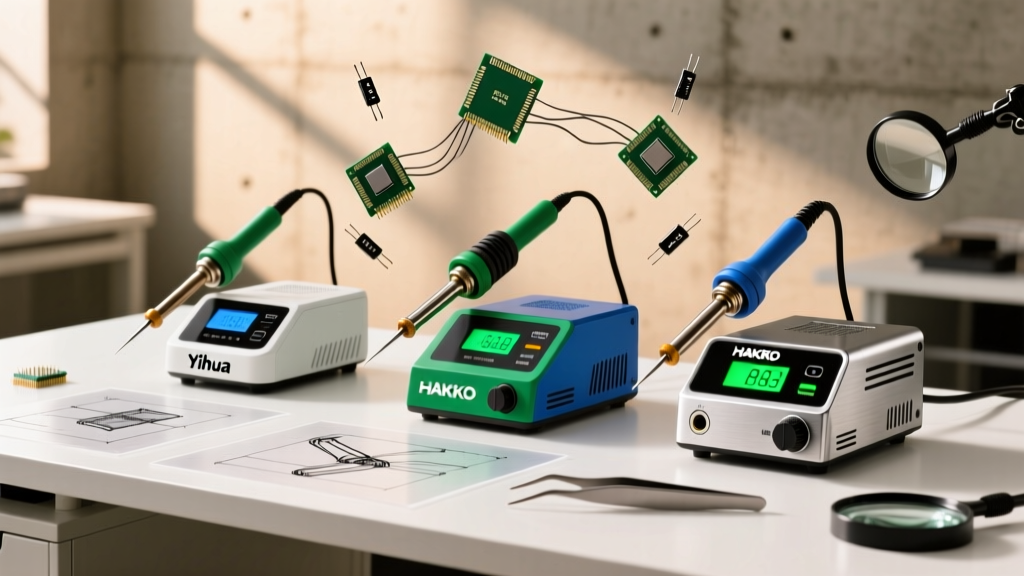
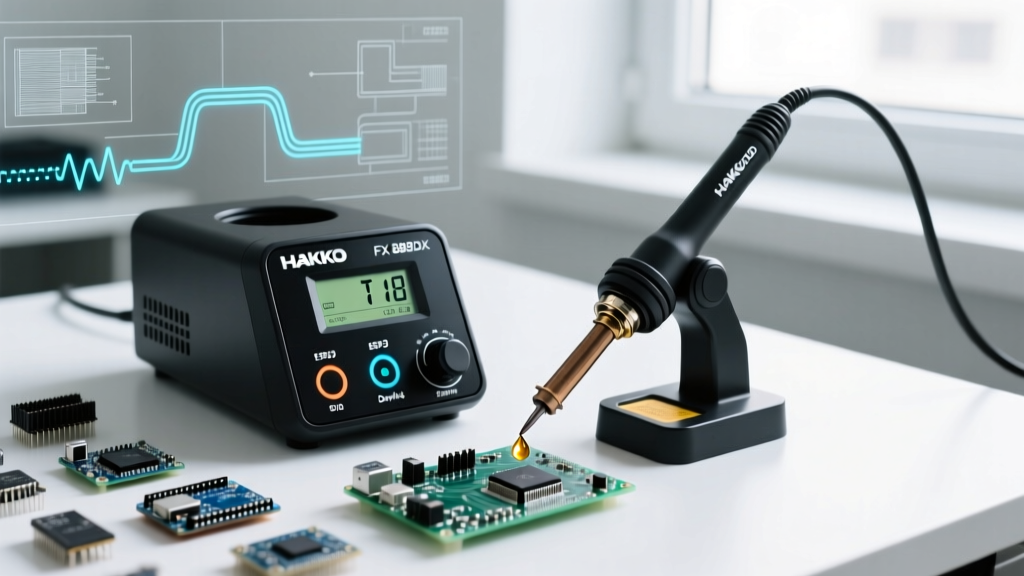
The Pinecil V2 has disrupted the entry-level market by offering RISC-V driven temperature control at the price of a replacement tip for older stations. However, for a dedicated home workbench where portability isn't a concern, the Hakko FX-888D remains the undisputed workhorse. Its T18 tip ecosystem is massive, and the station's thermal mass can absorb the heat sink effect of large ground planes without dropping below your setpoint.
Metallurgy Matters: Solder Alloys and Flux Chemistry
Before applying heat, you must understand the materials. The most common mistake beginners make is purchasing random solder from an auto-parts store, which often contains acid core flux designed for plumbing, not electronics. Acid flux will corrode your PCB traces within weeks.
The Gold Standard: Sn63/Pb37 (Leaded)
For learning, always use Kester 245 (Sn63/Pb37) or an equivalent eutectic alloy. Eutectic means the solder transitions directly from solid to liquid at exactly 183°C (361°F) without passing through a 'plastic' (semi-solid) state. This eliminates cold joints caused by micro-movements during the cooling phase. Choose a wire diameter of 0.031 inches (0.8mm) for standard PCB work; thicker 0.062" solder makes it too easy to bridge adjacent pins on DIP ICs.
Lead-Free: SAC305
If your local regulations or project requirements mandate lead-free solder (like SAC305), be prepared for a steeper learning curve. SAC305 melts at 217°C–220°C and requires a tip temperature of at least 350°C (662°F). It wets slower and demands aggressive, high-solid rosin fluxes to prevent oxidation during the longer dwell times required.
Flux: The Unsung Hero
Solder doesn't stick to oxidized copper; flux removes the oxidation. Keep a syringe of Amtech NC-559-V2 or MG Chemicals 8341 no-clean tacky flux on your desk. As noted in Adafruit's Guide to Excellent Soldering, applying extra flux before reworking a joint is the single most effective way to prevent bridging and achieve a glossy finish.
The Masterclass: How to Solder with a Soldering Iron
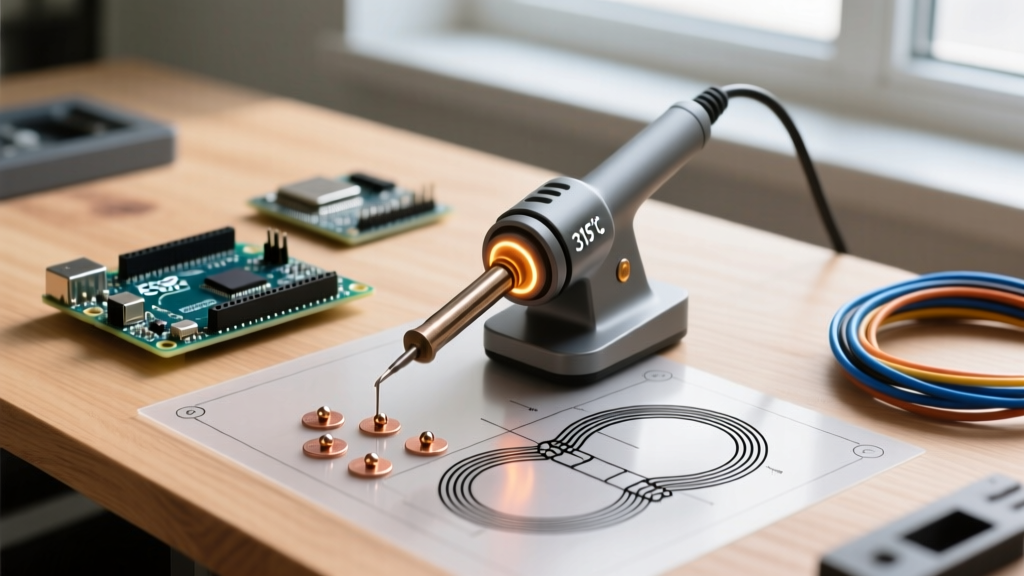
Follow this exact sequence to achieve IPC-compliant through-hole joints. Set your station to 320°C (608°F) for standard leaded solder on a typical 1.6mm FR4 board.
Step 1: Prep and Tin the Tip
Never use a damp cellulose sponge to clean your tip; the rapid thermal shock causes micro-cracks in the iron plating, leading to rapid degradation. Instead, use a brass wire sponge. Once the iron reaches temperature, melt a small amount of solder onto the bevel of the tip. This 'tinning' layer acts as a thermal bridge, transferring heat to the joint exponentially faster than an oxide layer would.
Step 2: Thermal Coupling (The 45-Degree Rule)
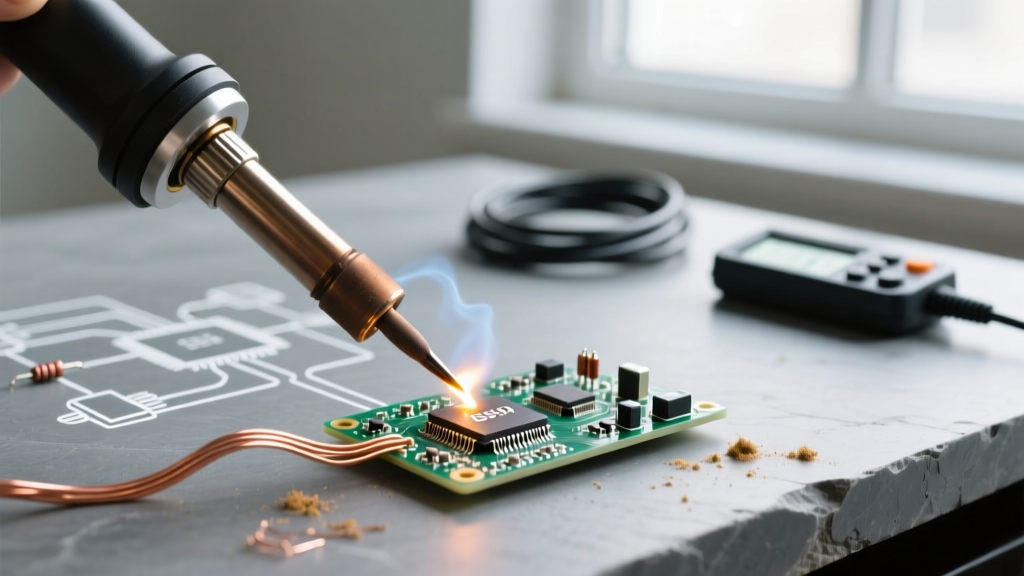
Place the iron so the flat bevel touches both the component lead and the copper pad simultaneously. The iron should sit at roughly a 45-degree angle to the board. Hold this position for 1.5 to 2 seconds. You are heating the metal of the joint, not melting the solder directly on the iron.
Step 3: Feed the Solder
Touch the solder wire to the opposite side of the joint from where the iron is resting. If the pad and lead are hot enough, the solder will instantly melt and wick into the via via capillary action. Feed exactly enough solder to form a concave fillet—usually about 1/8th of an inch of wire.
Step 4: The Withdrawal
Remove the solder wire first, then smoothly sweep the iron away in the direction of the pad. The entire heating process should take no more than 3 to 4 seconds. Prolonged heat application will delaminate the FR4 fiberglass and lift the copper pad off the board.
Diagnosing Failure Modes: IPC Standards in Practice
The IPC J-STD-001 standard outlines the exact visual requirements for soldered electrical assemblies. When learning how to solder with a soldering iron, you will inevitably encounter these common defects:
- Cold Joints: Characterized by a dull, grainy, or lumpy appearance. This occurs when the joint was disturbed while the solder was in its plastic state, or when insufficient heat was applied to the pad. Fix: Apply fresh flux and reflow with a clean, hot tip.
- Solder Bridges: Solder connects two adjacent pins. This is almost always caused by using too much solder and not enough flux. Fix: Use a copper desoldering braid (Goot Wick) soaked in isopropyl alcohol to pull the excess solder away via capillary action.
- Insufficient Wetting: The solder balls up on the lead but refuses to spread to the pad. This indicates severe oxidation on the PCB pad or a contaminated iron tip. Fix: Clean the board with 99% IPA and a fiberglass scratch pen, and re-tin your iron tip.
For a deeper visual breakdown of what constitutes a perfect 'volcano' shaped fillet versus a defective one, SparkFun's Through-Hole Soldering Tutorial provides excellent macro-photography examples that every beginner should study before touching a live board.
Final Verdict: Building Your 2026 Starter Kit
If you are strictly learning on a budget and already own a 65W+ USB-C PD laptop charger, the Pinecil V2 paired with a set of TS-B2 (conical) and TS-D24 (chisel) tips is the most cost-effective way to master soldering. However, if you want a 'buy it for life' bench tool that requires zero configuration and offers massive thermal reserves for grounding planes, invest the $115 in the Hakko FX-888D.
Pair your chosen station with a 1lb spool of Kester 245 (0.031"), a brass tip cleaner, and a bottle of no-clean flux. With the correct metallurgy and strict adherence to the 3-second dwell time rule, you will be producing factory-grade, IPC-compliant joints within your first weekend of practice.