
The Physics and Purpose of the Wiring Soldering Gun
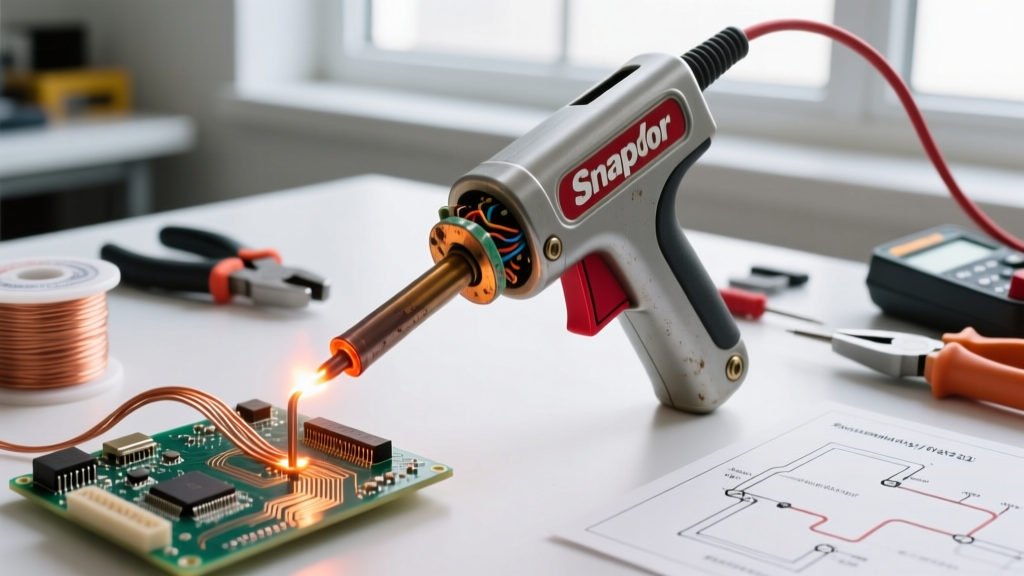
When tackling heavy-gauge electrical work—such as automotive battery cables, marine battery banks, or high-amperage solar inverter wiring—a standard ceramic pencil iron simply cannot deliver the necessary thermal mass. This is where a dedicated wiring soldering gun becomes an indispensable tool. Unlike pencil irons that rely on a resistive heating element slowly transferring heat through a metal barrel, a soldering gun utilizes a step-down transformer. The primary coil receives standard line voltage, while the secondary coil consists of a single, thick copper loop (the tip). This configuration drops the voltage to a fraction of a volt but spikes the amperage to hundreds of amps. The resulting I²R (current squared times resistance) heating causes the copper tip to reach soldering temperatures in under five seconds.
In 2026, despite the rise of advanced cordless soldering irons, the transformer-based wiring soldering gun remains the undisputed champion for rapid, high-thermal-recovery work on 12 AWG to 4/0 AWG copper conductors. Below, we break down the best models on the market, the metallurgy of heavy-duty solder joints, and the exact techniques required to avoid catastrophic cold joints.
Comparison Matrix: Soldering Gun vs. Pencil Iron for Wiring
| Feature | Transformer Soldering Gun | High-Wattage Pencil Iron (e.g., 80W) |
|---|---|---|
| Thermal Mass & Recovery | Exceptional (Handles 4/0 AWG lugs) | Moderate (Struggles past 8 AWG) |
| Heat-Up Time | 3 to 6 seconds (Trigger operated) | 45 to 90 seconds (Continuous on) |
| Magnetic Field Emission | High (Can magnetize nearby tools) | Negligible |
| Weight & Ergonomics | Heavy (2.5 to 4.0 lbs) | Light (0.5 to 1.2 lbs) |
| Best Application | Heavy lugs, battery cables, busbars | PCB, small gauge wire (22-14 AWG) |
Top Wiring Soldering Guns Reviewed for 2026
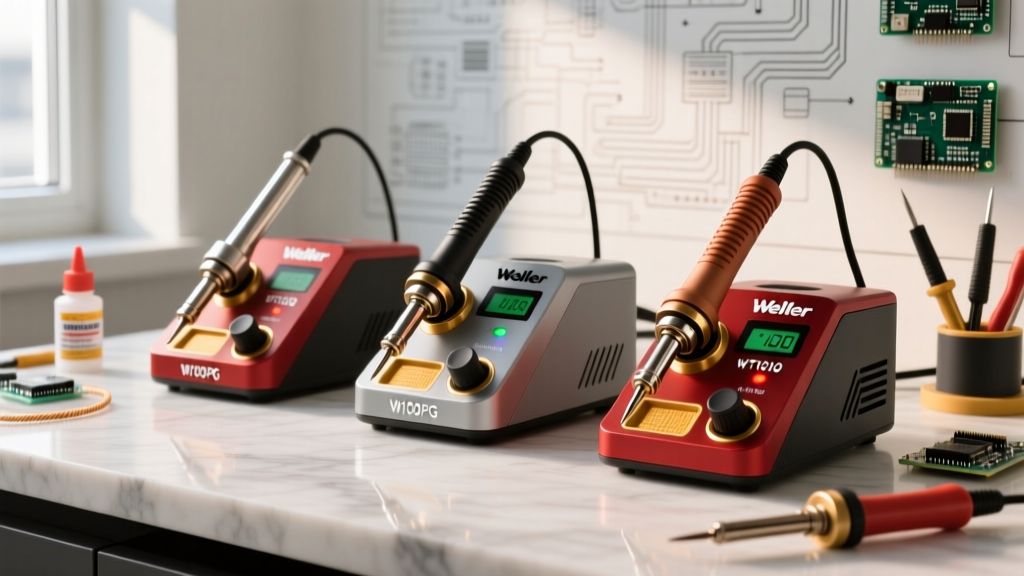
1. Weller D550PK (120V, 200W/260W) - The Heavy-Duty Standard
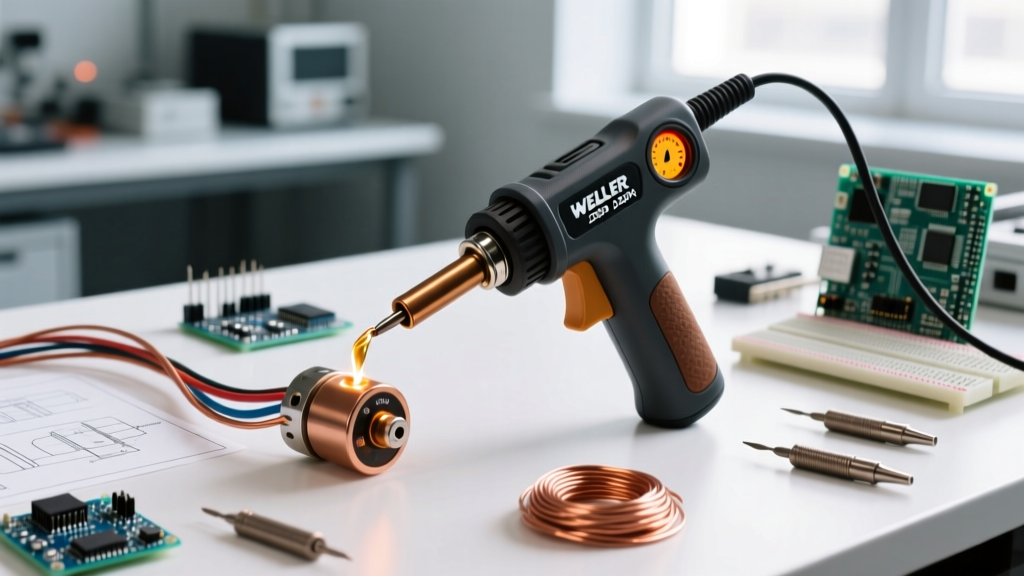
The Weller D550 is the industry benchmark for heavy electrical work. Producing up to 260 watts on the high trigger setting, it delivers the massive thermal jolt required to flow solder into thick 2/0 AWG battery lugs without the wire acting as a heat sink and stalling the joint.
- Price: ~$125
- Pros: Unmatched thermal recovery; integrated flux brush and spotlight; robust copper loop tips (CT6F8) are cheap and easy to replace.
- Cons: Weighs 3.5 lbs, causing wrist fatigue during extended overhead harness work; strong electromagnetic field.
- Best For: Marine battery banks, EV battery module repairs, and heavy automotive starter cables.
2. Weller 8200PK (120V, 120W/200W) - The Versatile Mid-Weight
For electricians running 10 AWG to 4 AWG THHN wire or building solar combiner boxes, the 260W D550 can be overkill and overly heavy. The Weller 8200PK offers a dual-trigger mechanism (120W on the first pull, 200W on the second) in a much lighter chassis.
- Price: ~$75
- Pros: Lighter weight (1.5 lbs); dual heat settings prevent melting smaller wire insulation; excellent balance.
- Cons: Lacks the raw thermal mass to easily solder 1/0 AWG or larger lugs without extensive pre-heating.
- Best For: Solar panel MC4 connector pigtails, HVAC control wiring, and automotive 12V accessory harnesses.
3. Weller 9400PKS (120V, 120W) - Light-Duty & HVAC Specialist
While technically a gun, the 9400 is designed for lighter electrical tasks where a pencil iron is too slow but a 260W gun is too destructive.
- Price: ~$55
- Pros: Very lightweight; precise enough for 14-18 AWG thermostat and doorbell wiring.
- Cons: Not suitable for heavy-gauge power wiring.
- Best For: HVAC technicians, low-voltage security wiring, and small appliance repair.
Metallurgy and Safety: Choosing the Right Solder and Flux
According to IPC standards and general electrical best practices, the choice of solder alloy dramatically impacts the mechanical reliability of a wiring joint, especially in high-vibration environments like automotive or marine applications.
Expert Insight: While SAC305 (Lead-Free) is mandatory for commercial PCB manufacturing, many marine and automotive experts still prefer Sn63Pb37 (Eutectic Leaded Solder) for heavy wiring. The ductility of leaded solder absorbs mechanical vibration and thermal cycling far better than the brittle tin-silver-copper alloys, which are prone to micro-cracking in high-vibration environments.
The Danger of Colophony Fumes
When the 500°F tip of a wiring soldering gun hits rosin-core flux, it vaporizes into colophony fumes. As noted by OSHA hand and power tool safety guidelines, proper ventilation is critical. Colophony is a known respiratory sensitizer and can trigger occupational asthma. Always use a localized fume extractor or work in a heavily ventilated bay when soldering heavy lugs, which require significantly more flux than standard PCB work.
Step-by-Step: Soldering a 4 AWG Battery Lug
Achieving a flawless, low-resistance mechanical and electrical bond on a 4 AWG cable requires a specific sequence to avoid insulation melt-back and cold joints.
- Preparation: Strip exactly 3/4 inch of insulation from the 4 AWG stranded copper. Do not nick the outer strands.
- Flux Application: Apply a generous amount of rosin paste flux (e.g., Kester 1811 or Chip Quik SMD291AX) to the bare copper strands and the inside barrel of the copper lug. Never use acid-core plumbing flux on electrical wiring; it will cause galvanic corrosion and eventual open-circuit failure.
- Pre-Tinning: Trigger the wiring soldering gun (260W setting). Touch the tip to the solder wire first to create a liquid thermal bridge, then apply it to the bare wire strands until the solder wicks entirely through the copper bundle.
- Lug Soldering: Insert the pre-tinned wire into the lug barrel. Apply the gun tip directly to the lug, not the wire. The goal is to heat the heavy copper lug until it is hot enough to melt the solder on its own. Feed solder into the joint until it flashes and flows out the inspection hole of the lug (approx. 8-12 seconds).
- The Cooling Phase: Remove the heat and solder. Do not move the wire. The joint must cool naturally from its liquidus to solidus state. Moving it during the plastic (pasty) phase of Sn60Pb40 solder will cause a disturbed joint, characterized by a dull, grainy appearance and high electrical resistance.
- Sealing: Once cool, clean the flux residue with isopropyl alcohol and seal with adhesive-lined dual-wall heat shrink (e.g., 3M MDT) to prevent moisture ingress and copper oxidation.
Common Failure Modes and Troubleshooting
1. Galvanic Tip Corrosion (Pitting)
The copper loop tips on soldering guns are highly susceptible to oxidation and pitting, especially when exposed to aggressive fluxes at high temperatures. Solution: Never file a soldering gun tip. Filing removes the protective iron plating (if present) or accelerates the thinning of the copper. Instead, use a damp brass sponge and re-tin the tip immediately after every use.
2. Insulation Melt-Back
Applying the gun for too long will cause the heat to travel down the copper strands via conduction, melting the PVC or XLPE insulation far back from the joint. Solution: Use an aluminum alligator clip as a heat sink between the lug and the insulation. The aluminum will absorb the excess thermal energy before it reaches the plastic jacket.
3. Transformer Rattle and Buzz
A 60Hz hum is normal for a transformer-based wiring soldering gun. However, a loud, mechanical rattling indicates loose core laminations. Solution: Unplug the tool, open the housing, and carefully tighten the transformer mounting bolts. If the varnish on the windings is cracked, the tool should be retired to prevent short circuits.
Expert FAQ
Can I use a wiring soldering gun for printed circuit boards (PCBs)?
No. The intense electromagnetic field generated by the step-down transformer can induce stray currents that destroy sensitive MOSFETs and microcontrollers. Furthermore, the massive thermal shock will delaminate PCB pads. Stick to temperature-controlled ceramic pencil irons or hot air stations for electronics.
Should I crimp or solder heavy battery lugs?
According to aerospace and marine engineering data reviewed by the NASA Electronic Parts and Packaging (NEPP) Program, a properly executed mechanical crimp using a calibrated hydraulic tool is generally superior to soldering alone for high-vibration, high-current environments. Soldering can create a stiff joint that focuses mechanical stress at the edge of the solder wick, leading to wire fatigue and breakage. However, for DIY automotive and marine applications where hydraulic crimpers are unavailable, soldering (when done correctly with proper heat shrink sealing) provides a highly reliable, low-resistance connection.
Why is my solder balling up and refusing to flow into the lug?
This is a classic symptom of insufficient flux or an oxidized wire surface. Heavy-gauge copper wire oxidizes rapidly in ambient air. If you do not use enough rosin flux to break down the copper oxide layer, the surface tension of the molten solder will cause it to bead up rather than wet the metal. Increase your flux application and ensure the base metal is reaching the proper thermal threshold.