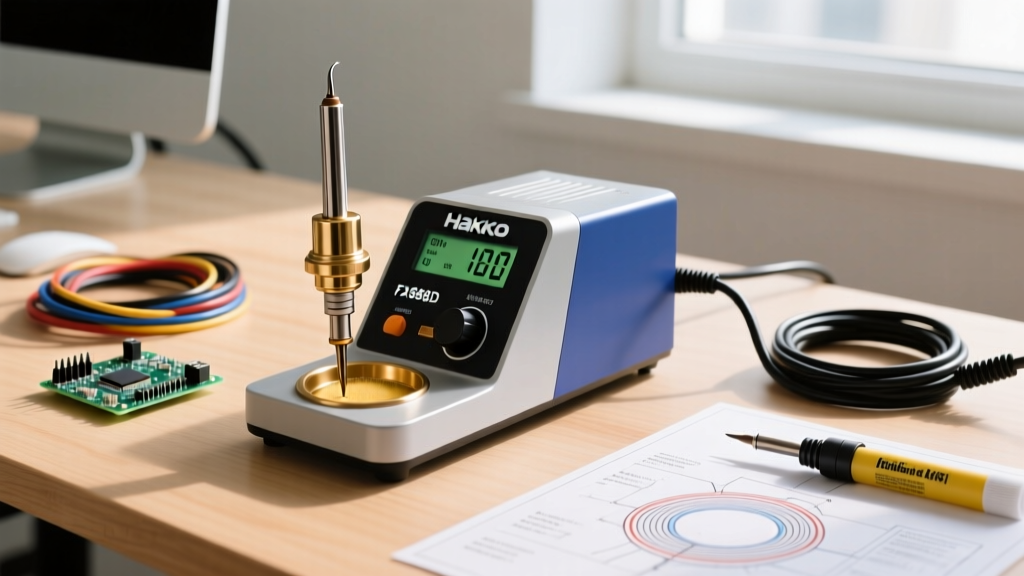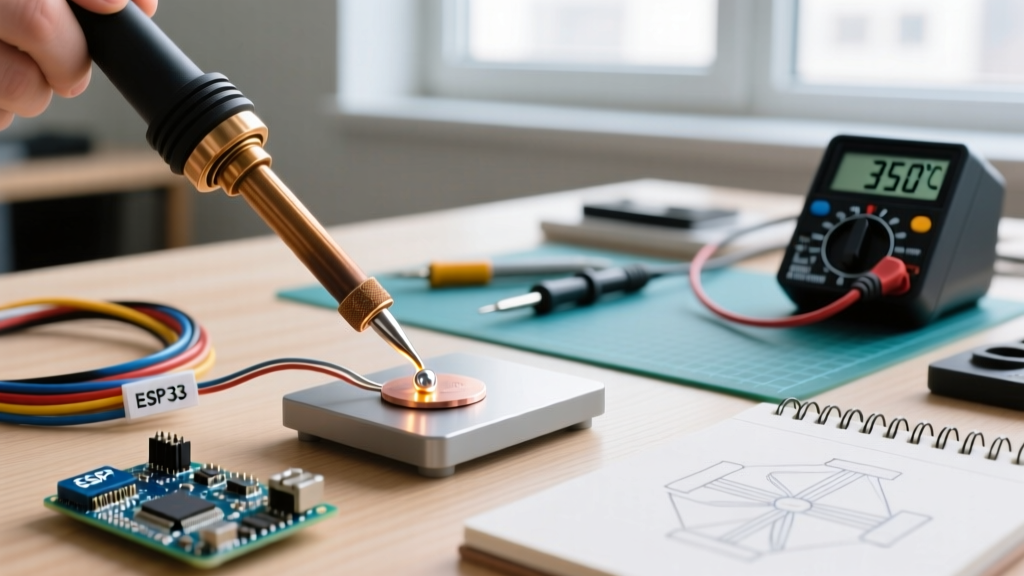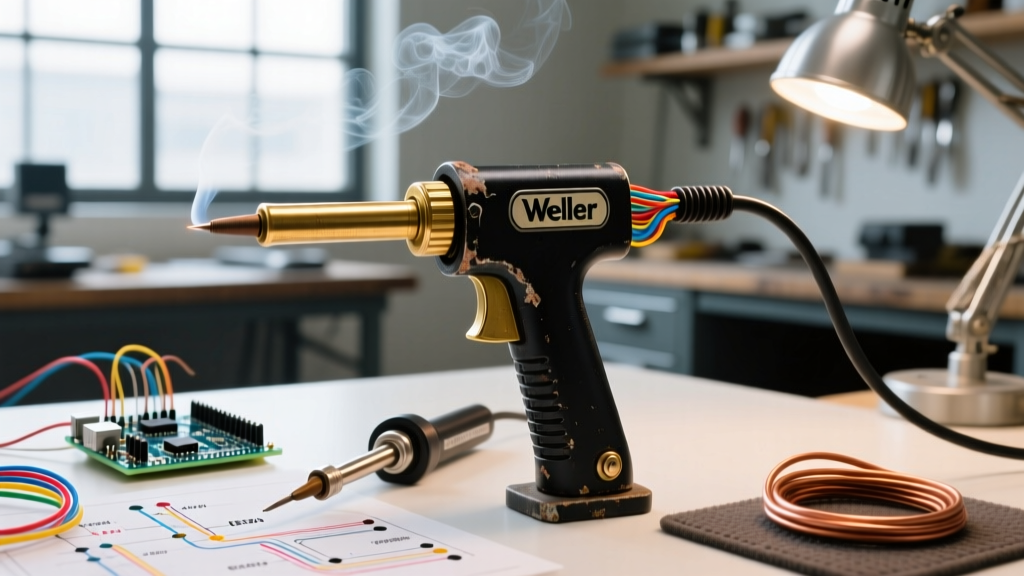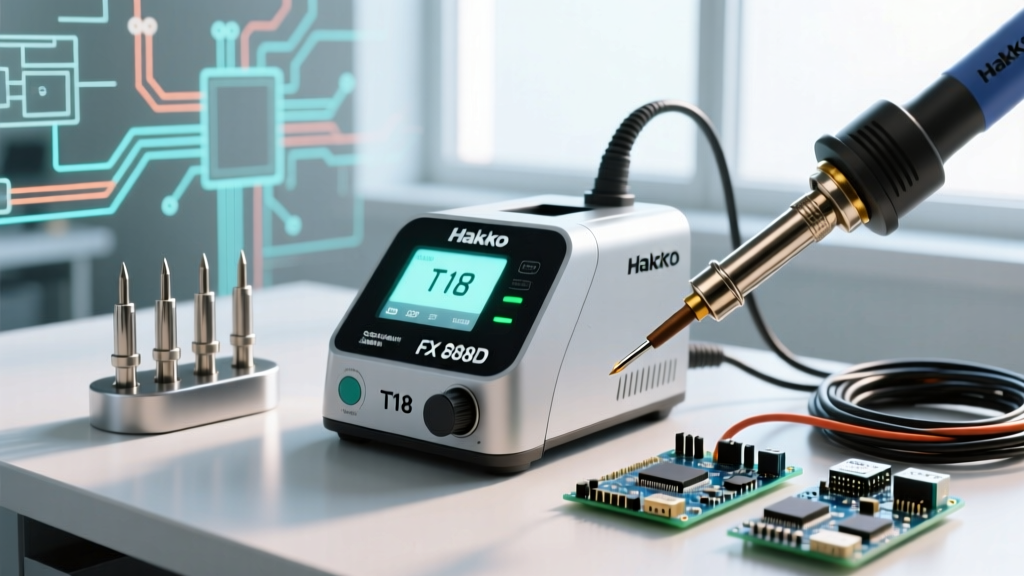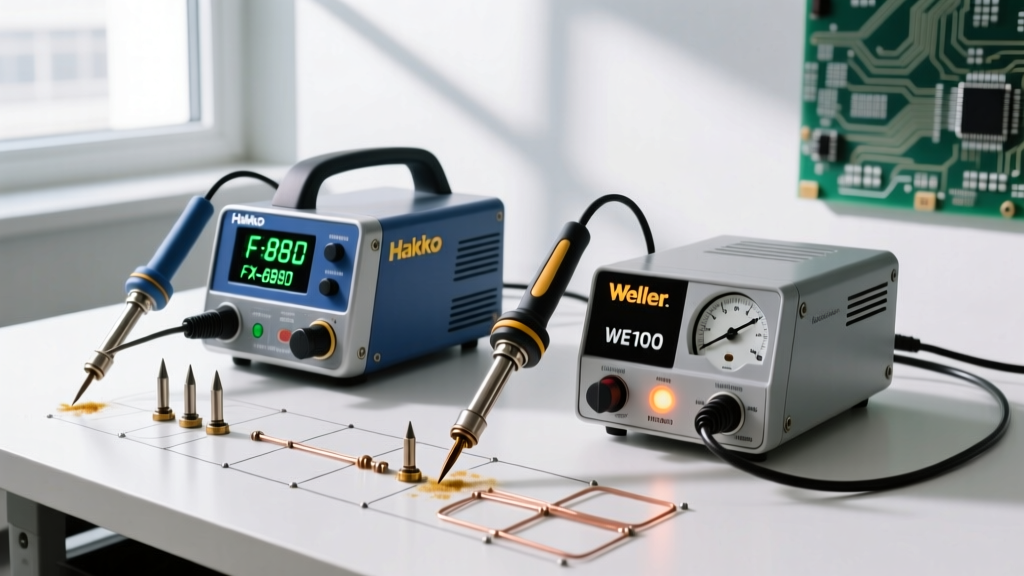

Welcome to the workbench. If you are stepping into the world of electronics repair, microcontroller wiring, or general DIY circuit building, your most critical investment is your soldering tool. While digital, temperature-controlled soldering stations dominate professional environments, the standard soldering iron remains the undisputed champion for beginners, students, and casual hobbyists. Lightweight, portable, and remarkably affordable, a standard pencil iron is all you need to build your foundational skills.
However, the simplicity of a standard iron can be deceptive. Without the microprocessor-driven thermal recovery of a $250 benchtop station, a standard iron requires the user to understand thermal mass, wattage limits, and manual tip maintenance. In this comprehensive 2026 beginner guide, we will dissect the anatomy of standard irons, compare top entry-level models, and teach you the metallurgical realities of creating a flawless, IPC-compliant through-hole solder joint.
What Exactly Defines a "Standard" Soldering Iron?
In the soldering ecosystem, a "standard" iron (often called a pencil iron) is a standalone, plug-in tool where the heating element and the tip are housed within a single, lightweight wand. Unlike a soldering station, it lacks a separate base unit with a digital display, and it typically does not feature a closed-loop thermocouple feedback system. Instead, it relies on raw wattage and thermal equilibrium to maintain heat.
Fixed Wattage vs. Adjustable Dial Pencils
Standard irons generally fall into two categories:
- Fixed Wattage: These plug directly into the wall and heat up to a maximum temperature dictated by their wattage (usually 15W to 40W). They are incredibly cheap but struggle to recover heat when soldering large ground planes.
- Adjustable Dial (Semi-Controlled): These feature a small physical dial on the handle or cord, allowing you to manually adjust the voltage reaching the ceramic heater. While they lack digital readouts, they offer vital flexibility for switching between delicate 0805 SMD components and thicker 18 AWG wires.
Top Standard Soldering Irons for Beginners (2026 Market)
Not all pencil irons are created equal. Cheap, unbranded $10 irons from online marketplaces often suffer from poor grounding, lethal voltage leakage, and tips that oxidize within minutes. Here are three highly respected, safe, and reliable standard irons that dominate the beginner space.
| Model | Type | Wattage | Approx. Price (2026) | Best Use Case |
|---|---|---|---|---|
| Elenco American 25W | Fixed | 25W | $16.00 | Basic through-hole kits, basic wire tinning |
| Weller SP40NKUS | Fixed | 40W | $28.00 | General DIY, thicker wires, Arduino shields |
| Hakko FX-601-02 | Adjustable | 67W (Peak) | $74.00 | Advanced beginners, mixed PCB and wire work |
Expert Insight: If your budget allows, the Hakko FX-601-02 is the ultimate bridge between a standard iron and a full station. Its high-wattage ceramic heater recovers heat rapidly, and the physical dial lets you drop the temperature to 500°F (260°C) for sensitive ICs or crank it to 750°F (400°C) for heavy-gauge battery tabs.
The Metallurgy of Solder: Choosing Your Alloy
Before you plug in your iron, you must select the right solder wire. The soldering iron only provides the heat; the solder wire provides the mechanical and electrical bond, as well as the chemical cleaning agents (flux).
Leaded (63/37) vs. Lead-Free (SAC305)
For beginners, 63/37 Tin-Lead (Sn63/Pb37) is the undisputed gold standard. This is a eutectic alloy, meaning it transitions from solid to liquid instantly at a single temperature: 183°C (361°F). There is no "pasty" or semi-solid phase, which drastically reduces the risk of disturbed joints.
Conversely, lead-free alloys like SAC305 (Tin/Silver/Copper) melt at a much higher 217°C - 220°C (422°F - 428°F). While environmental regulations (RoHS) mandate lead-free solder in commercial manufacturing, it is notoriously unforgiving for beginners. It requires higher iron temperatures, wets poorly, and creates dull, grainy joints that are easily mistaken for cold joints. Stick to 63/37 for your first year of learning.
Safety Note: While 63/37 solder contains lead, the primary health hazard in soldering is not the lead itself (which does not vaporize at soldering temperatures), but rather the colophony (rosin) flux fumes. According to OSHA guidelines on lead safety and respiratory health, always use a dedicated fume extractor or a well-ventilated workspace to prevent occupational asthma and respiratory irritation.
Step-by-Step: Executing the Perfect Through-Hole Joint
Creating a reliable electrical connection is a matter of physics and timing. According to the comprehensive tutorials provided by SparkFun Electronics, the most common beginner mistake is "painting" the solder onto the iron tip and trying to transfer it to the joint. This burns the flux before it reaches the pad, resulting in a weak, oxidized connection.
Follow this precise 4-step choreography for every single joint:
- Clean and Tin the Tip (1 Second): Wipe your iron on a brass wire sponge, then apply a microscopic amount of fresh solder to the very tip. This "liquid bridge" maximizes thermal transfer.
- Heat the Joint, Not the Solder (2 Seconds): Place the flat side of the iron tip so it simultaneously touches the component lead and the copper PCB pad. Hold it there to allow both surfaces to reach soldering temperature.
- Feed the Solder (1-2 Seconds): Bring your solder wire to the opposite side of the joint (where the iron is not touching). If the pad and lead are hot enough, the solder will instantly melt and flow smoothly into the via via capillary action, aided by the boiling flux.
- Remove and Cool (1 Second): Pull the solder wire away first, then smoothly slide the iron up and away along the lead. Do not blow on the joint or move the board while the solder transitions from liquid to solid (approx. 2 seconds).
Troubleshooting Common Beginner Failure Modes
Even with a standard iron, you will encounter visual defects. Learning to read these defects is crucial for passing the visual inspection standards outlined in resources like the Adafruit Guide to Excellent Soldering.
- The Cold Joint: Looks dull, grainy, and lumpy. Cause: The iron was removed too early, or the iron tip was oxidized and failed to transfer heat to the copper pad. Fix: Apply fresh flux, reheat the joint fully, and let the solder reflow.
- The Disturbed Joint: Features distinct "frosty" lines or a cracked appearance. Cause: The component leg moved while the eutectic solder was freezing. Fix: Reflow with flux and hold the component perfectly still using tweezers.
- Solder Bridging: Two adjacent pads are connected by a blob of solder. Cause: Using too much solder, an overly wide iron tip, or depleted flux. Fix: Use a copper solder wick (braid) with added liquid flux to draw the excess solder away.
Tip Longevity: Beating the "Black Death"
The most frequent complaint from beginners is that their standard iron "stopped working" after a week. In 99% of cases, the iron is fine; the tip has succumbed to severe oxidation, colloquially known in the industry as the "Black Death." When a tip turns black and crusty, solder will ball up and roll off rather than wetting the surface.
The Thermal Shock Myth: Ditch the Wet Sponge
Most cheap standard irons come with a yellow cellulose sponge that you are instructed to soak with water. Stop using it immediately. Wiping a 400°C iron on a wet sponge causes a massive, instantaneous temperature drop. Over time, this thermal shock causes micro-fractures in the iron's protective chromium plating, allowing the raw copper core to dissolve into the tin solder.
The Solution: Invest $5 in a brass wire sponge (often sold as "Tip Tinner/Cleaner"). Brass is softer than the iron's plating, so it cleans the oxidation mechanically without dropping the tip temperature or causing thermal fatigue.
The Golden Rule of Storage
Never turn off your standard soldering iron and walk away. Before you flip the switch, melt a large, generous blob of 63/37 solder over the entire working surface of the tip. This sacrificial layer of solder will oxidize instead of the iron's plating while it sits on your bench. The next time you turn the iron on, simply wipe that sacrificial blob off in your brass sponge, and you will be left with a pristine, perfectly tinned tip ready for work.
Final Thoughts on Starting Your Journey
A standard soldering iron is not a compromise; it is a fundamental teaching tool. By forcing you to manually manage heat saturation, recognize flux activation, and practice rigorous tip maintenance, a standard pencil iron builds the muscle memory and metallurgical intuition that will serve you for a lifetime of electronics work. Grab a spool of 0.8mm 63/37 rosin-core solder, fire up your Weller or Hakko pencil, and start building.