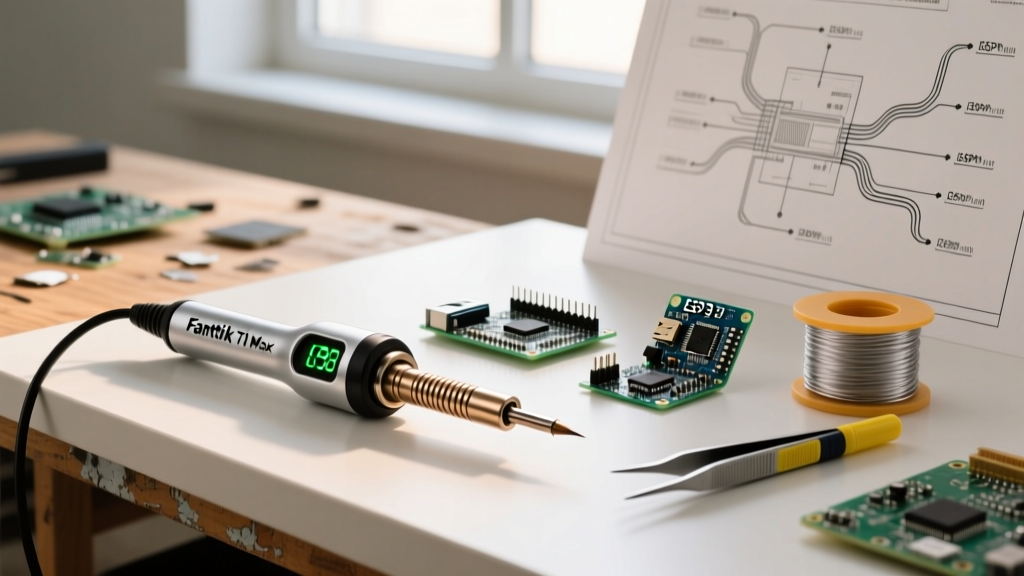

Why the Fanttik T1 Max is the Ultimate 2026 Beginner Station
For decades, beginners were forced to choose between underpowered, slow-heating analog irons and expensive, benchtop stations that consumed massive amounts of desk space. The Fanttik T1 Max soldering iron kit has completely disrupted this paradigm. As of 2026, the T1 Max represents the pinnacle of portable, smart soldering technology, utilizing a 100W USB-C Power Delivery (PD) architecture and a dual-core heating element that reaches 300°C in under 12 seconds. For a beginner, this means less time waiting for the iron to recover thermally and more time building reliable circuits.
However, owning advanced hardware is only half the battle. Smart irons require an understanding of USB-C PD negotiation, firmware menus, and modern tip geometries. This comprehensive guide will walk you through unboxing, configuring, and executing your first perfect solder joints with the Fanttik T1 Max kit.
What is Inside the Fanttik T1 Max Kit?
Retailing between $139 and $149 in 2026, the T1 Max kit is designed to be a complete out-of-the-box solution. Unlike cheaper alternatives that require you to source a compatible power supply separately, Fanttik includes everything necessary to start soldering immediately.
- Fanttik T1 Max Smart Iron: Features a 1.3-inch OLED display, Hall-effect sleep sensor, and dual USB-C ports (one for power, one for firmware updates).
- 100W GaN Power Adapter: A compact, foldable-prong charger capable of outputting 20V/5A, ensuring the iron never starves for wattage on large ground planes.
- Braided USB-C to USB-C Cable: Rated for 5A with an E-marker chip to safely negotiate 100W PD.
- Interchangeable Tips: Includes the D24 (2.4mm chisel) and C4 (4mm conical) tips.
- Accessories: Silicone heat-resistant mat, brass wire tip cleaner, and a magnetic tip storage tube.
First-Time Setup: Power and Configuration
The most common mistake beginners make with smart irons is plugging them into standard phone chargers. The Fanttik T1 Max requires a USB-C PD power source to function correctly.
Step 1: Power Negotiation
Plug the included 100W GaN charger into the wall, then connect the USB-C cable to the rear power port of the T1 Max (do not use the front port, which is reserved for PC connectivity). The OLED screen will illuminate, displaying the boot sequence and the negotiated wattage. You should see '100W' or '20V' on the screen. If you use a standard 18W phone charger, the iron will limit itself to 18W, resulting in severe thermal collapse when touching copper pours.
Step 2: Configuring the Firmware Menu
Long-press the 'A' button to enter the settings menu. As a beginner, you should configure the following parameters:
- Temperature Unit: Set to Celsius (°C). The global electronics standard relies on Celsius for solder alloy datasheets.
- Auto-Sleep Time: Set to 3 minutes. The internal Hall-effect sensor detects when the iron is laid horizontally in its magnetic cradle, dropping the temperature to 150°C to preserve tip life.
- Boost Mode: Enable this and set it to 350°C. Pressing the 'B' button during a tough joint will temporarily override your base temperature for 60 seconds, providing a surge of thermal energy.
Tip Selection: Matching Geometry to the Task
The T1 Max uses a proprietary rapid-heat cartridge system. Choosing the right tip is critical for efficient heat transfer. According to the fundamentals of soldering heat transfer, the tip must maximize surface contact area with the joint.
| Tip Model | Geometry | Best Use Case | Thermal Mass |
|---|---|---|---|
| D24 | 2.4mm Chisel | Through-hole components, thick wires (18-22 AWG), standard PCB pads. | High |
| C4 | 4mm Conical | General purpose, basic drag soldering, larger SMD components. | Medium |
| KM (Sold Separately) | Mini-Hoof | SMD rework, 0603/0805 passives, SOIC chip drag soldering. | Medium-Low |
Beginner Recommendation: Leave the D24 Chisel tip installed for your first few weeks. The flat edge allows you to heat both the component leg and the PCB pad simultaneously, which is the golden rule of soldering.
Executing Your First Perfect Solder Joint
To achieve reliable electrical and mechanical connections, we must follow industry standards. The IPC J-STD-001 standard for soldered assemblies dictates strict rules on dwell time and wetting to prevent intermetallic compound (IMC) overgrowth and pad delamination.
The 60-Second Soldering Sequence
- Prep the Surfaces: Ensure the wire is stripped and twisted, and the PCB pad is free of oxidation. If the pad looks dull, apply a tiny amount of liquid or tacky flux before heating.
- Set the Temperature: If using 63/37 (eutectic) leaded solder, set the T1 Max to 300°C. If using SAC305 (lead-free RoHS compliant), set it to 325°C.
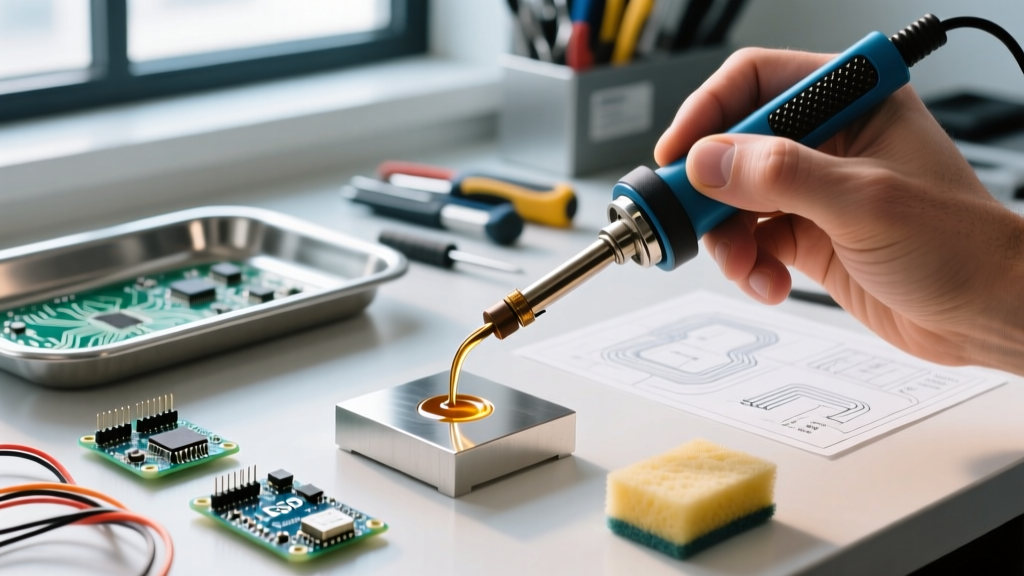
- Tin the Tip: Melt a small amount of solder directly onto the D24 tip. This creates a 'thermal bridge' that transfers heat instantly to the joint.
- Heat the Joint (Not the Solder): Place the tinned tip so it touches BOTH the component lead and the copper pad simultaneously. Hold for exactly 1.5 to 2 seconds.
- Feed the Solder: Touch your solder wire to the opposite side of the joint (not directly to the iron tip). The heat from the joint should melt the solder, and the flux core will activate, pulling the solder into a smooth, concave fillet.
- Remove and Hold Still: Withdraw the solder wire first, then withdraw the iron. Do not blow on the joint or move the wire. Allow it to cool naturally for 3 seconds. Moving a joint while it transitions from liquid to solid creates a 'disturbed joint,' which is structurally weak and grainy.
Safety and Fume Extraction
Soldering involves melting heavy metals and vaporizing chemical fluxes. While the Fanttik T1 Max is safe when handled correctly, the byproducts of the process require respect.
'Never point the hot barrel toward yourself or flammable materials. The T1 Max reaches 350°C; skin contact will cause instant third-degree burns. Always use the included silicone mat to protect your workbench.'
More insidious than the heat is the flux fume. When rosin-based flux burns, it releases colophony, a known respiratory sensitizer. The CDC NIOSH guidelines on soldering safety strongly recommend using local exhaust ventilation. As a beginner, you do not need a $1,000 industrial BOFA extractor. A simple desktop fan equipped with a HEPA and activated carbon filter, placed 6 inches from your work area, will effectively capture particulate matter and volatile organic compounds (VOCs). Always wash your hands with cold water and soap after handling leaded solder alloys.
Troubleshooting Common Beginner Mistakes
Problem: Solder Balls Up and Refuses to Stick
Cause: Your tip is oxidized, or the component pad is heavily oxidized. Solder will only adhere to clean, flux-activated metal.
Solution: Turn the T1 Max down to 250°C. Dip the tip into the brass sponge, then immediately apply a large blob of solder to coat it. For the oxidized pad, apply generous amounts of external tacky flux (like Amtech NC-559) and try again.
Problem: The Iron Displays 'PD Error' or Won't Heat
Cause: You are using a USB-C cable without an E-marker chip, or a charger that does not support the 20V PD profile.
Solution: Only use the cable and GaN charger provided in the Fanttik T1 Max kit. If using a third-party laptop charger, ensure it explicitly supports 20V/3A (60W) or 20V/5A (100W) output.
Problem: Joints Look Dull, Lumpy, and Grainy
Cause: You are using lead-free solder at too low a temperature, or you moved the wire while the solder was cooling (a disturbed joint).
Solution: Increase the T1 Max temperature to 330°C for lead-free alloys, and practice holding the wire completely still for 3 seconds after removing the iron. Switching to 63/37 eutectic solder is highly recommended for beginners, as it melts and freezes at the exact same temperature (183°C), eliminating the pasty phase where disturbed joints occur.
Final Thoughts on Maintenance
The longevity of your Fanttik T1 Max tips depends entirely on your shutdown routine. Never leave the iron powered on when not in use; the auto-sleep feature helps, but powering it off is best. Most importantly, always leave a large blob of fresh solder on the tip before turning the iron off. This sacrificial layer of solder will oxidize in the air instead of the delicate iron plating on the cartridge. When you power up the T1 Max for your next session, simply wipe that oxidized sacrificial blob in the brass sponge, apply fresh solder, and you are ready to build.