
The Unsung Hero of the Solder Joint: Why Flux Matters
If solder is the structural bridge of an electronic assembly, flux is the chemical foundation that makes the bridge possible. Learning how to use flux when soldering is arguably the most critical skill separating a novice hobbyist from a professional technician. Without flux, molten solder will ball up and reject the copper pad due to surface oxidation and high surface tension. Flux chemically strips away this oxidation, prevents further oxidation during heating, and reduces the solder's wetting angle to below 45 degrees—meeting the stringent requirements of IPC standards for Class 3 high-reliability electronics.
In this comprehensive 2026 tutorial, we will move beyond generic advice and dive deep into the exact chemistry, application volumes, thermal profiles, and cleaning protocols required to master flux application for both through-hole and surface-mount PCB assemblies.
Understanding Flux Chemistry and Selection
Before picking up a syringe or brush, you must match the flux chemistry to your specific application. Fluxes are generally categorized by their base material and activator strength, as defined by the IPC J-STD-004 standard. Activators are the acidic compounds that become thermally active (usually between 150°C and 180°C) to dissolve copper oxides.
Flux Selection Matrix for PCB Assembly
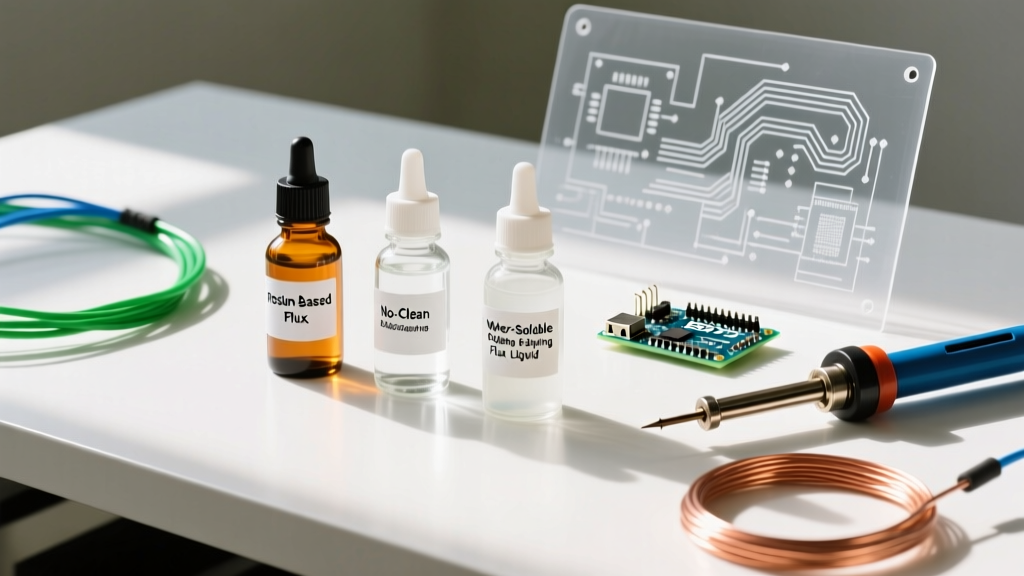
| Flux Type | Base / Activator | Residue Corrosivity | Cleaning Required? | Best Application & 2026 Example |
|---|---|---|---|---|
| Rosin (R / RMA) | Pine rosin / Mild organic acids | Low (Non-corrosive if mild) | Recommended for aesthetics/RF | General DIY, repair. Kester 186 RMA (~$15/2oz) |
| No-Clean (NC) | Synthetic rosin / Halide-free | Extremely Low | No (unless conformal coating) | High-volume SMD, BGA. Amtech NC-559-V2-TF (~$35/10cc) |
| Water-Soluble (OA) | Water / Organic acids (High halide) | High (Highly corrosive) | Mandatory (DI Water / Ultrasonic) | Heavy oxidation, thick wires. MG Chemicals 8341 (~$22/100ml) |
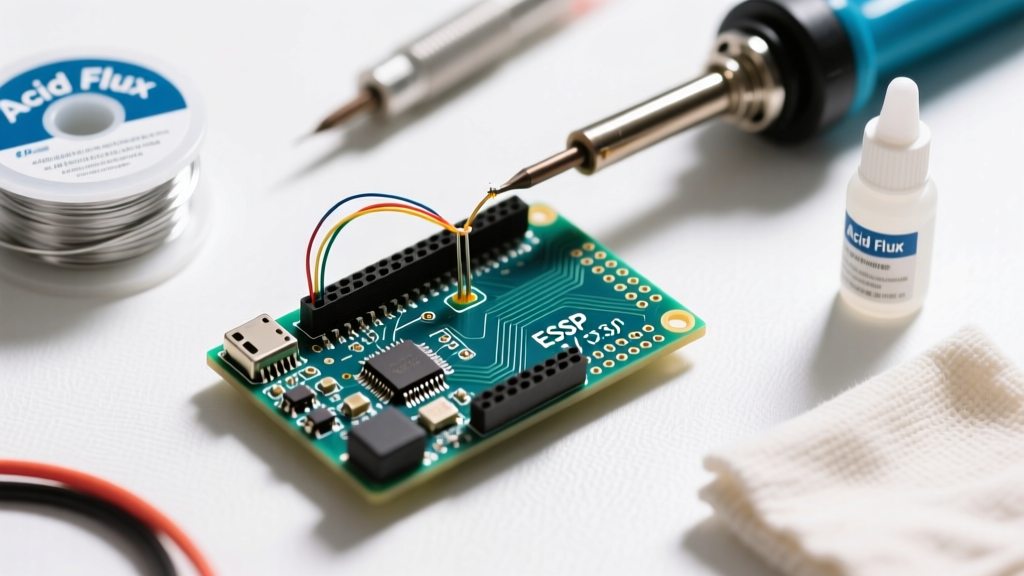
Expert Insight: Never use plumbing acid flux (zinc chloride) on electronics. It remains chemically active at room temperature and will aggressively corrode copper traces and component leads within weeks, leading to catastrophic field failures.
The 4-Step Protocol: How to Use Flux When Soldering
Applying flux is not just about slapping it on the joint; it is about controlled volume, precise timing, and thermal management. Follow this exact protocol for flawless wetting.
Step 1: Mechanical Surface Preparation
Flux is a chemical cleaner, not a mechanical one. If a pad has heavy tarnish, conformal coating residue, or deep oxidation, the flux will be consumed before it can prepare the surface for solder.
- For PCB Pads: Gently wipe the area with a fiberglass scratch pen or a clean brass wire brush. Follow with a swipe of 99% Isopropyl Alcohol (IPA) on a lint-free Kimwipe.
- For Component Leads: If leads are oxidized (dull or grey), lightly scrape them with a scalpel blade until bright copper or tinned metal is visible.
Step 2: Precision Flux Application
The volume of flux applied dictates the success of the joint. Too little, and the solder won't flow; too much, and you risk excessive splattering or difficult-to-clean residue traps under low-clearance components.
- For Syringe Dispensing (SMD/Paste): Use a 21-gauge (0.84mm) dispensing tip for standard 0805/0603 components. Apply a tiny dot (roughly half the volume of the component pad) to the PCB pad before placing the part.
- For Liquid/Pen Flux (Through-Hole): Apply a thin, even film over the pad and the inserted lead. The flux should cover the pad but not pool excessively in the barrel of the plated through-hole (PTH).
- For Core Flux (Wire Solder): If you are using high-quality rosin-core wire (like Sn63/Pb37 with 2-3% flux core), additional external flux is often unnecessary for simple joints. However, adding external liquid flux is mandatory when reworking old joints, dragging solder on QFP chips, or using lead-free alloys which have poor natural wetting.
Step 3: Thermal Transfer and Dwell Time
This is where most beginners fail. Flux requires time to activate, but excessive heat destroys it.
- Set Your Iron: For 63/37 Leaded solder, set your station to 320°C - 340°C. For SAC305 Lead-Free solder, use 350°C - 380°C. (Reference: Adafruit's Guide to Excellent Soldering recommends starting at 325°C for lead-free).
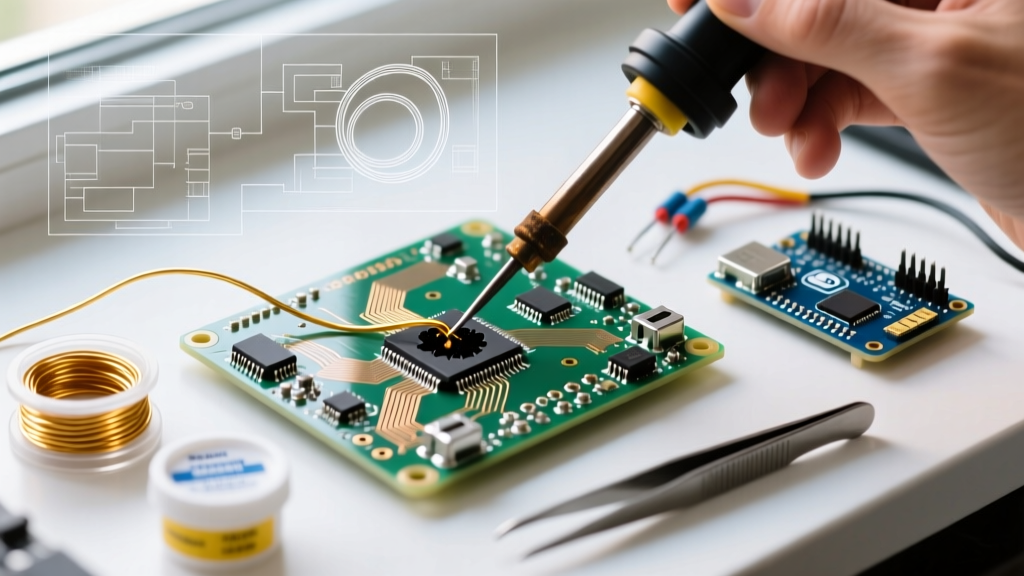
- The 3-Second Rule: Apply the iron tip to both the pad and the lead simultaneously. Count to two to allow the flux to boil and clean the surface, then feed the solder wire into the *joint*, not the iron tip. The entire process should take no more than 3 to 4 seconds.
- Watch the Outgassing: You will see a small puff of smoke. This is the flux activators vaporizing after dissolving the oxides. If the smoke is excessively thick or black, your iron is too hot, or you are dwelling too long, causing the rosin base to carbonize (char).
Step 4: Cooling and Post-Solder Cleaning
Allow the joint to cool naturally. Do not blow on it or move the component, as disturbing the solder during its plastic (mushy) phase will create a disturbed joint, which looks grainy and is mechanically weak.
Cleaning Protocols:
- Rosin (RMA): Scrub with a stiff brush (like a clean toothbrush) soaked in 99% IPA. Wipe away the dissolved flux before the IPA evaporates, or it will just redeposit as a sticky white film.
- Water-Soluble: Must be cleaned within 2 to 4 hours. Use heated Deionized (DI) water (approx. 60°C) in an ultrasonic cleaner or under a high-pressure spray. Tap water contains ions that will cause electrochemical migration.
- No-Clean: Leave it alone unless you are applying a conformal coating. No-clean residue can actually act as a mild protective barrier, but it must be fully cured by the heat of the soldering process.
Troubleshooting Flux-Related Failure Modes
Even experienced engineers run into edge cases. Here is how to diagnose and fix flux-related anomalies on the workbench.
1. Solder Splattering and Spitting
Cause: Moisture trapped inside water-soluble flux, or applying a massive glob of cold flux to a 380°C iron tip. The rapid phase change from liquid to steam causes micro-explosions.
Fix: Apply flux to the *room-temperature* joint before applying the iron. If using water-soluble paste, ensure it hasn't absorbed ambient humidity (store in a desiccator).
2. Tombstoning in SMD Components
Cause: Uneven flux outgassing or unequal thermal mass between two pads. The rapid release of flux vapors on one side pushes the component up, while the surface tension of the molten solder on the hotter side pulls it upright.
Fix: Use a halide-free, low-outgassing no-clean flux (like Amtech). Ensure your iron tip heats both pads equally, or use a hot air rework station for uniform thermal distribution.
3. Charred, Blackened Residue
Cause: Iron temperature exceeds 400°C, or the tip is left on the joint for >5 seconds. The rosin base burns into carbon, which is highly insulating and nearly impossible to clean with IPA.
Fix: Lower the iron temperature. Use a larger iron tip (e.g., bevel or chisel) to increase thermal mass transfer, allowing you to complete the joint in under 2 seconds without cranking up the heat.
4. Dendrite Growth (Short Circuits)
Cause: Failure to clean water-soluble flux, or using a cheap, halide-heavy no-clean flux in high-humidity environments. The residual ions combine with moisture to create conductive crystalline trees (dendrites) between fine-pitch pins.
Fix: Strictly adhere to IPC J-STD-001 cleaning requirements. For high-impedance or RF circuits, always clean no-clean residue with specialized saponifiers or high-purity IPA, followed by a DI water rinse.
Safety and Fume Extraction
Flux fumes are not just annoying; they are a documented occupational hazard. The vaporized colophony (pine rosin) and activators are known respiratory sensitizers that can cause occupational asthma. According to SparkFun's through-hole soldering tutorial and industrial safety guidelines, proper ventilation is non-negotiable.
- Source Capture: Use a benchtop fume extractor with a HEPA and activated carbon filter placed within 6 inches of the soldering zone.
- Airflow: Never rely on a simple desk fan to blow fumes away; this just disperses the rosin particulates into the room. The air must be pulled *away* from your face and filtered.
- PPE: Wear nitrile gloves when handling liquid water-soluble fluxes, as the organic acids can cause contact dermatitis over prolonged exposure.
Final Thoughts on Mastery
Knowing how to use flux when soldering transforms your work from fragile, unreliable blobs into professional, IPC-compliant metallurgical bonds. By selecting the correct chemistry for your alloy, controlling your application volume, respecting the thermal limits of the activators, and executing proper post-solder cleaning, you will drastically reduce rework time and increase the lifespan of your electronic assemblies. Keep your tips tinned, your flux fresh, and your joints shiny.