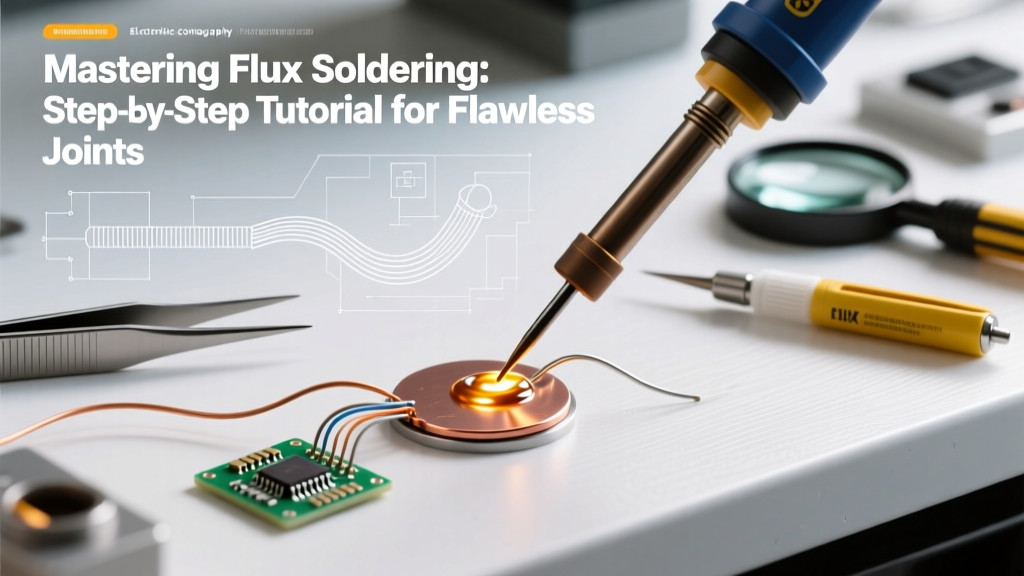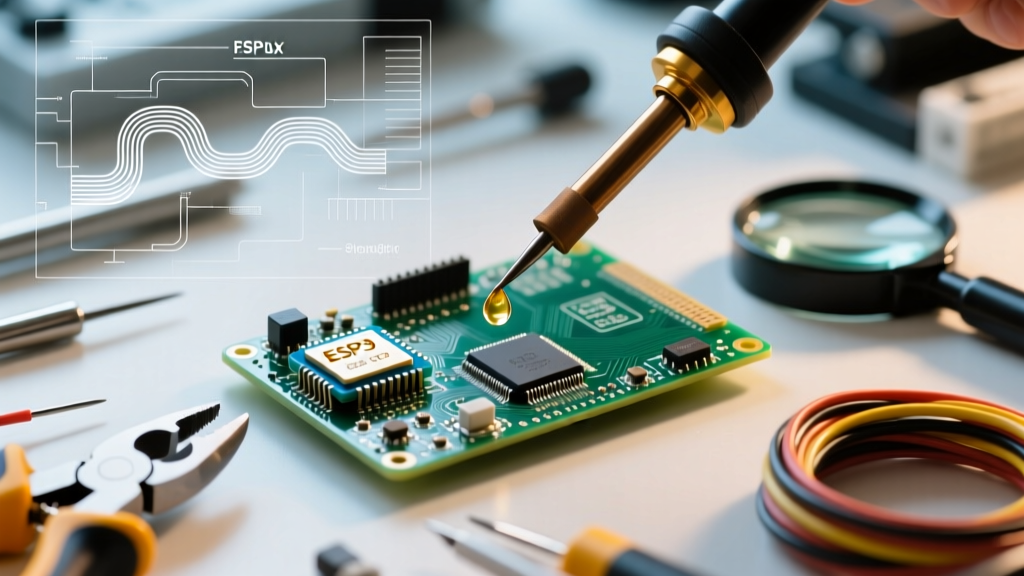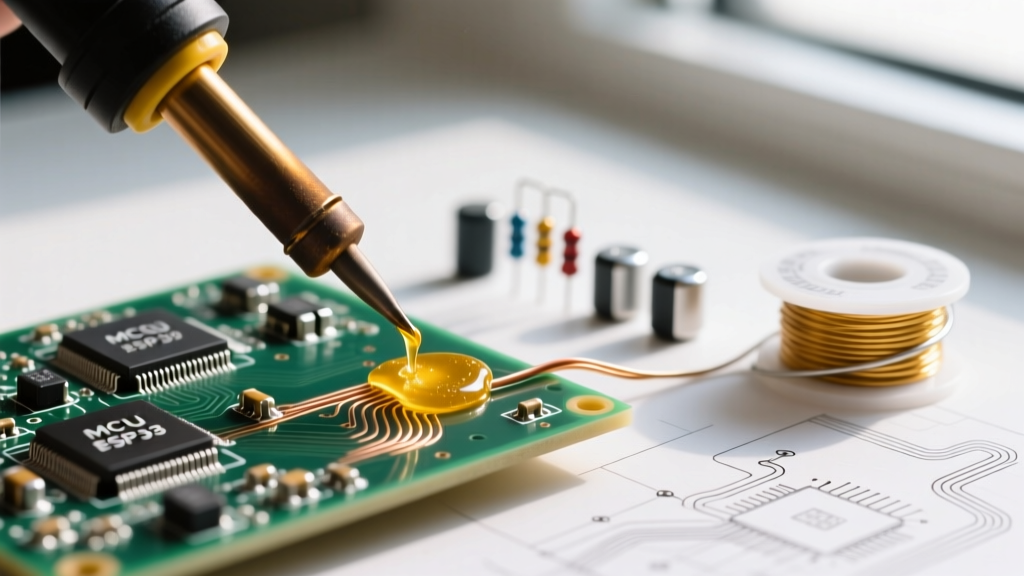

The Critical Role of Rosin in PCB Assembly
When copper pads and component leads are exposed to air, they rapidly form a microscopic layer of copper oxide. This oxide layer acts as a thermal and chemical barrier, preventing molten solder from wetting the surface. This is where rosin for soldering becomes indispensable. Derived from distilled pine resin (colophony), rosin flux is chemically inert at room temperature but becomes highly active at soldering temperatures (typically above 150°C). It dissolves metal oxides, protects the joint from re-oxidation during heating, and reduces the surface tension of the molten solder, allowing it to flow via capillary action.
Despite its importance, misapplying rosin flux is a leading cause of cold joints, bridging, and corrosive residue damage in DIY and prototyping environments. This comprehensive tutorial will guide you through selecting, applying, and cleaning rosin flux to achieve IPC-compliant solder joints.
Decoding Rosin Flux: IPC J-STD-004B Classifications
Before picking up a flux pen or syringe, you must understand what you are applying. The IPC J-STD-004B standard categorizes rosin fluxes based on their activity level (which dictates how aggressively they remove oxides) and their halide content. Choosing the wrong type can lead to either insufficient wetting or long-term electrochemical migration (dendritic growth).
| IPC Designation | Traditional Name | Activity Level | Best Application | Cleaning Required? |
|---|---|---|---|---|
| ROL0 / ROL1 | R (Pure Rosin) | Low | Highly clean, fresh PCBs; aerospace/medical where residue must be benign. | No (Non-corrosive) |
| ROM0 / ROM1 | RMA (Rosin Mildly Activated) | Medium | Standard DIY, prototyping, and general through-hole/SMD assembly. | Recommended for high-impedance circuits |
| ROH0 / ROH1 | RA (Rosin Activated) | High | Heavily oxidized boards, vintage electronics repair, large ground planes. | Yes (Mandatory to prevent corrosion) |
Essential Toolkit for Rosin Application
To execute this tutorial, you need precise tools. Avoid generic 'welding flux' or plumbing paste, which contain zinc chloride and will instantly destroy electronic traces.
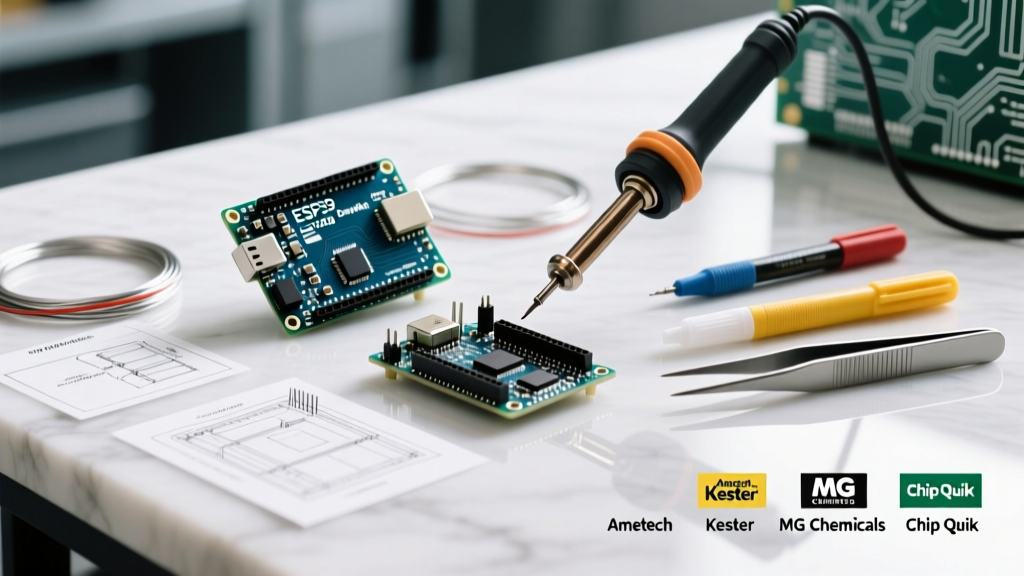
- Liquid RMA Flux: Kester 186 Mildly Activated Liquid Flux (~$12 for 100ml). Ideal for through-hole and general SMD rework due to its excellent capillary flow.
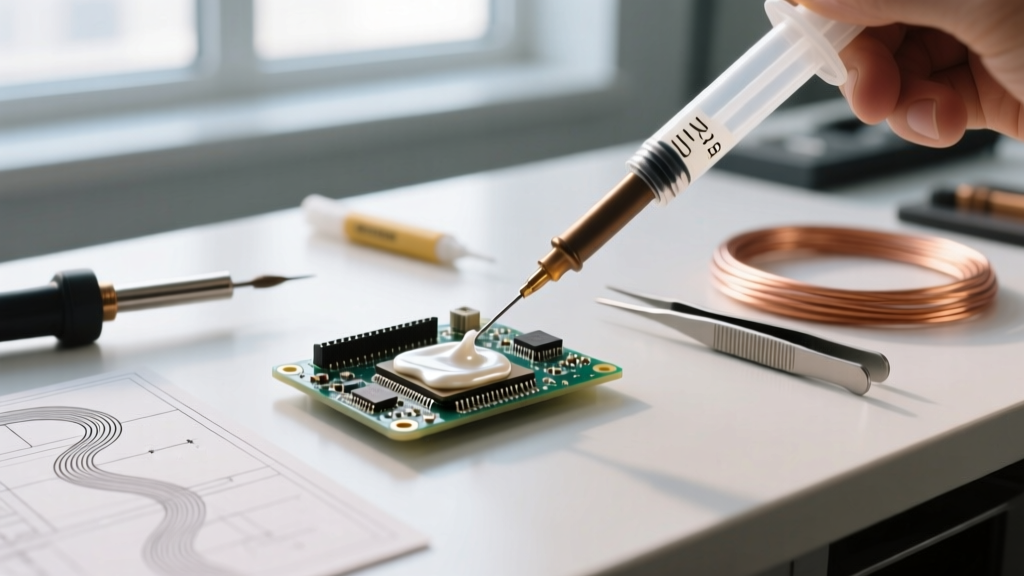
- RA Paste Flux: MG Chemicals 8351 Rosin Activated Paste (~$9 for 10g syringe). Perfect for tinning oxidized wires and SMD drag-soldering.
- Solvent: 99.9% Isopropyl Alcohol (IPA). Never use 70% rubbing alcohol, as the 30% water content will cause steam explosions under the solder and accelerate oxidation.
- Applicators: Acid brushes (trimmed to 1/4 inch for stiffness), flux pens, and lint-free Kimwipes.
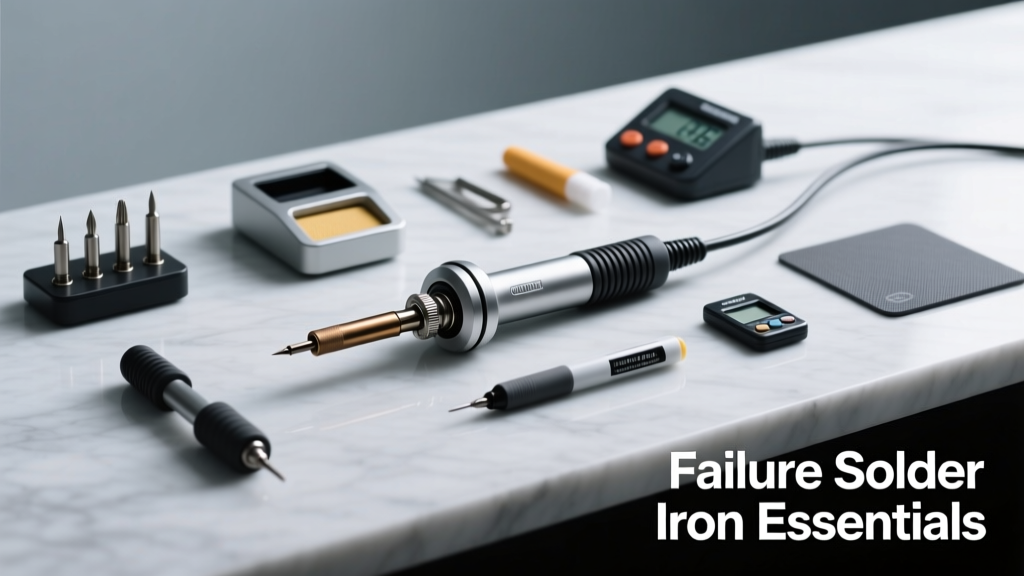
- Soldering Station: A temperature-controlled station (e.g., Hakko FX-951 or Weller WE1010NA) capable of maintaining 320°C to 350°C.
Step-by-Step Tutorial: Applying Rosin for Soldering
Step 1: Substrate and Lead Preparation
Flux is a chemical cleaner, not a mechanical one. If the pad is covered in conformal coating, heavy grime, or thick corrosion, the rosin will fail.
- Wipe the PCB pads and component leads with a Kimwipe soaked in 99.9% IPA.
- For heavily oxidized vintage boards, gently abrade the leads with a fiberglass scratch pen or a pink eraser before applying flux.
- Allow the IPA to flash off completely (approx. 5 seconds).
Step 2: Flux Deposition Techniques
The method of application depends on the physical state of your rosin flux and the component type.
For Liquid RMA Flux (Through-Hole & Fine Pitch SMD):
- Dip a trimmed acid brush into the liquid flux, wiping the excess on the bottle neck.
- Apply a thin, even coat over the target pads. For through-hole components, apply flux to the pad and insert the component; the flux will wick into the plated through-hole (PTH) barrel via capillary action.
For RA Paste Flux (SMD Drag Soldering & Wire Tinning):
- Dispense a 1mm bead of paste along the row of SMD pads using a syringe.
- For wire tinning, smear a pea-sized amount of paste directly onto the stripped copper strands before applying heat.
Step 3: Thermal Transfer and Wetting
Rosin flux activates between 150°C and 200°C, boiling off volatile solvents and exposing the active rosin acids to the copper oxide.
- Set your soldering iron to 320°C for leaded solder (Sn63/Pb37) or 350°C for lead-free (SAC305).
- Touch the iron tip to the pad and the component lead simultaneously for 1 second to activate the rosin.
- Feed the solder wire into the opposite side of the joint (not directly onto the iron tip). The activated rosin will pull the molten solder into the joint.
- Remove the solder wire, then remove the iron. Total dwell time should not exceed 3 seconds to prevent charring the rosin and delaminating the PCB pad.
Troubleshooting Rosin-Related Soldering Defects
Even with high-quality rosin for soldering, improper technique leads to distinct failure modes. Use this diagnostic matrix to correct your process:
- Defect: Charred, Blackened Flux Residue.
Cause: Iron temperature exceeds 380°C, or dwell time is greater than 4 seconds. The rosin has carbonized, losing its chemical activity and becoming highly resistive.
Fix: Lower station temperature to 320°C. Use a brass wire sponge to clean the tip, and apply fresh liquid flux before reworking the joint. - Defect: Dewetting (Solder balls up and refuses to stick).
Cause: Flux exhaustion. The rosin boiled away before the thermal mass of the component reached soldering temperature, allowing rapid re-oxidation.
Fix: Add a secondary drop of liquid RMA flux to the joint to reactivate the wetting process. Pre-tin large ground planes to reduce required dwell time. - Defect: Solder Bridging on Fine-Pitch ICs.
Cause: Excessive RA paste flux trapping solder between 0.5mm pitch pins, combined with insufficient heat to break the solder's surface tension.
Fix: Apply a generous amount of liquid RMA flux over the bridge. Drag a clean, dry chisel tip across the pins. The liquid flux will reduce surface tension and pull the bridge apart.
Post-Soldering Cleaning and Residue Management
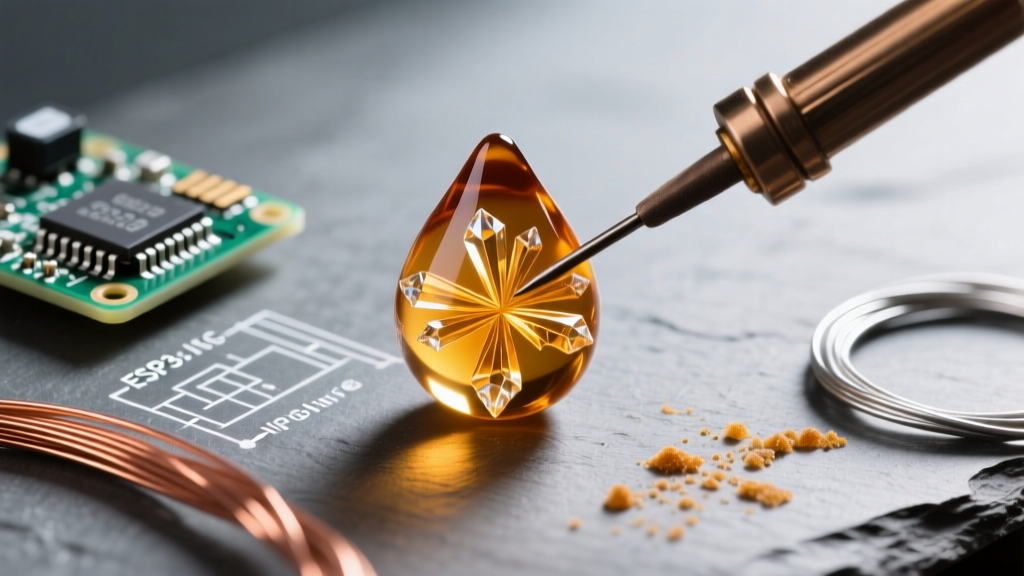
A common misconception is that all rosin flux is 'no-clean'. While pure R (ROL0) flux leaves a hard, non-conductive, amber resin that is safe to leave on the board, RMA and RA fluxes contain activators (like adipic or succinic acid) that can become hygroscopic (moisture-absorbing) over time. In high-humidity environments or high-impedance analog circuits, this residue can cause leakage currents or electrochemical migration.
The Proper Cleaning Protocol
- Cool Down: Allow the PCB to cool to room temperature. Cleaning hot flux bakes the activators into a hard, insoluble shell.
- Solvent Application: Flood the soldered area with 99.9% IPA. Do not use aerosol flux removers containing acetone or harsh solvents if your board has plastic connectors or 3D-printed enclosures nearby, as they will melt the plastics.
- Agitation: Use a natural hog-bristle brush or a dedicated ESD-safe cleaning brush to scrub the residue. The rosin will dissolve into the alcohol, turning it cloudy yellow.
- Extraction: Immediately wipe the dissolved flux away with a lint-free Kimwipe before the alcohol evaporates. If the alcohol evaporates on its own, the rosin will simply redeposit onto the board as a sticky white film.
- Final Rinse: Give the board a final wipe with fresh IPA and allow it to air dry in a dust-free environment.
Mastering the application of rosin for soldering transforms your electronics work from frustrating to professional. By matching the correct IPC flux classification to your specific oxidation challenges, controlling your thermal profiles, and executing proper cleaning protocols, you will consistently produce bright, concave, and mechanically robust solder joints.