
The Metallurgy of the Joint: Why Flux is Non-Negotiable
When soldering copper plumbing, the flux is not merely a preparatory step; it is the chemical catalyst that makes capillary action possible. Bare copper rapidly forms a microscopic layer of copper oxide when exposed to air and heat. This oxide layer acts as a barrier, preventing molten solder from wetting the metal. Copper pipe soldering flux dissolves this oxide layer at high temperatures and reduces the surface tension of the molten solder, allowing it to be drawn deep into the microscopic clearance (typically 0.001 to 0.005 inches) between the pipe and the fitting.
Without the correct flux, or if the flux is applied improperly, the solder will ball up on the surface of the pipe rather than wicking into the joint, resulting in catastrophic pinhole leaks under pressure. According to the Copper Development Association, proper flux application is the single most critical variable in achieving a watertight, structurally sound capillary joint.
Selecting the Right Copper Pipe Soldering Flux
Not all fluxes are created equal. Using an acid-based flux meant for HVAC refrigeration lines on a potable water supply line can lead to severe internal corrosion and water contamination. Below is a breakdown of the primary flux chemistries available for plumbing and mechanical applications.
| Flux Type | Brand / Model Example | Best Application | Cleanup Method | Avg. Cost (2026) |
|---|---|---|---|---|
| Water-Soluble (Rosin/Petroleum base) | Oatey No. 5 Paste Flux | Potable water lines, general plumbing | Warm water wipe | $6.00 - $9.00 / 4oz |
| Tinning Flux (Contains solder powder) | La-Co Solder Flux | Large diameter pipes (1"+), vertical joints | Wire brush + water | $12.00 - $18.00 / 4oz |
| Acid-Based (Zinc Chloride) | Harris Stay-Clean | HVAC, refrigeration, non-potable mechanical | Damp cloth + neutralizer | $8.00 - $12.00 / 4oz |
Pro Tip: For standard residential water lines (1/2" and 3/4" Type L or M copper), a high-quality water-soluble flux like Oatey No. 5 is the industry standard. Reserve tinning flux for 1-inch and larger mains where the thermal mass of the copper makes it difficult to keep the joint hot enough for standard solder to flow.
Step-by-Step Application Tutorial
Achieving a perfect solder joint requires a systematic approach to preparation, application, and thermal management. Follow these precise steps to ensure your copper pipe soldering flux performs optimally.
Phase 1: Mechanical Preparation
- Cut and Ream: Cut the copper pipe using a rotary tube cutter to ensure a perfectly square edge. Use the reamer blade on the cutter to remove the internal burr. An un-reamed pipe creates water turbulence, which can cause localized erosion-corrosion over time.
- Abrasive Cleaning: Use 120-grit emery cloth or a dedicated copper cleaning pad to polish the outside of the pipe until it shines like a new penny. Clean a length equal to the fitting depth plus 1/4 inch.
- Fitting Prep: Use a stainless steel wire brush (matched to the fitting diameter, e.g., 1/2" brush for 1/2" fitting) to clean the inside of the socket. Never use sandpaper on the inside of a fitting, as it can alter the precise machining tolerances required for capillary action.
Phase 2: Flux Application
Once the metal is bright, oxidation begins immediately. Apply the flux promptly.
- Use a dedicated flux brush or a clean, acid-free dauber. Do not use your fingers; the oils from your skin will compromise the flux's chemical efficacy.
- Apply a thin, uniform film of flux to the outside of the pipe. Thickness matters: A layer so thick that it drips will boil violently when heated, creating blowholes in the solder joint.
- Insert the pipe into the fitting and give it a 1/4 turn to distribute the flux evenly across the mating surfaces.
- Wipe away any excess flux that squeezes out of the joint with a dry rag before applying heat. Excess surface flux can burn and become impossible to remove later.
Phase 3: Thermal Management and Soldering
Flux has a specific active temperature window. If you underheat the joint, the flux won't activate. If you overheat it, the flux will carbonize (turn black and crusty), losing its oxide-dissolving properties entirely.
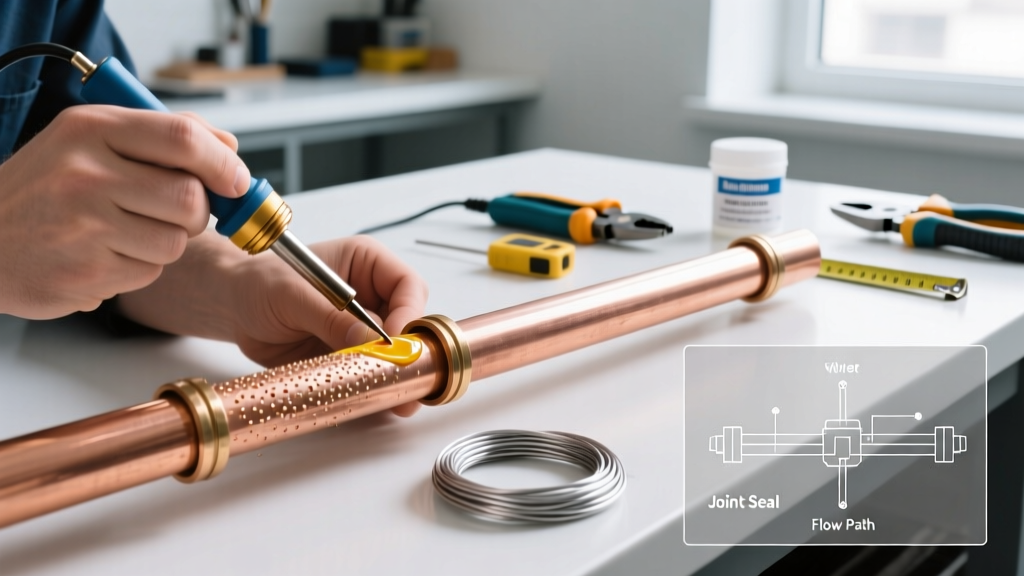
- Heat the Fitting, Not the Pipe: Apply the flame to the base of the fitting (the hub), moving it continuously to avoid hot spots. The goal is to heat the fitting so it draws the molten solder inward via capillary action.
- Test with Solder: After 5 to 8 seconds (for 1/2" pipe with a standard propane torch), touch your solder wire to the joint on the side opposite the flame. If the copper pipe soldering flux has done its job and the joint is at the correct temperature (approx. 440°F for 95/5 solder), the solder will instantly melt and wick into the joint.
- Feed the Joint: Feed about 1/2 inch to 3/4 inch of solder for a 1/2" joint, and 3/4 inch to 1 inch for a 3/4" joint. When a continuous ring of molten solder appears at the edge of the fitting, the joint is full.
Phase 4: Post-Solder Cleanup
Water-soluble fluxes are mildly acidic at room temperature. If left on the pipe, they will eventually eat through the copper and cause pinhole leaks years down the line.
- While the joint is still warm (but not hot enough to melt a rag), wipe the exterior with a damp cloth to remove the bulk of the flux residue.
- Once the system is pressurized and cooled, wash the exterior of the pipes with warm water and a mild detergent to neutralize and remove any remaining chemical traces.
Troubleshooting Flux-Related Joint Failures
Even experienced plumbers encounter joint failures. Here is how to diagnose issues specifically related to flux application:
Solder Refuses to Wick (Balls Up)
Cause: The joint was overheated, causing the flux to burn off and carbonize before the solder was applied. Alternatively, the pipe was not cleaned properly, leaving a layer of copper oxide. Solution: You cannot simply add more solder. The joint must be disassembled using a propane torch, cleaned entirely with wire brushes and emery cloth, re-fluxed, and reassembled.
Pinhole Leaks Under Pressure
Cause: Microscopic water droplets inside the pipe turned to steam during soldering, blowing through the molten solder and the flux layer. Another cause is applying flux too thickly, causing it to boil and create voids. Solution: Always ensure lines are completely drained. If you cannot drain the line entirely, use the "bread trick" (stuffing a piece of white bread into the pipe upstream to act as a temporary water dam, which will dissolve and flush out through a faucet once the system is turned on).
Code Compliance and Potable Water Safety
When working on domestic water supplies, material safety is governed by strict regulations. The EPA mandates that all solder and flux used in potable water systems must meet lead-free requirements. According to the Environmental Protection Agency, safe drinking water infrastructure requires materials that do not leach harmful heavy metals.
Always verify that your copper pipe soldering flux and solder alloy carry the NSF/ANSI 61 certification. This standard ensures the materials are safe for contact with drinking water. For solder, use 95/5 (Tin/Antimony) or a lead-free alloy like 96.5/3.5 (Tin/Silver/Copper). Never use 50/50 (Tin/Lead) solder or acid-core solder on any plumbing line that will carry water intended for human consumption. Furthermore, consult the International Association of Plumbing and Mechanical Officials (IAPMO) Uniform Plumbing Code (UPC) for local jurisdiction requirements regarding flux clean-up and inspection protocols before concealing pipes behind drywall.