
The Hidden Enemy of Copper: Understanding Oxidation
When you first unspool a fresh reel of solder wire or open a new jar of paste, the process seems straightforward: apply heat, add solder, and watch it flow. However, beginners quickly encounter a frustrating phenomenon where the solder balls up, refuses to adhere, or forms dull, jagged peaks. The culprit is almost always copper oxidation, and the solution is the correct flux for copper soldering.
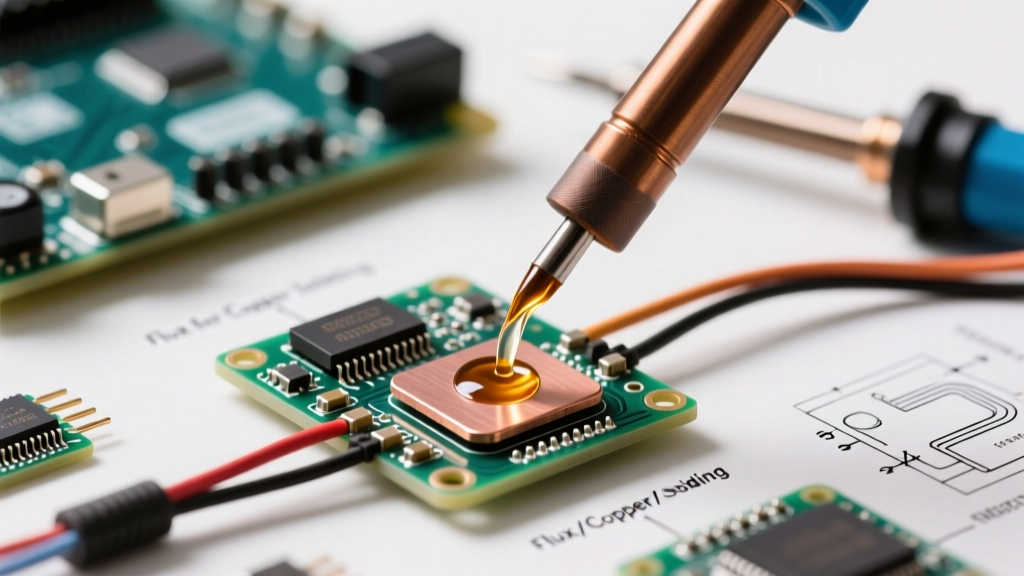
Copper is an exceptional electrical conductor, but it is highly reactive to oxygen, especially at elevated temperatures. When a soldering iron tip touches a bare copper pad or wire at 350°C (662°F), the copper instantly reacts with ambient oxygen to form cuprous oxide (Cu2O) and cupric oxide (CuO). Solder alloys—whether traditional 63/37 tin-lead or modern SAC305 lead-free—cannot metallurgically bond to these oxide layers. Flux acts as a chemical reducing agent, stripping away this oxidation at the exact moment the solder melts, allowing the liquid metal to wet the bare copper and form an intermetallic compound (IMC).
Decoding Flux Chemistries: Which Type Do You Need?
Choosing the right flux for copper soldering depends entirely on your application, your cleaning capabilities, and the environment the final PCB or splice will operate in. According to the IPC (Institute of Printed Circuits) standards, fluxes are categorized by their chemical composition and activity levels. Here is a breakdown of the three primary chemistries used in electronics and electrical work.
| Flux Type | Chemical Base | Activity Level | Best For | Post-Solder Cleaning? | Top Product Example (2026) |
|---|---|---|---|---|---|
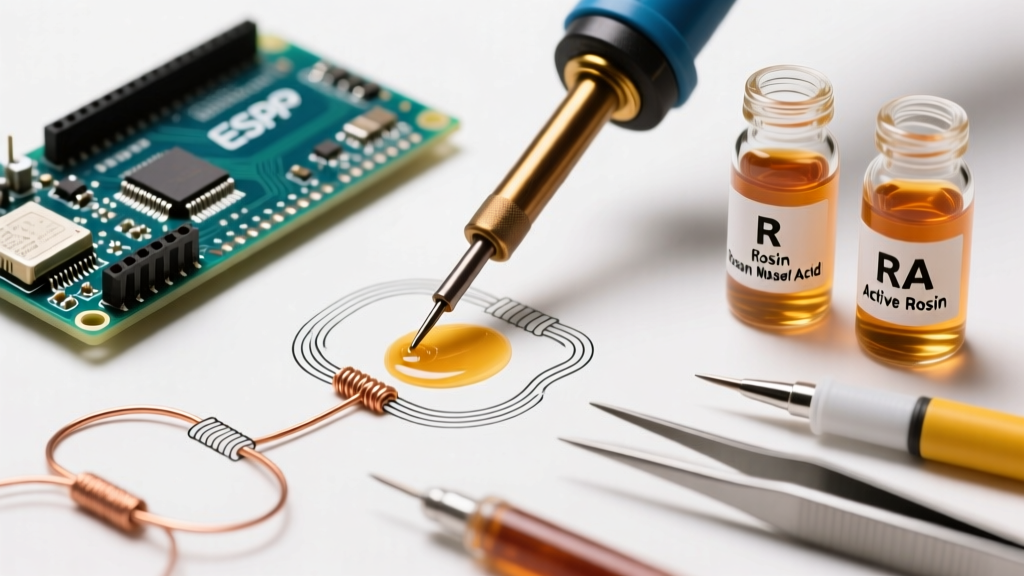
| Rosin (R / RMA / RA) | Pine sap extract (abietic acid) | Low to Moderate | General PCB repair, wire tinning, through-hole components | Optional (R/RMA), Recommended (RA) | Kester 44 (RA) - ~$12 / 2oz |
| Water-Soluble (OA) | Organic Acids (citric, lactic) | High | Heavily oxidized copper, thick gauge wires, automated wave soldering | Mandatory (Deionized water) | Chip Quik WS-4400 - ~$18 / 10cc |
| No-Clean | Synthetic resins, mild activators | Low | SMD rework, BGA stenciling, high-density PCBs | No (Residue is benign) | MG Chemicals 8341 - ~$15 / 10ml |
Deep Dive: Rosin vs. No-Clean for Beginners
For most hobbyists and beginners working with standard through-hole components and copper wire splices, Rosin Activated (RA) flux like the legendary Kester 44 remains the gold standard. The rosin melts around 120°C, sealing the copper from oxygen before the solder even melts at 183°C (for 63/37 alloy). The mild activators dissolve the oxide layer, resulting in bright, shiny, and mechanically strong joints.
Conversely, No-Clean fluxes are engineered for surface-mount device (SMD) soldering. They leave behind a clear, hard, non-conductive residue that does not cause dendritic growth or short circuits. However, no-clean fluxes have a narrower thermal window; if your iron is too hot (above 380°C), the synthetic resins will burn, leaving a stubborn, dark brown crust that is nearly impossible to remove without aggressive solvents.
The Golden Rule: Electronics vs. Plumbing Copper
One of the most catastrophic mistakes a beginner can make is using plumbing flux on electronic copper traces. Plumbing copper pipes require acid-based fluxes (typically containing zinc chloride or ammonium chloride) to cut through heavy environmental tarnish and withstand the massive thermal mass of a propane torch.
CRITICAL WARNING: Never use plumbing paste (like Oatey or Harris) on printed circuit boards or electrical wire splices. Acid fluxes are highly corrosive. Even microscopic amounts left on a PCB will absorb ambient humidity, creating a conductive electrolytic path that will silently eat through your copper traces and cause catastrophic short circuits within weeks. Always use electronics-grade rosin or synthetic flux for electrical work.
Step-by-Step Application for Flawless Copper Joints
Mastering flux for copper soldering is as much about technique as it is about chemistry. Follow this precise workflow to ensure optimal wetting and joint reliability, a methodology heavily emphasized in the Adafruit Guide to Excellent Soldering.
- Mechanical Prep: Flux is not a magic eraser for dirt, grease, or thick corrosion. Lightly abrade the copper wire or pad with fiberglass scratch pen or 400-grit sandpaper until it shines. Wipe away debris with 99% Isopropyl Alcohol (IPA). Do not use 70% IPA, as the 30% water content will cause violent splattering when heated.
- Pre-Tinning the Iron: Wipe your iron tip on a damp brass sponge, then immediately apply a small amount of your solder wire to the tip. This 'tinning' layer protects the iron's copper core from oxidizing and maximizes thermal transfer.
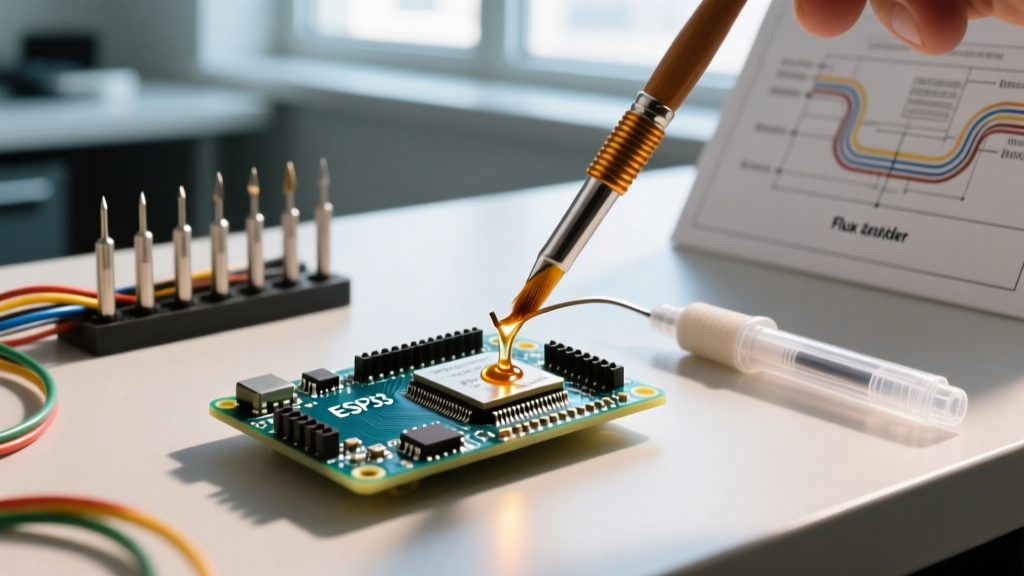
- Apply the Flux: If using a syringe or paste, apply a 2mm bead directly over the copper joint. If using a flux pen, draw a single, generous stroke over the pad and lead. Allow liquid flux solvents to evaporate for 3-5 seconds before applying heat; this prevents the flux from boiling and splattering hot solder.
- Heat the Workpiece, Not the Solder: Place the tinned iron tip so it bridges both the copper pad and the component lead. Hold for 1.5 to 2 seconds. You will see the flux melt, bubble slightly, and turn clear—this is the visual cue that the oxides have been stripped.
- Feed the Solder: Touch the solder wire to the opposite side of the joint (not directly to the iron tip). If the flux has done its job, the solder will instantly wick into the joint via capillary action, forming a smooth, concave fillet.
- Remove and Cool: Pull the solder wire away first, then remove the iron in a smooth, sweeping motion. Let the joint cool naturally for 3 seconds. Do not blow on it; rapid cooling can cause micro-fractures in the intermetallic layer.
Troubleshooting Matrix: When Flux Fails
Even with the right flux for copper soldering, environmental and thermal variables can cause defects. Use this diagnostic matrix to identify and correct your technique.
| Visual Defect | Probable Cause | Corrective Action |
|---|---|---|
| De-wetting / Solder Balling | Flux burned off before solder flowed; iron temperature too high (>400°C) or joint was not mechanically cleaned prior to fluxing. | Lower iron temp to 340°C. Clean copper with IPA, reapply fresh flux, and use a larger iron tip for better thermal mass transfer. |
| White, Chalky Residue | Moisture contamination in no-clean or rosin flux; or using 70% IPA for cleaning which leaves water behind. | Switch to 99% IPA. Ensure flux syringes are stored in airtight, moisture-free environments. Bake PCBs at 60°C for 1 hour if humidity is suspected. |
| Dull, Grainy Joint | Disturbed the joint while the solder was in its plastic (semi-solid) cooling phase; or using 60/40 alloy outside its eutectic sweet spot. | Hold the component completely still until the solder loses its liquid sheen. Switch to 63/37 eutectic solder for beginner projects to eliminate the plastic state. |
| Excessive Splattering | Applying heat to liquid flux too quickly, causing the solvent carrier to flash-boil. | Wait 5 seconds after applying liquid/paste flux to let solvents off-gas. Approach the joint with the iron at a 45-degree angle to deflect any micro-sparks. |
Safety, Fumes, and Workspace Management
The activators in rosin and water-soluble fluxes release volatile organic compounds (VOCs) and microscopic particulate matter when heated. Prolonged exposure to colophony (pine rosin) fumes is a known occupational hazard that can trigger severe contact dermatitis and occupational asthma. The NASA Electronic Parts and Packaging (NEPP) Program strictly mandates localized fume extraction in all professional soldering environments.
As a beginner, you must invest in a localized fume extractor. A basic carbon-filter fan (like the Hakko FA-400, priced around $75 in 2026) is the absolute minimum requirement. Position the intake nozzle exactly 10 to 15 centimeters away from your soldering joint to capture the smoke plume before it reaches your breathing zone. Additionally, always wash your hands with soap and water after handling RA (Rosin Activated) fluxes or water-soluble pastes, as the mild acids can cause skin irritation over prolonged contact.
Frequently Asked Questions (FAQ)
Can I use liquid flux with rosin-core solder wire?
Yes, and it is highly recommended for complex joints. While rosin-core wire contains 1% to 3% flux internally, this is often insufficient for thick copper wires or heavily oxidized vintage PCB pads. Applying an external liquid rosin flux (like Kester 186) supplements the core flux, extending the active wetting time and ensuring a flawless fillet without requiring excessive heat.
Why does my no-clean flux turn dark brown and hard?
No-clean fluxes rely on synthetic resins that are designed to activate at lower temperatures (typically 150°C to 180°C). If your soldering iron is set above 360°C, or if you dwell on the joint for more than 4 seconds, the resin undergoes thermal degradation and carbonizes. To prevent this, use a temperature-controlled station set to 320°C for standard 63/37 leaded solder, and limit your iron contact time to under 3 seconds per joint.
How long does liquid flux last before expiring?
Unopened bottles of rosin-based liquid flux typically have a shelf life of 24 to 36 months when stored in a cool, dark place. Once opened, the alcohol solvents will slowly evaporate, thickening the flux. If your flux becomes syrupy, do not thin it with rubbing alcohol. Instead, use a dedicated flux thinner (usually composed of high-purity isopropyl alcohol and specific glycol ethers) to restore its original viscosity without compromising its chemical activation properties.