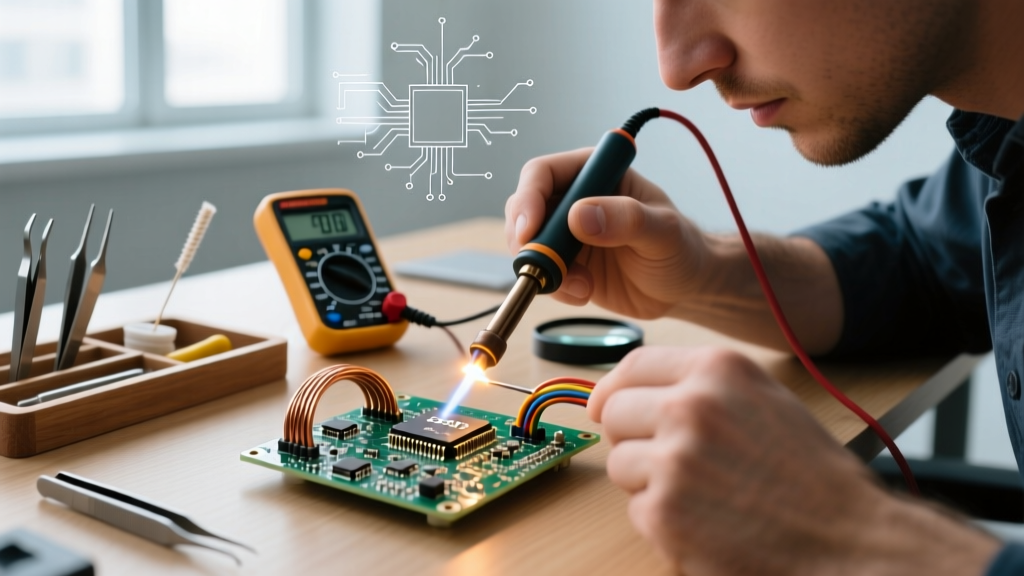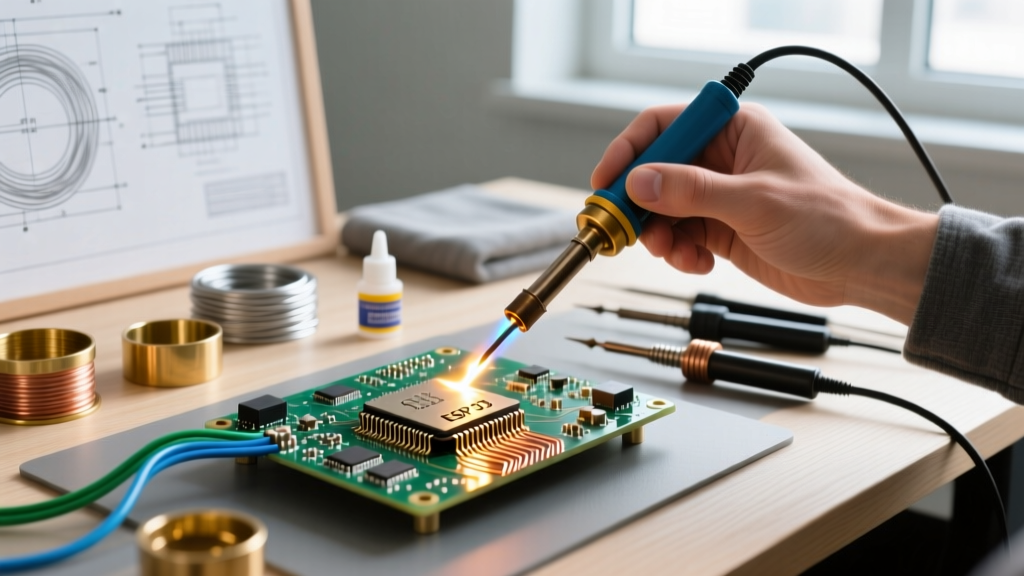

Introduction: When to Ditch the Iron for an Open Flame
When a standard 60W or even a heavy-duty 250W soldering iron hits a thermal wall, the joint fails. High-mass components, thick-walled plumbing, and large structural tabs simply absorb heat faster than an iron can deliver it. This is where soldering with a torch becomes mandatory. However, applying an open flame to metal introduces complex metallurgical variables. Unlike the controlled, localized heat of a ceramic heating element, a torch floods the workpiece with high-BTU thermal energy, fundamentally altering how different base metals react to filler alloys and chemical fluxes.
According to the American Welding Society (AWS), the defining line between soldering and brazing is 840°F (450°C). Soldering occurs below this threshold, relying on capillary action and surface wetting without melting the base metal. This guide breaks down exactly which materials are compatible with torch soldering, the specific flux chemistries required, and the torch setups needed to maintain strict temperature control in 2026.
The Physics of Torch Soldering: Thermal Mass vs. BTU Output
The primary advantage of torch soldering is raw BTU (British Thermal Unit) delivery. A standard propane torch can output upwards of 12,000 to 20,000 BTUs, allowing you to bring a 500-gram copper assembly to 400°F in seconds. However, this speed is a double-edged sword. If the torch is held in one spot too long, you risk localized annealing, warping, or accidentally crossing the 840°F threshold into brazing territory, which can destroy the temper of spring-metal contacts or melt adjacent plastic housings.
Expert Insight: The goal of torch soldering is to heat the base metal to the flow temperature of the solder, not to melt the solder directly with the flame. If you melt the wire against the torch nozzle and let it drip onto a cold joint, you will create a cold, high-resistance 'ball' joint that will inevitably fail under mechanical or electrical load.
Material Compatibility Matrix
Not all metals accept solder equally when subjected to the aggressive heat of a torch. Below is the definitive compatibility matrix for open-flame soldering.
| Base Material | Compatibility | Recommended Filler Alloy | Required Flux Chemistry | Ideal Torch Type |
|---|---|---|---|---|
| Copper (Pure) | Excellent | 95Sn/5Ag (Stay-Brite #8) | Zinc Chloride / Ammonium Chloride | Propane / MAP-Pro |
| Brass & Bronze | Very Good | 60Sn/40Pb or Sn/Ag | Mild Organic / Zinc Chloride | Butane Micro / Propane |
| Mild Steel | Fair (Requires Prep) | High-Silver Sn/Ag (5%+) | Phosphoric Acid / Zinc Chloride | Oxy-Acetylene / MAP-Pro |
| Stainless Steel | Poor / Difficult | Sn/Ag with Indium | Fluoride-based (Aggressive) | Oxy-Acetylene (Pinpoint) |
| Aluminum | Incompatible (Standard) | N/A (Requires Ultrasonic/Specialty) | Fluoroaluminate (Specialty) | N/A (Brazing preferred) |
| Cast Iron | Incompatible | N/A | N/A | N/A |
Tier 1: The Sweet Spot (Copper, Brass, and Bronze)
Copper and its alloys (brass, bronze) are the undisputed champions of torch soldering. Their high thermal conductivity allows heat to spread rapidly through the joint, promoting excellent capillary flow. For electrical busbars, heavy-gauge battery cables, and HVAC refrigeration lines, copper responds beautifully to torch heat.
Actionable Specifics: For high-vibration or high-temperature electrical joints, avoid standard 60/40 tin-lead. Instead, use a 95% Tin / 5% Silver alloy (such as Harris Stay-Brite #8, retailing around $35 for a 4oz kit). The silver lowers the melting point slightly to 430°F while dramatically increasing the tensile strength to 13,500 PSI. Pair this with a liquid zinc-chloride flux (like Harris Stay-Clean) which activates precisely at 350°F, cleaning the copper oxide layer just as the solder reaches its liquidus state.
Tier 2: The Challenge Zone (Mild Steel and Stainless Steel)
Ferrous metals present a significant challenge for torch soldering due to their lower thermal conductivity and aggressive oxide layers. Stainless steel, in particular, forms a chromium oxide layer that is highly resistant to standard rosin or mild acid fluxes.
Actionable Specifics: To solder stainless steel with a torch, you must use a highly aggressive fluoride-based flux (such as Harris Black Flux or specialized stainless pastes). Warning: Fluoride fluxes produce highly toxic fumes when heated. According to OSHA guidelines on welding and brazing safety, local exhaust ventilation or supplied-air respirators are mandatory when heating fluoride compounds. Furthermore, stainless steel requires precise heat control; overheat the metal, and the flux will burn into a glassy, immovable slag that prevents the solder from wetting the surface.
Tier 3: The Danger Zone (Aluminum, Cast Iron, and Galvanized Steel)
Attempting to solder aluminum with a standard torch and off-the-shelf tin/lead or tin/silver wire will result in catastrophic failure. Aluminum instantly forms an oxide layer that melts at 3,700°F, while the base aluminum melts at roughly 1,200°F. Standard fluxes cannot penetrate this barrier. While specialized zinc-tin alloys and fluoroaluminate fluxes exist for aluminum, they require meticulous temperature control that is nearly impossible with a standard handheld torch. For aluminum, switch to TIG welding or specialized aluminum brazing rods.
Similarly, never torch solder galvanized steel. The zinc coating vaporizes at 1,665°F, but localized torch hotspots can easily exceed this, releasing zinc oxide gas, which causes 'metal fume fever'—a severe, flu-like respiratory condition.
Torch Selection and BTU Matching
Choosing the right torch is about matching the BTU output to the thermal mass of your workpiece. Using a massive torch on a small tab will melt the component; using a micro-torch on a thick copper pipe will result in a cold joint.
- Butane Micro-Torches (e.g., Blazer Big Shot GT8000): Outputting roughly 2,000 to 2,500 BTUs and reaching 2,500°F at the tip. Ideal for small brass terminals, jewelry, and delicate RF shielding where precision is paramount. Cost: ~$60.
- Propane / MAP-Pro Torches (e.g., Bernzomatic TS8000): The industry workhorse. The TS8000 features a swirl-combustion chamber that pushes flame temperatures to 3,730°F with MAP-Pro gas, delivering massive heat transfer for large copper lugs and thick busbars. Cost: ~$65 (torch head only).
- Oxy-Acetylene Outfits (e.g., Smith Little Torch): The ultimate precision tool. By mixing oxygen and acetylene, you can use microscopic tips (like the #00 or #0 tip) to focus a 6,000°F flame into a space smaller than a millimeter, perfect for soldering tiny steel components without heating the surrounding area. Cost: ~$350 to $420 for a complete portable outfit.
Step-by-Step Execution for High-Mass Copper Joints
Follow this exact sequence to ensure a flawless, low-resistance solder joint on heavy copper assemblies:
- Mechanical Prep: Abrade the mating surfaces with 120-grit emery cloth or a fiberglass scratch pen until bright copper is visible. Do not touch the cleaned metal with bare skin; oils will inhibit wetting.
- Flux Application: Apply a thin, even coat of liquid zinc-chloride flux to both surfaces. Assemble the joint immediately.
- Pre-Heating: Ignite your MAP-Pro torch. Keep the flame moving in a broad circle around the joint, staying 2 inches away. Do not focus on one spot. You are heating the mass, not the surface.
- The Touch Test: After 10-15 seconds, withdraw the flame and touch the solder wire to the opposite side of the joint from where you were heating. If the base metal has reached the correct temperature (approx 430°F for Sn/Ag), the solder will instantly flash-melt and be drawn into the joint via capillary action.
- Feed and Cool: Feed solder until a continuous fillet forms around the entire perimeter. Remove the heat and let the joint cool naturally. Never quench a soldered joint with water; rapid cooling causes micro-fractures in the tin crystalline structure.
- Neutralization: Wash the joint with warm water and a baking soda solution to neutralize the acidic zinc-chloride flux, preventing long-term galvanic corrosion.
Final Thoughts on Metallurgical Integrity
Soldering with a torch is a high-reward technique that bridges the gap between delicate electronics work and heavy structural joining. By respecting the thermal limits of your base materials, selecting the correct flux chemistry, and matching your torch BTUs to the joint's mass, you can create connections that outlast the equipment they are built into. For further reading on filler metal metallurgy and joint design, consult the technical resources provided by the Lucas-Milhaupt brazing and soldering division, which offers extensive whitepapers on capillary joint clearances and alloy flow dynamics.