
The Great Debate: Soldering LED Strips vs. Solderless Connectors
When designing custom lighting installations, architectural accents, or DIY smart home setups, one critical decision dictates the longevity and reliability of your project: how do you join the segments? The debate between soldering LED strips and using solderless quick connectors is a common crossroads for both hobbyists and professional integrators. While connectors offer immediate gratification, soldering remains the gold standard for permanent electrical connections.
In this comprehensive method comparison, we will dissect both techniques from a 2026 perspective, analyzing real-world costs, failure modes, IP-rating compatibilities, and specific tool requirements. According to the U.S. Department of Energy, LEDs can last up to 25,000 hours, but that lifespan is entirely dependent on the integrity of the electrical joints feeding them. Let us break down which method truly wins.
Method 1: Soldering LED Strips (The Traditional Route)
Soldering involves melting a filler metal (solder) to create a permanent metallurgical bond between the copper pads on the LED strip and your connecting wires. When executed correctly, this method yields a connection that is electrically superior and mechanically robust.
Essential Tooling and Materials
To achieve professional results when soldering LED strips, you must abandon cheap, unregulated irons. The copper pads on flexible printed circuit boards (FPCBs) are highly sensitive to thermal shock.
- Soldering Station: A temperature-controlled station like the Weller WE1010NA (approx. $115) or Hakko FX-888D (approx. $110). You need precise thermal recovery.
- Solder Wire: 63/37 Leaded Rosin-Core (e.g., Kester 24-6337-8834, 0.031" diameter). The 63/37 eutectic blend melts and solidifies instantly at 183°C (361°F), preventing cold joints caused by movement during the cooling phase. Expect to pay around $45 per pound.
- Flux: An additional no-clean tacky flux (like MG Chemicals 8341) is crucial for wetting the pads quickly, reducing the time the iron needs to contact the strip.
- Wire: 20 AWG stranded silicone wire for runs under 3 Amps; 18 AWG for higher current RGBW strips.
The Technique: Timing is Everything
The most common failure mode when soldering LED strips is pad delamination. The flexible polyimide or FR4 substrate is bonded to the copper traces with a heat-sensitive adhesive. If your iron dwells on the pad for more than 2 to 3 seconds, the adhesive breaks down, and the pad lifts off the strip, ruining the segment.
- Prep: Strip 3mm of insulation from your wire and twist the strands tightly.
- Tin the Wire: Apply a small amount of solder to the bare wire tip.
- Flux the Pad: Dab a microscopic amount of flux onto the LED strip's copper pad.
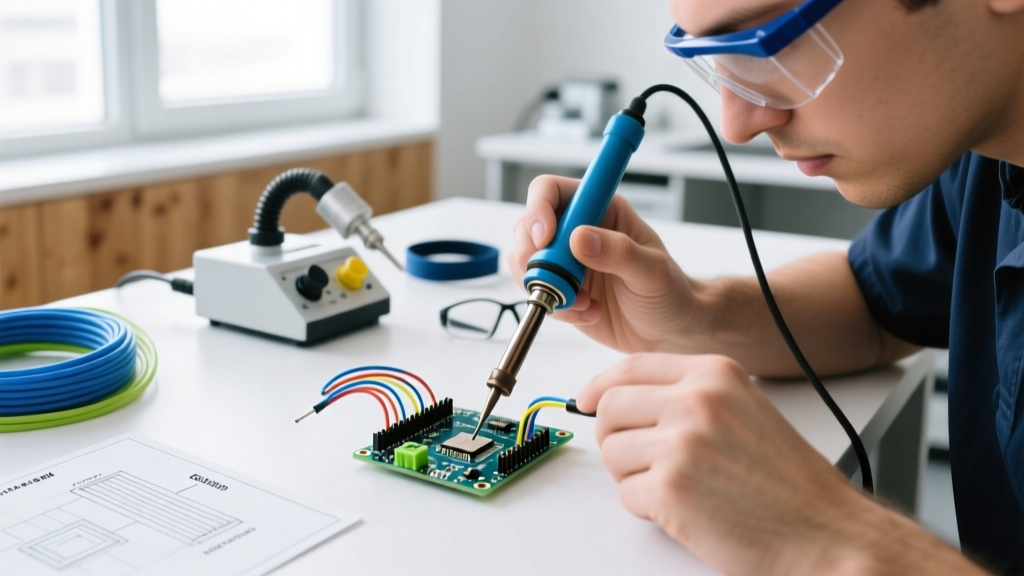
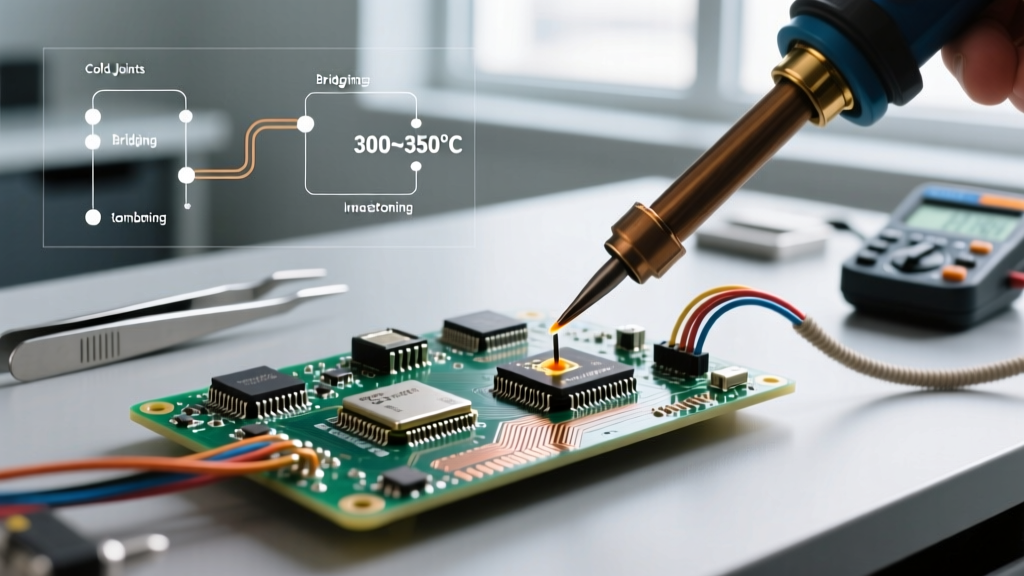
- Join: Set your iron to 340°C (644°F). Touch the tinned wire to the pad, then touch the iron to the wire (not directly to the pad). The heat transfers through the wire, melting the solder onto the pad in roughly 1.5 seconds.
- Cool: Remove the iron and hold the wire perfectly still for 2 seconds until the solder crystallizes.
"A proper solder joint on an LED pad should look like a smooth, shiny volcano. If it looks dull, grainy, or forms a spherical ball resting on top of the pad, you have a cold joint or insufficient flux." — SparkFun Soldering Tutorial
Method 2: Solderless Quick Connectors (The Modern Alternative)
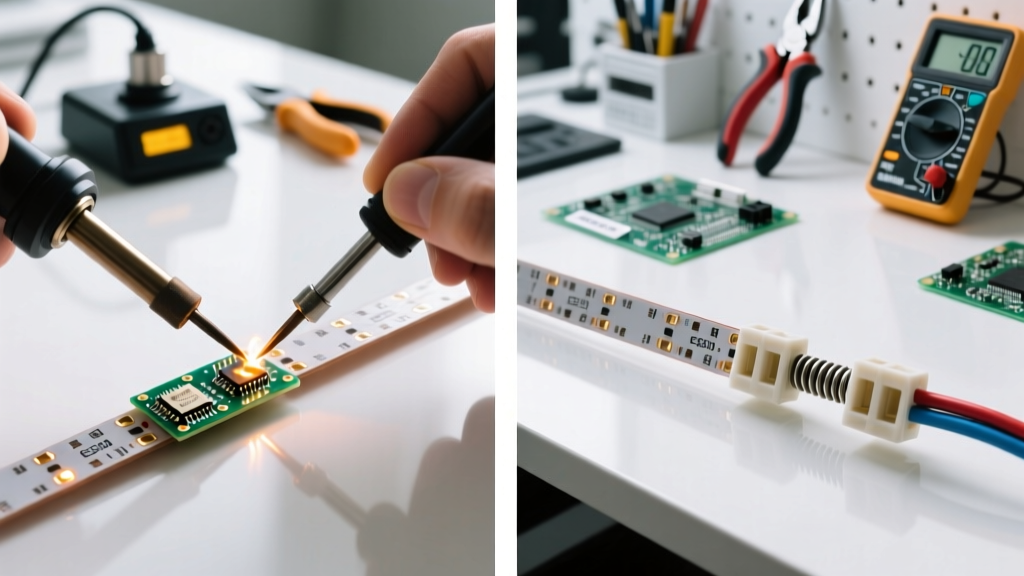
Solderless connectors have evolved significantly over the last decade. Modern designs utilize micro-piercing teeth or high-tension clamping mechanisms to bite through the copper traces or grip the pads without heat. Brands like WAC Lighting (InvisiLED) and HitLights dominate this space.
Types of Connectors
- Piercing (Hippo-Style): These feature tiny metal teeth that puncture the FPCB trace. They are fast but can cause micro-fractures in the copper, potentially leading to voltage drop over time.
- Clamp/Lever (Litre-Style): These use a physical clamp to press the wire against the copper pad. They are generally safer for the strip's structural integrity but are bulkier.
- Pre-Attached Pigtails: Factory-soldered wires with a plug-and-play connector on the end. This is the most reliable "solderless" method for the end-user, as the critical solder joint was done in a controlled factory environment.
The Hidden Costs and Limitations
While a 10-pack of generic solderless connectors might cost $8, premium brand connectors (like WAC Lighting's InvisiLED Pro) can cost $6 to $12 per connector. In a complex cove lighting project requiring 30 corners and jumps, you could easily spend $250+ on connectors alone, whereas a spool of wire and solder costs less than $60 total.
Furthermore, solderless connectors are notoriously unreliable on IP65 and IP68 silicone-coated strips. The silicone layer prevents the connector's teeth from reaching the copper, requiring you to meticulously scrape the coating off with a scalpel—a process that often damages the delicate traces underneath.
Head-to-Head Comparison Matrix
| Feature | Soldering LED Strips | Solderless Connectors |
|---|---|---|
| Initial Setup Cost | High ($120 - $180 for quality station & materials) | Low ($0 - $15, assuming no tools needed) |
| Cost Per Joint | Extremely Low ($0.05 - $0.10 in wire/solder) | High ($0.80 - $12.00 per connector) |
| Electrical Reliability | Exceptional (Metallurgical bond, zero moving parts) | Moderate (Prone to oxidation and vibration loosening) |
| Time Per Joint | 2 - 4 minutes (including stripping & tinning) | 15 - 30 seconds |
| Skill Requirement | Moderate to High (Requires thermal management) | Very Low (Plug and play) |
| IP65/IP68 Compatibility | Excellent (Can re-seal with liquid silicone) | Poor (Silicone blocks electrical contact) |
| Physical Profile | Ultra-low profile (Wires lay flat) | Bulky (Requires deeper cove channels to hide) |
Scenario-Based Decision Framework
Choosing between soldering LED strips and using connectors should not be a blanket decision. Use this framework to dictate your approach based on the specific installation environment.
When You MUST Solder
- High-Vibration Environments: Mobile applications (RVs, boats, automotive) will shake solderless connectors loose over time. Soldered joints are immune to mechanical vibration.
- Outdoor and Damp Locations: Moisture causes galvanic corrosion in mechanical crimps. A soldered joint, subsequently sealed with heat shrink and marine-grade epoxy, is the only safe choice.
- High-Density Addressable Strips: Strips like the SK9822 or WS2812B (NeoPixels) operate at high frequencies. As noted in the Adafruit NeoPixel Überguide, poor connections cause data signal degradation, resulting in flickering or incorrect colors. Soldering ensures signal integrity.
- Tight Corner Bends: Soldering allows you to route 20 AWG wire directly around a 90-degree corner. Connectors require rigid, straight clearance that most architectural coves lack.
When Connectors Make Sense
- Temporary Installations: Trade show booths, holiday displays, or rental properties where the lighting will be taken down and reused.
- Prototyping: When testing layout, color temperature, and power injection points before committing to a permanent soldered install.
- IP20 (Bare) Strips in Dry, Indoor Areas: For simple under-cabinet kitchen lighting where the strips are easily accessible and environmental stress is minimal.
Advanced Edge Cases & Troubleshooting
Dealing with Voltage Drop
LED strips suffer from voltage drop, especially 12V white strips and 5V addressable strips. Solderless connectors introduce micro-resistance at the mechanical crimp point. If you are daisy-chaining multiple segments using connectors, this cumulative resistance will exacerbate voltage drop, causing the end of the run to dim or shift color. Soldering eliminates this joint resistance, allowing you to run longer continuous segments safely.
The "Tear and Solder" Technique for IP68 Strips
If you must use IP68 (fully encapsulated in a silicone sleeve) strips in a wet environment, connectors are useless. The professional method is the "Tear and Solder" technique:
- Use a sharp hobby knife to score the silicone sleeve exactly between the copper pads.
- Peel back a 5mm window of silicone to expose the bare copper.
- Solder your pre-tinned wires quickly using a higher iron temperature (360°C) to compensate for the heat-sinking effect of the surrounding silicone.
- Seal the joint using Dow Corning 734 flowable sealant or a dedicated liquid electrical tape, then slide a piece of adhesive-lined marine heat shrink over the entire joint.
Final Verdict
While solderless quick connectors offer undeniable convenience for quick, temporary, or low-stakes indoor projects, soldering LED strips remains the undisputed champion for professional, permanent, and high-reliability installations. The initial investment in a quality soldering station pays for itself after just a few projects in both material savings and the elimination of costly callbacks to fix flickering or dead segments. Master the thermal timing, use eutectic 63/37 solder, and your lighting installations will easily outlast the LEDs themselves.