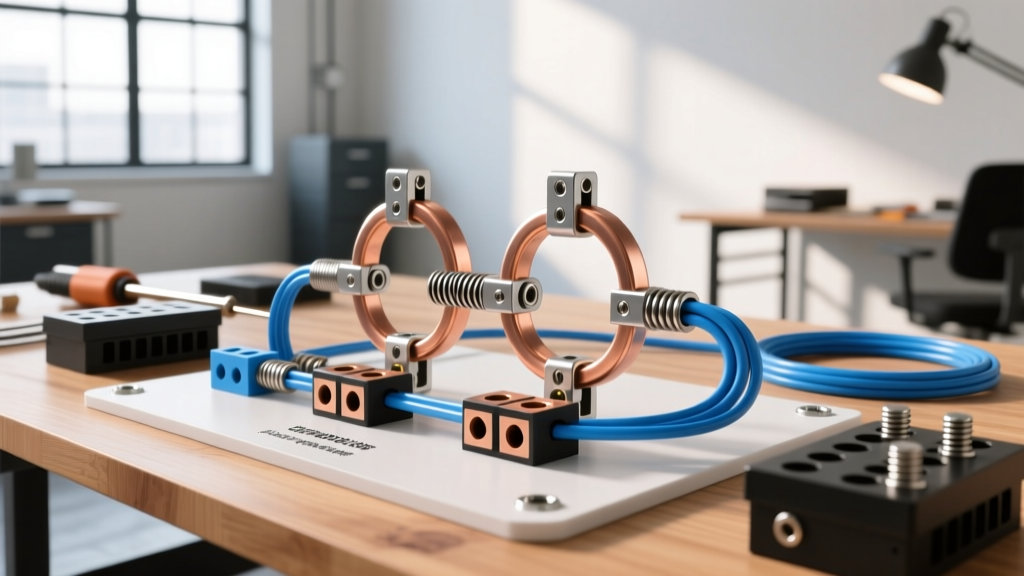

The Ring Terminal Consolidation Challenge
When building custom wiring harnesses, automotive ground arrays, or marine electrical panels, a frequent challenge is terminating multiple wires to a single chassis stud or battery post. For DIYers and technicians transitioning from delicate PCB electronics to heavy-duty power wiring, the immediate question is often how to keep rings together without soldering them on a shared connection point. While soldering is the gold standard for joining solid and stranded wires on a breadboard or through-hole component, applying solder to mechanical ring terminals (often just called "rings" in the field) is a critical error in high-current and high-vibration environments.
In this comprehensive 2026 method comparison guide, we will explore the metallurgical reasons why soldering ring terminals fails, and break down the three most reliable, code-compliant methods for keeping multiple electrical rings together without a single drop of solder.
Expert Warning: Never solder a crimped ring terminal. Solder is a soft alloy that exhibits "creep" under continuous mechanical pressure. When torqued against a stud, the solder will deform over time, leading to a loss of clamping force, increased electrical resistance, and ultimately, a thermal failure or fire.
Why Soldering Electrical Rings is a Failure Point
Before comparing the correct methods, it is vital to understand why the industry has moved away from soldering mechanical lugs. According to aerospace and automotive wiring standards, including guidelines published by the NASA Electronic Parts and Packaging (NEPP) program, crimping creates a cold-weld, gas-tight seal that is vastly superior to solder in dynamic environments.
- Metallurgical Creep: Tin-lead and lead-free solders yield under the constant pressure of a torqued bolt. As the solder flows microscopically, the joint loosens.
- Flux Corrosion: Residual flux trapped between stacked rings attracts moisture, leading to dendritic growth and high-resistance faults.
- Wire Embrittlement: The heat required to solder a heavy-gauge ring terminal (e.g., 10 AWG or larger) can wick up the stranded wire, annealing the copper and making it brittle at the vibration point just behind the insulation barrel.
Method Comparison Matrix: Keeping Rings Together
Below is a comparison of the primary methods used to consolidate multiple ring terminals on a single stud or within a confined panel space.
| Method | Best Application | Vibration Resistance | Relative Cost | Required Tooling |
|---|---|---|---|---|
| Mechanical Stacking (Hardware) | Chassis grounds, battery posts | High (with proper washers) | $ (Hardware only) | Calibrated Torque Wrench |
| Busbars & Ground Blocks | Marine panels, RV distribution | Very High | $$ ($15 - $85 per block) | Standard Crimper / Screwdriver |
| Multi-Hole Compression Lugs | Industrial panels, 2/0 AWG+ feeds | Extreme | $$$ ($8 - $25 per lug) | Hydraulic/Hex Die Crimper |
| Daisy-Chaining (Piggyback) | Low-current signal relays | Low to Medium | $ | Standard Ratcheting Crimper |
Method 1: Mechanical Stacking (The Hardware Approach)
The most common answer to how to keep rings together without soldering them is direct mechanical stacking on a threaded stud. However, the hardware you place between the rings dictates the longevity of the joint. The most common DIY mistake is using split lock washers (the kind with a gap and raised edge) directly against the ring terminal.
The Split Lock Washer Myth
Split lock washers are designed to bite into the metal to prevent rotation. When placed against a soft copper or tin-plated ring terminal, the sharp edges of the washer cut into the lug, reducing the surface contact area and creating localized hot spots under high current. Furthermore, as of 2026, modern vibration testing standards (such as DIN 65151) have proven that split lock washers actually accelerate loosening under transverse vibration.
The Correct Stacking Order
To safely stack up to four ring terminals on a single M6 or M8 stud, use the following hardware sequence from the base metal outward:
- Base Metal: Clean chassis ground point (sanded to bare, conductive metal).
- First Ring Terminal: Placed directly against the base metal for maximum conductivity.
- Subsequent Rings: Stacked cleanly. If dealing with dissimilar metals, refer to galvanic corrosion principles and use tin-plated copper rings to prevent oxidation when mating with steel studs.
- Washer: Use an internal-tooth star washer (DIN 6797) or a hardened flat washer paired with a Nord-Lock wedge-locking washer system (e.g., NL6 or NL8).
- Fastener: Grade 8 or stainless steel hex nut, torqued to specification (e.g., 9-11 Nm for an M6 steel stud).
Method 2: Consolidation via Busbars and Ground Blocks
When you have more than four rings to consolidate, or when space constraints prevent stacking on a single stud, the best approach is to transition to a busbar or dedicated ground block. This eliminates the need to stack rings entirely.
Products like the Blue Sea Systems 2506 BusBar (rated for 150A continuous) or the Littlefuse MEGA/MIDI fuse blocks with integrated ground studs allow you to terminate each ring terminal individually on its own dedicated screw.
- Pros: Zero stacking, individual wire troubleshooting, clean aesthetics, compliant with National Electrical Code (NEC) guidelines for grounding electrode conductors and equipment grounding.
- Cons: Requires panel space and additional mounting hardware.
- Cost: A high-quality, tin-plated copper busbar with 10 studs costs between $35 and $65 in 2026.
Method 3: Multi-Hole Compression Lugs (Heavy Duty)
For heavy-gauge applications (2 AWG to 4/0 AWG) such as inverter grounds or battery bank interconnects, stacking massive rings is impractical and dangerous. Instead, manufacturers like Burndy and ILSO produce multi-hole compression lugs.
These lugs feature two or four distinct crimp barrels that feed into a single, heavy-duty copper pad with multiple bolt holes. You crimp two separate wires into the same lug, effectively keeping the "rings" (the termination pads) together at the manufacturing level, requiring only a single bolt to secure the combined load to the busbar.
Tooling Requirements for Compression Lugs
Multi-hole lugs require immense crimping force that hand tools cannot provide. You will need a hex-die crimper or a hydraulic press. The Greenlee EK425LX or the Milwaukee M18 FORCE LOGIC 6T are industry standards for this work, ensuring the copper is compressed to a specific density that rivals the conductivity of the wire itself.
Essential Tooling: Ratcheting Crimpers for Ring Terminals
If you are keeping rings together via mechanical stacking or busbars, the integrity of the entire assembly relies on the quality of the crimp on each individual ring. A loose crimp will oxidize and fail, regardless of how well the rings are bolted together.
As of 2026, abandon the cheap, non-ratcheting pliers-style crimpers. You must use a ratcheting crimper that forces a complete, calibrated cycle before releasing the wire.
- Professional Grade: TE Connectivity CERTI-CRIMP (Model 58526-1). Priced around $450, this tool features adjustable die nests and ensures a mathematically perfect gas-tight crimp every time. It is the benchmark for aerospace and motorsport wiring.
- Prosumer/DIY Grade: Titan 11477 Ratcheting Wire Crimper or Klein Tools 30055. Priced between $25 and $45, these tools offer excellent ratcheting mechanisms and interchangeable dies for insulated and non-insulated ring terminals from 22 AWG up to 8 AWG.
Frequently Asked Questions (FAQ)
Can I use heat-shrink solder seals to join two wires into one ring?
While heat-shrink solder seals (like those from 3M or WireCare) are excellent for waterproofing inline splices in marine environments, they are not recommended for joining two wires into a single ring terminal barrel. The solder inside the seal will melt during the heating process, but it will not provide the mechanical pull-strength required for a ring terminal that is subjected to torque and vibration. Always use a dedicated step-down crimp barrel or a multi-wire entry lug.
How many ring terminals can I safely stack on a single grounding stud?
Most automotive and marine best practices dictate a maximum of four ring terminals per stud. Beyond four, the cumulative thickness of the lugs and washers reduces the thread engagement of the nut, risking thread stripping under the required torque. If you need to terminate five or more grounds, use a busbar or a dedicated ground distribution block.
Do I need to use anti-oxidant paste (Noalox) between stacked rings?
If you are stacking bare copper rings on a steel or aluminum chassis, applying a thin layer of anti-oxidant joint compound (like Noalox or Penetrox) is highly recommended to prevent galvanic corrosion and moisture ingress. However, if you are using tin-plated copper rings on a tin-plated or zinc-plated steel stud, the anti-oxidant paste is unnecessary and can actually attract dirt and grit, which may interfere with the electrical contact. Always wipe away excess paste after torquing.