
The Hidden Dangers of Heavy-Duty Soldering Lugs
When building battery banks, EV conversions, solar arrays, or marine power distribution systems, soldering lugs onto heavy-gauge wire (typically 2 AWG through 4/0 AWG) presents unique electrical and thermal safety challenges. Unlike delicate PCB work, attaching a heavy-duty copper lug requires managing massive thermal sinks. If executed improperly, the resulting joint can suffer from high resistance, thermal runaway, or catastrophic mechanical failure under vibration.
According to the NFPA 70 National Electrical Code, soldered connections must be mechanically secure before the solder is applied, and they must not rely solely on solder for electrical continuity in high-vibration or high-current environments. This guide details the exact safety protocols, tool requirements, and failure-mode mitigations necessary for soldering lugs safely and effectively in 2026.
Thermal Mass and Tool Selection Safety
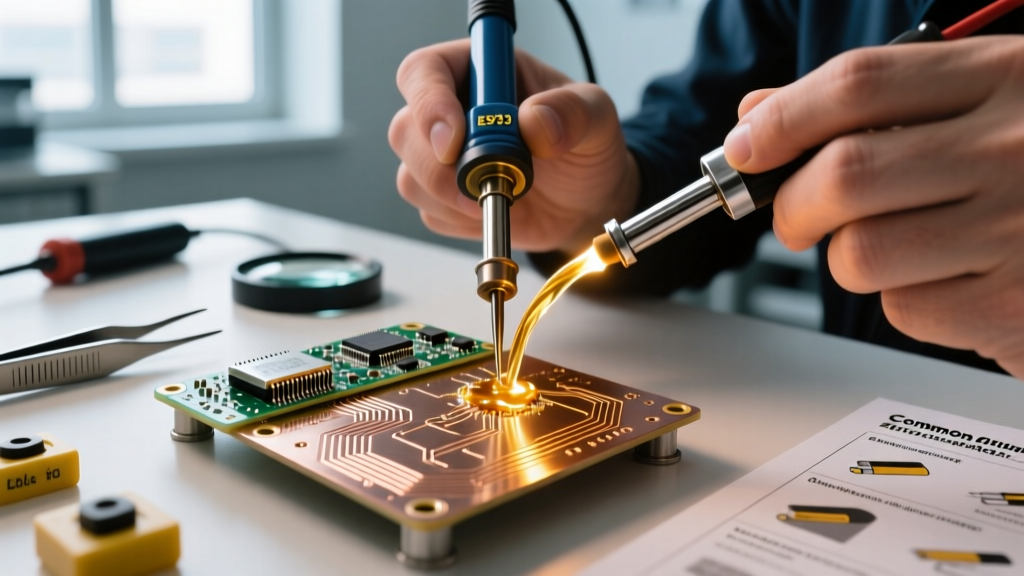
The most common safety error when soldering lugs is underestimating the thermal mass of thick copper wire and heavy brass or copper terminals. A standard 60W soldering iron will stall immediately upon touching a 2/0 AWG lug, leading to prolonged heating. This extended heat application melts the wire's PVC or XLPE insulation, releasing toxic hydrogen chloride gas and exposing bare conductors to short-circuit risks.
Recommended High-Wattage Equipment
- Weller WSP150 or Equivalent (150W+): Provides the continuous thermal recovery needed to flow solder into a 4/0 AWG barrel without stalling. As of early 2026, expect to invest between $250 and $320 for a reliable high-wattage station.
- Hakko FX-601 (Adjustable up to 400W equivalent recovery): A heavy-duty iron specifically designed for large terminals and ground planes.
- Propane Torches (e.g., Bernzomatic TS8000): While common in DIY circles, open-flame torches pose severe fire hazards and easily exceed 400°C. If a torch must be used, employ a heat-shield putty (like Thermo-Gel) to protect adjacent components and insulation.
Safety Warning: Never use acid-core plumbing solder or acid flux on electrical lugs. The residual chloride salts are highly corrosive and will cause galvanic corrosion, leading to high-resistance joints that generate extreme heat under load.
Alloy Selection: Melting Points and Thermal Runaway
Choosing the correct solder alloy is a critical safety decision. While lead-free alloys are mandated for commercial electronics (RoHS compliance), many high-current DIY and marine applications still favor traditional tin-lead alloys due to their lower melting points and superior wetting characteristics on large thermal masses.
| Alloy Composition | Melting Point | Best Use Case | Safety / Handling Notes |
|---|---|---|---|
| Sn63/Pb37 (Eutectic) | 183°C (361°F) | Marine, Battery Banks, DIY | Requires lead-safe handling and dedicated ventilation. Lower heat reduces insulation melt risk. |
| SAC305 (Lead-Free) | 217°C (423°F) | Commercial, RoHS-required builds | Higher heat required increases risk of damaging wire insulation and annealing the copper lug. |
| Sn96.5/Ag3.0/Cu0.5 | 220°C (428°F) | High-temperature under-hood auto | Extremely high thermal input needed; only use with heavy-duty 200W+ irons. |
For most high-current battery applications, a rosin-core Sn63/Pb37 wire (such as Kester 44 or Multicore) in a thick diameter (0.062" to 0.125") remains the gold standard for safe, reliable wetting. As of 2026, a 1lb spool of premium rosin-core solder retails for approximately $65 to $85.
The Solder Wicking Hazard: Preventing Brittle Fractures
One of the most insidious failure modes in soldering lugs is solder wicking. Capillary action can draw molten solder up into the copper strands and beneath the wire's insulation jacket. When the wire is later bent or subjected to vibration, the transition point between the flexible bare wire and the rigid, solder-infused wire becomes a stress concentrator. The copper strands will fatigue and snap inside the insulation, creating a hidden high-resistance fault that can spark and ignite surrounding materials.
How to Prevent Wicking
- Strip to the Exact Depth: Use a calibrated wire stripper to expose only the exact length of the lug barrel plus 1/16th of an inch. Do not leave excess bare wire.
- Orientation Matters: Always solder with the wire pointing downward or horizontally. Never point the wire upward, as gravity will pull molten solder under the jacket.
- Adhesive-Lined Heat Shrink: After soldering, seal the joint using dual-wall, adhesive-lined heat shrink (e.g., 3M FP-301 or Ancor Marine Grade). The inner meltable adhesive layer provides strain relief and prevents moisture intrusion, which is a requirement outlined by the American Boat and Yacht Council (ABYC) for marine DC systems.
Step-by-Step Safe Installation Protocol
Follow this exact sequence to ensure mechanical integrity and electrical safety. The IPC J-STD-001 standard dictates that soldered terminals must exhibit proper wetting and a smooth, concave fillet without voids or cold joints.
- Mechanical Crimp First: Insert the stripped wire into the lug barrel. Use a heavy-duty hex-crimper (e.g., Knipex 97 51 10 or a hydraulic crimper) to compress the barrel. The joint must hold the wire's mechanical load before any heat is applied.
- Pre-Tin the Iron Tip: Apply a small amount of fresh solder to your iron's tip to create a thermal bridge.
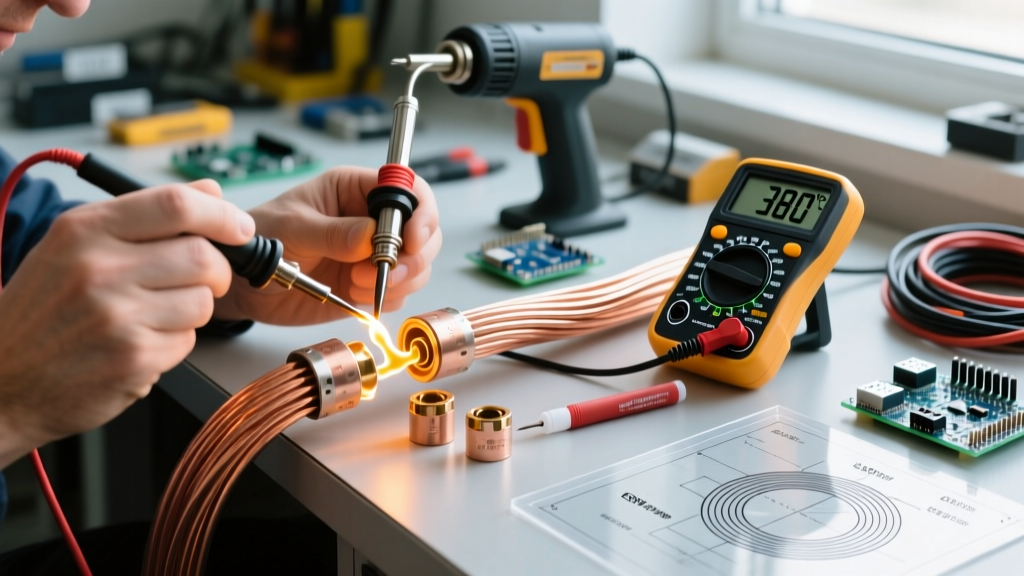
- Apply Heat to the Lug, Not the Wire: Press the iron's tip against the copper barrel and the ring tongue. Heat the terminal until it is hot enough to melt the solder wire on contact (usually 15-30 seconds for 2/0 AWG).
- Feed the Solder: Touch the solder wire to the top edge of the barrel (opposite the iron). When the barrel reaches the eutectic temperature, the solder will flash and wick down into the strands via capillary action.
- Controlled Cooling: Remove the heat and solder simultaneously. Hold the wire perfectly still for 20-30 seconds. Disturbing a cooling joint causes a 'cold solder' fracture, characterized by a dull, grainy appearance and high electrical resistance.
Comparison Matrix: Soldered vs. Crimped Lugs in High-Vibration
While soldering lugs provides excellent environmental sealing against corrosion, it is vital to understand how it compares to pure mechanical crimping in dynamic environments.
| Parameter | Soldered + Crimped Lugs | Pure Mechanical Hex Crimp |
|---|---|---|
| Corrosion Resistance | Excellent (Solder blocks oxygen/moisture) | Good (Requires dielectric grease or heat shrink) |
| Vibration Fatigue | Poor (Solder makes wire brittle near joint) | Excellent (Strands can flex microscopically) |
| Thermal Runaway Risk | Moderate (Solder can melt at 183°C under extreme fault) | Low (Copper melting point is >1000°C) |
| Tooling Cost (2026) | High ($250+ Iron + $80+ Crimper) | Moderate ($120-$200 for quality hex crimper) |
Troubleshooting Common Failure Modes
- Dull, Grainy Finish: The joint was moved during cooling. This is a cold joint and must be desoldered, cleaned with isopropyl alcohol, and reflowed.
- Balled-Up Solder on the Barrel: The lug was not hot enough, or the surface is oxidized. Clean the lug with fine abrasives and apply a small drop of liquid rosin flux before reheating.
- Melted Insulation Jacket: Heat was applied for too long, or the wire was stripped too far back. Cut the lug off, strip a fresh section of wire, and use a higher-wattage iron to reduce dwell time.
Frequently Asked Questions
Is it safe to use a blowtorch for soldering lugs?
While a micro-torch like the Bernzomatic TS8000 can provide the necessary BTUs for 4/0 AWG wire, it is highly discouraged for beginners. Open flames easily scorch nearby wire looms, melt adjacent zip-ties, and can anneal the copper lug, softening it and reducing its mechanical clamping force. High-wattage electric irons are significantly safer and offer precise thermal control.
Do I need to use flux when soldering lugs?
If you are using high-quality rosin-core solder wire, additional flux is rarely needed for fresh, clean copper. However, if the lug is heavily oxidized or you are using solid solder wire, applying a no-clean or rosin-based liquid flux (like Kester 186) is mandatory for safe, low-resistance wetting. Never use plumbing paste flux.
Can soldered lugs handle the heat of a 300A inverter surge?
Yes, provided the lug is properly sized for the wire and the mechanical crimp was performed correctly. The solder acts as an environmental seal and a secondary conductive path. The primary current-carrying capacity and structural integrity rely on the copper-to-copper mechanical compression achieved by the hex crimp prior to soldering.