
The Art of Soldering Sea Glass: Insights from Master Artisans
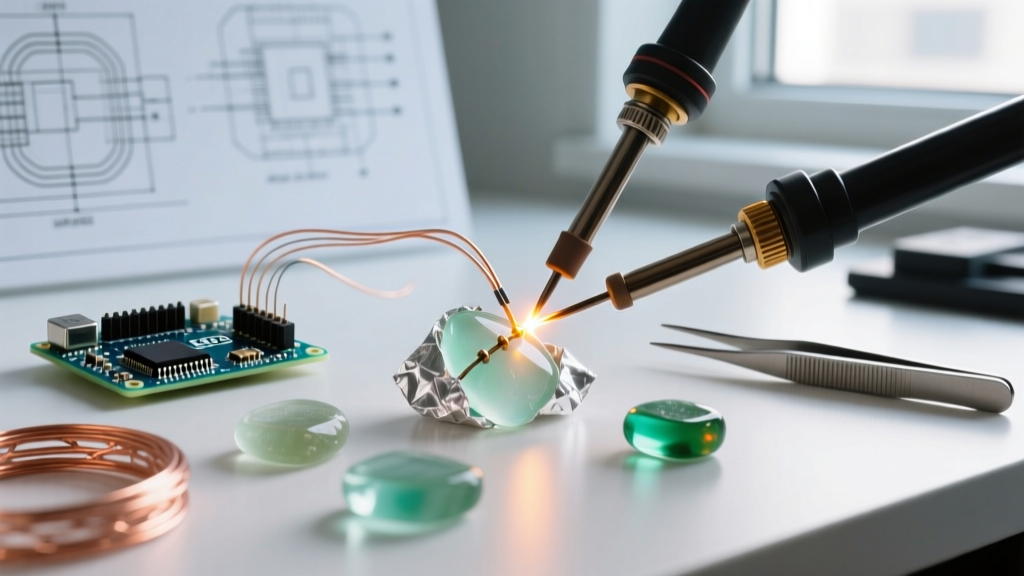
Soldering sea glass—often referred to as the Tiffany method or copper foil technique applied to beachcombed jewelry—requires a distinct departure from standard electronics or plumbing soldering. Unlike copper wire or circuit boards, sea glass is a chemically weathered, physically stressed material riddled with microscopic fractures from years of ocean tumbling. Applying a 400°C soldering iron directly to this fragile medium without precise technique guarantees catastrophic thermal shock.
To compile this definitive 2026 guide, we gathered insights from five veteran stained glass artisans and jewelry makers who specialize in soldering sea glass. Below, we break down the exact tools, metallurgical requirements, and step-by-step workflows required to create flawless, gallery-ready bezels and pendants without shattering your prized finds.
The Expert Tool & Material Matrix
The most common mistake beginners make is repurposing their electronics soldering gear for glasswork. Rosin-core solder and standard chisel tips will fail instantly on glass. Our expert panel unanimously recommends the following specialized setup:
| Category | Expert Recommendation | Specifications & Notes |
|---|---|---|
| Soldering Iron | Hakko FX-601 or Weller WLC100 | Must have adjustable temperature dial. 75W+ to maintain heat recovery on large glass pieces. |
| Solder Alloy | 60/40 Tin/Lead (Solid Core) | Melts at 183°C (361°F). Never use rosin-core. Lead-free requires too much heat for safe glasswork. |
| Flux | Novacan Super Pro Gel Flux | Gel stays in place on vertical sea glass edges better than liquid acid flux. |
| Copper Foil | 7/32" Vented Copper Foil | Vented backing allows trapped air to escape, preventing bubbling when heated. |
| Patina | Novacan Black (Selenium Dioxide) | Chemically darkens the silver solder to contrast with the frosted sea glass. |
The Thermal Shock Phenomenon: Why Sea Glass Shatters
According to guidelines from the Stained Glass Association of America, glass is a poor conductor of heat. When a localized point on a piece of sea glass is heated rapidly, the expanding glass molecules push against the cooler, unexpanded surrounding glass, creating immense tensile stress. Because sea glass has been battered by sand and rocks, its surface is covered in micro-fissures. These fissures act as stress concentrators.
"When soldering sea glass, your iron should never linger on one spot for more than two seconds. You are heating the copper foil, not the glass. Let the thermal mass of the foil transfer the heat to the solder, keeping the glass itself relatively cool." — Elena R., Master Glass Artisan
Expert Tip: Set your Hakko FX-601 to 380°C (716°F) when using 60/40 solder. This provides enough heat to melt the solder instantly upon contact with the fluxed foil, minimizing the time the iron spends near the glass.
Step-by-Step Workflow: The Perfect Tiffany Wrap
1. Deep Cleaning and Prep
Sea glass is naturally oily from ocean minerals and handling. Wash the pieces in warm water with dish soap, then wipe the edges with isopropyl alcohol (90%+). Any residual salt or oil will cause the copper foil adhesive to fail within hours.
2. Foiling and Burnishing
Center the 7/32" copper foil on the edge of the glass. Press it down and fold the overhang over the top and bottom edges. Using an agate burnisher or a specialized glass fid, rub the foil firmly. You must press the copper into the microscopic pitting of the frosted glass to ensure a mechanical bond, not just an adhesive one.
3. Fluxing and Tack Soldering
Apply a thin, even coat of gel flux to all copper surfaces. "Tack" the piece by placing small drops of solder every half-inch around the perimeter. This locks the foil in place and prevents it from peeling back when you apply the final bead.
4. The Final Bead
Feed solid-core 60/40 solder into the iron's tip while moving continuously along the fluxed seam. The goal is a smooth, rounded "bead" that encapsulates the copper foil. If the solder looks dull or grainy, you are moving too slowly or lack sufficient flux.
Troubleshooting Common Failure Modes
- Foil Lifting/Peeling: Caused by inadequate burnishing or dirty glass. Fix: Strip the foil, scrub the glass edge with a fiberglass scratch pen, re-clean with alcohol, and re-foil.
- Dull, Frosty Solder Joints: This is a "cold joint" caused by insufficient heat or old, oxidized flux. Fix: Clean the tip of your iron on a damp brass sponge, apply fresh gel flux, and re-flow the joint at a slightly higher temperature (390°C).
- Patina Bleed (White Crust): Occurs when selenium dioxide patina is left to react too long or isn't neutralized. Fix: Always neutralize your piece immediately after patina application using a baking soda and water bath to halt the chemical reaction.
- Solder Slipping Off the Edge: Happens on highly rounded, smooth sea glass pieces. Fix: Use a slightly wider foil (1/4") to create a larger surface area for the solder to grip, or roughen the glass edge slightly with 220-grit wet sandpaper before foiling.
Safety and Environmental Considerations
While the jewelry community is increasingly experimenting with lead-free alloys like 99.3% Tin / 0.7% Copper (melting point 227°C/440°F), experts warn that the higher temperatures required for lead-free solder drastically increase the risk of shattering sea glass. Therefore, 60/40 leaded solder remains the industry standard for glasswork.
However, working with lead requires strict safety protocols. According to OSHA guidelines on lead exposure, artisans must wash hands thoroughly before eating or drinking, avoid sanding leaded solder joints (which creates toxic dust), and ensure adequate ventilation to prevent inhalation of flux fumes. Always use a fume extractor with a HEPA and activated carbon filter when soldering in enclosed spaces.
Final Thoughts for 2026 Artisans
Soldering sea glass bridges the gap between rugged natural beauty and precise metallurgical technique. By respecting the thermal limits of the glass, utilizing vented copper foils, and mastering the chemistry of gel fluxes and selenium patinas, you can elevate simple beachcombed fragments into professional-grade jewelry. For further education on glass cutting and foil techniques, suppliers like Inland Craft offer extensive visual tutorials that complement the hands-on practices detailed in this roundup.