
The Hidden Hazards of High-Volume Switch Soldering
Building a custom soldered keyboard is a rewarding journey into tactile feedback, personalized layouts, and acoustic tuning. However, soldering 65 to 104 mechanical switches in a single session exposes hobbyists to prolonged thermal, chemical, and electrical hazards that casual wire-tinning does not. When you are melting rosin-core solder over a densely packed PCB for 45 minutes straight, safety transitions from a best practice to a critical health requirement. This guide details the exact protocols, gear, and workflows necessary to protect your respiratory system, your microcontrollers, and your hands during a full keyboard build.
Fume Extraction: Mitigating Colophony Exposure
The most severe invisible hazard in keyboard building is flux fume inhalation. Most popular keyboard solders, like Kester 44 or generic 63/37 rosin-core wires, use colophony (pine resin) as a flux activator. When heated to 320°C, colophony vaporizes into a complex mixture of aliphatic aldehydes and abietic acid. According to the UK Health and Safety Executive (HSE), colophony is a known respiratory sensitizer that can cause occupational asthma and chronic contact dermatitis. Because a 65% keyboard requires a minimum of 134 individual solder joints (two per switch), your exposure time is significantly higher than standard electronics repair.
Extractor Comparison for Keyboard Builders
| Equipment Model | Price Range | Filtration Type | Verdict for Keyboard Builds |
|---|---|---|---|
| Hakko FA-400 | $55 - $70 | Basic Activated Carbon | Insufficient for 100+ joints. Only redirects fumes; carbon pad saturates in minutes. |
| Edyn US-5000 | $350 - $400 | HEPA + Multi-stage Carbon | Best Mid-Tier. Captures 99.97% of particulates and VOCs. Ideal for serious hobbyists. |
| BOFA AD Qubig | $1,500+ | Industrial HEPA/Carbon | Overkill for home use. Designed for continuous manufacturing lines. |
| DIY Noctua NF-P12 Fan | $25 - $40 | Custom Activated Carbon Sheet | Great budget option. Use a 120mm PWM fan paired with a Multi-Pure carbon filter pad. |
Pro Tip: Never rely on an open window or a standard desk fan. Blowing fumes across your face simply increases the volume of contaminated air passing through your breathing zone. Always use negative pressure extraction that pulls fumes away from your face and into a filter.
Thermal Management and Tip Preservation
Mechanical switch pins are thick (typically 0.4mm to 0.6mm) and act as massive heat sinks. To achieve a proper wetting joint without cold-soldering the PCB pad, you need sustained thermal transfer. This is why using a standard conical tip (like the Hakko T18-B) is a failure mode for keyboard builders; the tiny contact area cannot transfer heat fast enough, leading users to dangerously crank their iron to 400°C+ and lean heavily on the PCB.
- Use a Chisel Tip: A 2.4mm chisel tip (e.g., Hakko T18-D24 or Pinecil TS-D25) maximizes surface area contact with the switch pin and PCB pad.
- Optimal Temperatures: Set your station to 320°C–340°C for leaded 63/37 solder. If using lead-free SAC305 (common in pre-soldered diodes on some PCBs), increase to 360°C.
- Avoid Wet Sponges: Wiping a 340°C tip on a wet cellulose sponge causes an immediate 40°C+ thermal shock. Over a 100-switch build, this repeated shock will cause micro-fractures in your iron's ceramic heating element. Use a dry brass wire sponge instead.
- Silicone Work Mats: Invest in a high-temp silicone mat like the Kai Sweet Mat ($18). It prevents hot solder splashes from scorching your desk and features magnetic corners to keep loose diodes and switches organized.
ESD Protection: Shielding Your Microcontroller
Modern custom keyboards rely on highly sensitive microcontrollers like the Raspberry Pi RP2040, Atmel ATmega32U4, or STM32 chips. These ICs feature microscopic gate oxides that can be permanently ruptured by Electrostatic Discharge (ESD) as low as 30 volts. A latent ESD failure might allow the keyboard to pass initial testing, only to cause random key chatter or USB dropout weeks later.
Before touching your bare PCB, ground yourself. A basic OSHA-compliant grounding wrist strap ($8) connected to a grounded metal chassis or an ESD mat (like the Desco 23100, $45) will safely dissipate static buildup from your clothing and chair. Furthermore, always handle the PCB by its edges, avoiding direct contact with the exposed copper traces or the microcontroller pins.
Material Safety: The Truth About Leaded Solder
Many keyboard builders avoid 63/37 leaded solder due to toxicity fears, opting for harder-to-use lead-free alternatives. It is vital to understand the actual exposure vector. According to the CDC National Institute for Occupational Safety and Health (NIOSH), lead does not vaporize at standard soldering temperatures (lead boils at 1,749°C). The primary risk of leaded solder is ingestion via hand-to-mouth transfer, not inhalation.
The Safe Handling Protocol:
- Never eat, drink, or touch your face while soldering.
- Keep a dedicated 'soldering only' water bottle with a sealed straw lid away from your work zone.
- After your build, wash your hands with cold water first. Hot water opens your skin pores, potentially trapping lead dust. Follow up with warm water and heavy-duty pumice soap.
Ergonomic Workflow for a 65% Keyboard Build
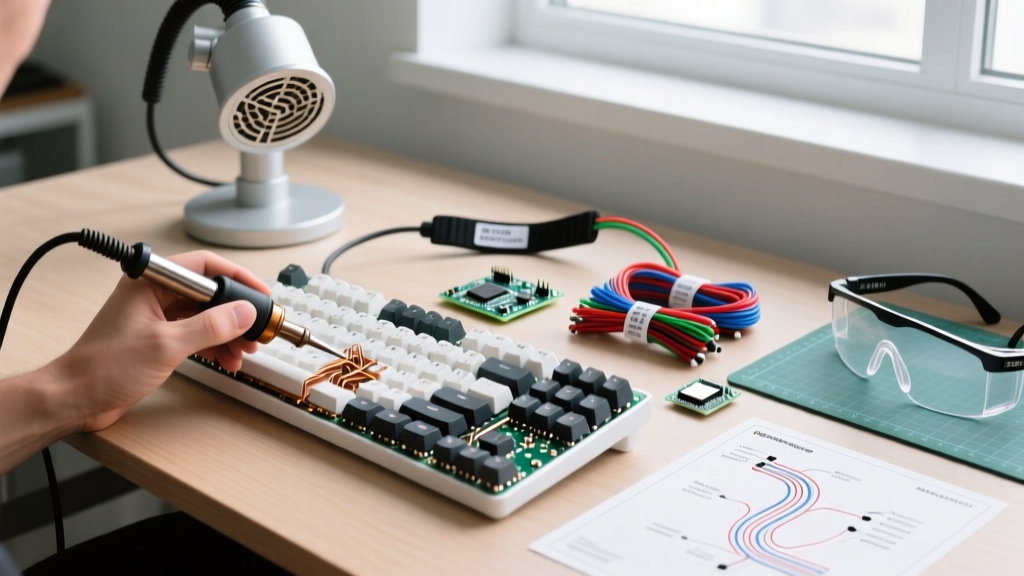
Repetitive Strain Injury (RSI) and cervical fatigue are common when builders hunch over a PCB for an hour straight. Implement this structured workflow to maintain precision and physical health:
- Preparation (10 mins): Pre-bend and insert all 1N4148 diodes. Clip the excess leads flush with the PCB using precision flush cutters (e.g., Hakko CHP-170).
- Phase 1 Soldering (20 mins): Solder the top 3 rows of switches. Use a 20/20/20 rule: every 20 minutes, look at an object 20 feet away for 20 seconds to prevent eye strain from intense focal lighting.
- Mandatory Break (5 mins): Stand up, stretch your wrists (extensor and flexor stretches), and hydrate. Turn off the iron or engage auto-sleep.
- Phase 2 Soldering (20 mins): Solder the bottom 2 rows and the spacebar stabilizers.
- Cleanup & Inspection (10 mins): Use 99% isopropyl alcohol and an ESD-safe toothbrush to scrub away flux residue, which can cause parasitic capacitance and ghosting on the keyboard matrix.
Frequently Asked Questions
Do I need a fume extractor if I use 'no-clean' flux solder?
Yes. While 'no-clean' flux (like Amtech NC-559) leaves less visible residue and is less corrosive, it still vaporizes volatile organic compounds (VOCs) and synthetic resins when heated. Prolonged inhalation of any heated flux vapor is an irritant to the mucous membranes and respiratory tract.
Can I use a 40W cheap iron for a keyboard build?
It is highly discouraged. Cheap mains-powered irons lack active thermal feedback. When the thick switch pins draw heat away, the tip temperature plummets, leading to cold, dull, and unreliable solder joints. A temperature-controlled station (like the Hakko FX-888D at $115 or the Pinecil V2 at $26) uses a thermocouple to actively pump current into the heater, maintaining a stable 320°C.
How do I safely desolder a misaligned switch?
Never pry a switch off with a screwdriver while the solder is semi-molten; you will rip the copper pad off the PCB (pad lift). Use a high-quality desoldering pump (like the Engineer SS-02, $25) or desoldering braid (Goot Wick) to completely clear the through-hole before gently lifting the switch housing.