
The Anatomy of a Perfect Earring Solder Joint
Soldering earrings—specifically attaching friction posts, omega clips, or hinge mechanisms to delicate backplates—represents one of the most unforgiving micro-soldering challenges in jewelry fabrication. Unlike heavy chain links or thick ring shanks, earring components feature extreme thermal disparities. A standard 0.8mm sterling silver earring post will melt at 1640°F (893°C), while the solder required to attach it flows at roughly 1270°F (688°C). This narrow 370°F thermal window leaves zero margin for error.
To demystify this process, we conducted an expert roundup in early 2026, gathering insights from master bench jewelers, metallurgical technicians, and micro-fabrication specialists. According to data from Jewelers of America, improper heat distribution and incorrect flux selection account for over 65% of bench-level scrap in earring manufacturing. Below, we synthesize the industry's best practices, comparing the exact torches, filler metals, and chemical fluxes required to achieve flawless, high-strength earring joints.
The Heat Source: Micro-Torch Comparison Matrix
The consensus among veteran goldsmiths is clear: standard plumbing or culinary torches are entirely unsuitable for earring posts. The flame envelope is too broad, causing peripheral heat damage and melting the delicate findings. In 2026, the industry relies heavily on precision micro-torches that offer pinpoint flame control. We asked five master jewelers to rank their daily drivers for earring fabrication.
| Torch Model | Fuel Type | Max Temp | Flame Envelope | 2026 Avg. Price | Expert Verdict |
|---|---|---|---|---|---|
| Smith Little Torch (Model 23-1001C) | Oxy-Propane / Oxy-Acetylene | 6300°F | Pinpoint (0.2mm tip) | $135.00 | Industry standard. Unmatched precision for 0.8mm posts. |
| Blazer Big Shot GT 8000 | Butane (Isobutane mix) | 2500°F | Medium (adjustable) | $65.00 | Best portable butane option. Excellent for quick silver repairs. |
| Dremel VersaFlame 2200 | Standard Butane | 2200°F | Broad / Medium | $45.00 | Budget-friendly, but flame envelope is too broad for micro-posts. |
| Geneva Micro Torch | Butane | 2400°F | Fine Point | $55.00 | Great for wax carving and very small jump rings, struggles with heavy heat sinks. |
For professional earring production, the Smith Little Torch remains the undisputed champion. Its #00 or #1 burner tips produce a flame envelope small enough to heat only the earring pad without transferring excess thermal energy to the post itself. For hobbyists or low-volume custom jewelers, the Blazer Big Shot GT 8000 provides adequate heat for sterling silver, provided you use a high-quality isobutane fuel mix rather than standard hardware-store butane, which contains impurities that can cause porous solder joints.
Metallurgy Matters: Selecting Silver Solder Grades
A common failure mode for novice jewelers is melting the earring post during the soldering process. This almost always stems from using the wrong solder grade. Jewelry solder is categorized by its flow temperature, not its melting point. When soldering earrings, experts from Rio Grande and other premier suppliers universally recommend using Easy or Extra-Easy grade solder for post attachment.
- Hard Solder (Flow: 1450°F / 788°C): Used for the initial fabrication of the earring face or bezel setting. Never use Hard solder for attaching posts, as the required heat will easily warp thin gauge silver and melt delicate findings.
- Medium Solder (Flow: 1325°F / 718°C): Ideal for attaching structural elements like hinge barrels or heavy omega clips where a stronger joint is needed, but the thermal mass is higher.
- Easy Solder (Flow: 1270°F / 688°C): The mandatory choice for friction earring posts. The lower flow temperature ensures the solder capillary-actions into the joint before the 0.8mm post reaches its structural failure point.
- Extra-Easy Solder (Flow: 1200°F / 649°C): Reserved for complex multi-step repairs where previous solder joints must not remelt. Contains higher zinc/cadmium substitutes, which can sometimes result in a slight color mismatch on high-polish sterling.
Expert Insight: 'Always use pre-cut solder pallions (1mm x 2mm) rather than clipping your own wire. Clipping creates inconsistent volumes. A pallion that is 20% too large will blob over the edge of the earring pad, requiring hours of cleanup and potentially ruining the stamping or hallmark on the back.'
— Sarah Jenkins, Master Goldsmith & Bench Evaluator
Flux Chemistry & Firescale Prevention
Firescale (cupric oxide) is the bane of sterling silver earring backs. When sterling silver (92.5% Ag, 7.5% Cu) is heated in the presence of oxygen, the copper migrates to the surface, creating a deep purple-black stain that is notoriously difficult to polish out of tight earring crevices.
The Two-Step Flux Protocol
- Step 1: Firecoat (Prips Flux). Before applying any localized flux, the entire earring component should be dipped in or sprayed with a Prips-type flux (a mixture of boric acid, borax, and potassium fluorides). This creates a microscopic glassy barrier that prevents oxygen from reaching the copper alloy. Heat the earring gently until the Prips turns a frosty white.
- Step 2: Localized Flow Flux (Handy Flux B-2). Apply a small drop of borax-based Handy Flux directly to the solder joint. This flux dissolves existing oxides and reduces surface tension, allowing the molten solder to wick perfectly between the post base and the earring pad.
Step-by-Step: The Sweat Soldering Protocol
Stick soldering (heating the post and solder simultaneously) is highly discouraged for earrings due to the risk of post deformation. Instead, experts rely on sweat soldering. Here is the exact 2026 benchmark procedure for attaching a standard sterling silver friction post:
- Surface Preparation: Sand the earring pad and the base of the earring post with 400-grit sandpaper to remove manufacturing oils and oxidation. Clean both parts in an ultrasonic cleaner for 3 minutes.
- Pre-Fluxing: Coat the earring back with Prips firecoat. Flux the base of the post with Handy Flux.
- Tinning the Post: Place the post upright in a cross-locking titanium tweezer (titanium acts as a heat sink, protecting your fingers and preventing copper flashing in the pickle later). Apply a tiny chip of Easy solder to the base of the post and heat until it flows flat across the bottom. Quench in water.
- Alignment: Apply a fresh drop of Handy Flux to the tinned post base. Use a solder pick to position the post exactly in the center of the earring pad. Secure the earring face-down on a ceramic honeycomb soldering block.
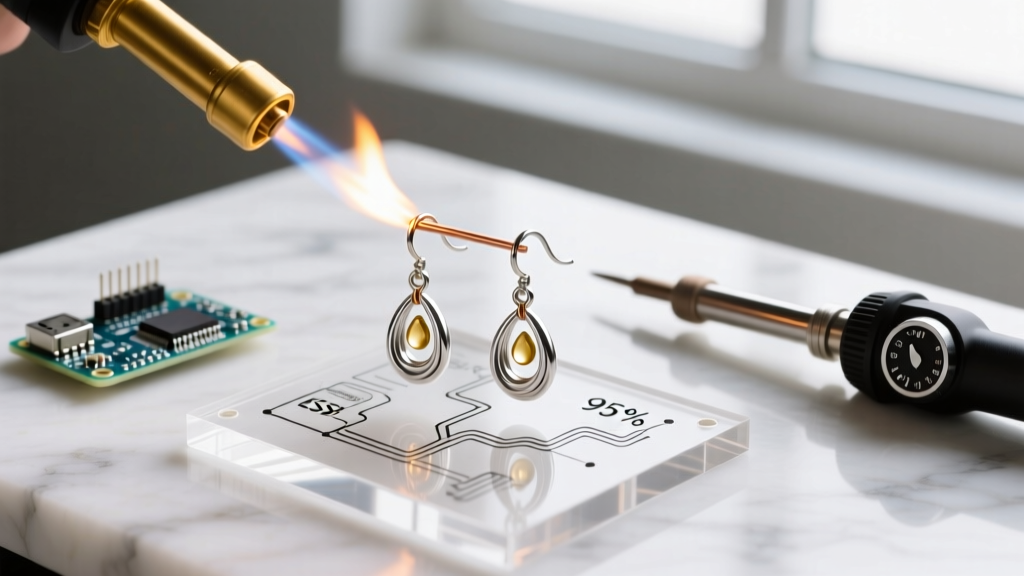
- The Sweat: Using the Smith Little Torch with a #1 tip, apply a broad, soft flame to the front (face) of the earring, or the periphery of the back pad. Never point the flame directly at the post. Heat the earring mass until the pre-tinned solder on the post base flashes (turns liquid). Remove heat immediately.
- Quench and Pickle: Allow the piece to air cool until the red glow fades (approx. 10 seconds), then quench in water and transfer to a heated pickle pot.
Troubleshooting Edge Cases & Common Failures
Even with perfect technique, metallurgical anomalies can cause joint failures. Below is a diagnostic matrix compiled from bench repair logs.
| Failure Mode | Root Cause | Expert Fix |
|---|---|---|
| Solder balls up and refuses to flow | Surface contamination (skin oils, polishing compound) or exhausted flux. | Pumice wheel the joint, re-clean in ultrasonic, and apply fresh Handy Flux. |
| Earring post melts or slumps | Direct flame impingement on the post; using Hard/Medium solder. | Switch to Easy solder. Heat the heavy earring mass, letting thermal conductivity melt the solder. |
| Pink/Copper flashing on silver | Steel tweezers or binding wire left in the pickle pot, causing galvanic copper plating. | Use strictly Titanium or Copper tweezers. Strip flashing in a 50/50 water/hydrogen peroxide and ammonia bath. |
| Joint is brittle and snaps | Solder starvation (too little filler metal) or overheating causing zinc depletion. | Use slightly larger pallions. Remove heat the exact second the solder flashes. |
Final Thoughts on Earring Fabrication
Mastering the art of soldering earrings requires a shift in mindset from standard plumbing or electronics soldering. You are managing microscopic thermal gradients and reactive precious metal alloys. By investing in a precision micro-torch like the Smith Little Torch, strictly utilizing Easy grade silver solder, and employing a two-stage flux protocol, you will eliminate firescale and achieve structural joints that withstand decades of daily wear. Whether you are producing custom 14k gold studs or high-volume sterling silver hoops, these expert-backed methodologies represent the current gold standard in jewelry micro-fabrication.