
The Metamorphosis of the Soldering Tool
When engineers ask how to use a soldering pen effectively, they are often unknowingly asking about the culmination of a century of metallurgical and electronic evolution. The transition from the bulky, thermally sluggish copper hatchet irons of the early 20th century to the sleek, microprocessor-driven soldering pens of 2026 represents one of the most significant shifts in DIY and professional electronics assembly. Understanding this historical context is not merely an academic exercise; it directly informs how you grip, heat, and manipulate modern components like 0402 SMD resistors and dense LQFP microcontrollers.
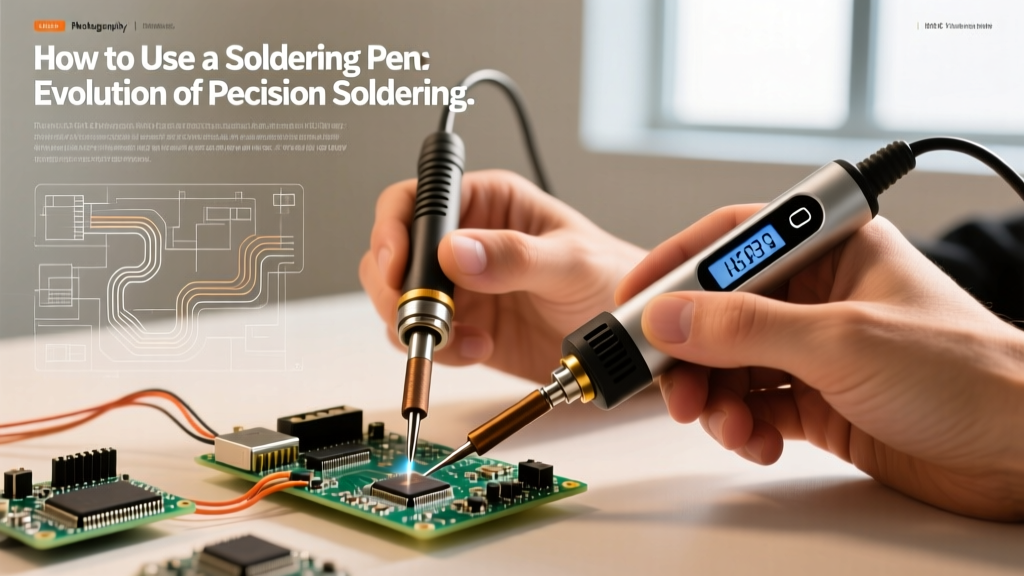
Today, a soldering pen is defined by its form factor—a slender, lightweight, cylindrical chassis that mimics a writing instrument—and its internal architecture, which relies on rapid-feedback PID (Proportional-Integral-Derivative) controllers and high-density ceramic heating elements. To master the modern soldering pen, we must first look at the technological leaps that made its precision possible.
A Brief History: From Blowtorches to USB-C Power Delivery
In the 1920s through the 1970s, electric soldering irons were essentially resistive wire wound around a massive copper core. They lacked active temperature regulation, relying entirely on thermal mass. If you soldered a large ground plane, the iron would suffer severe thermal stall, requiring minutes to recover. The 1980s introduced a paradigm shift when companies like Hakko popularized ceramic heating elements, separating the heater from the tip and allowing for faster thermal transfer.
However, the true revolution arrived in the 2020s with the integration of USB-C Power Delivery (PD) and open-source firmware. Modern smart soldering pens, such as the Pinecil V2 or the Sequre S60P, utilize RISC-V or ARM microcontrollers to sample tip temperature up to 10 times per second. By negotiating up to 240W of power via the USB-C PD 3.1 standard, these pens can melt SAC305 lead-free solder on multi-layer PCBs in seconds, a feat that would have destroyed the tips of 1990s analog stations.
How to Use a Modern Soldering Pen: A Step-by-Step Guide
Leveraging the historical improvements in thermal dynamics and ergonomics, here is the definitive methodology for using a modern soldering pen in 2026.
1. Power Negotiation and Temperature Profiling
Unlike legacy irons that plugged directly into 120V/240V AC mains, modern pens require a DC power source. You must pair your pen with a high-quality GaN (Gallium Nitride) charger capable of at least 65W (ideally 100W) to prevent power throttling during heavy thermal loads.
- Leaded Solder (60/40 Sn/Pb): Set your PID controller to 300°C. The lower melting point (183°C) requires less thermal headroom.
- Lead-Free Solder (SAC305): Set to 320°C - 340°C. Lead-free alloys have a higher melting point (217°C) and a 'mushy' plastic phase that requires aggressive heat transfer to avoid cold joints.
2. The Ergonomic Pen Grip
The primary advantage of the pen form factor is the grip. Traditional heavy irons forced a 'palm grip,' which relies on wrist movement and causes fatigue. The soldering pen demands a 'tripod grip' (thumb, index, and middle finger), identical to holding a fine-point pen. This allows you to rest the heel of your hand and your pinky finger directly on the workbench, creating a stable X-Y axis pivot point. This physical grounding is mandatory when drag-soldering 0.5mm pitch ICs.
3. Tip Selection and Thermal Mass Matching
Modern pens use low-thermal-mass cartridge tips where the heater is integrated directly into the copper base. The historical mistake of using a conical (pointed) tip persists among beginners. Conical tips have terrible surface area contact and fail to transfer heat efficiently. Always select a chisel tip or a bevel tip that matches the width of your target pad. For 0603 SMD components, a 1.2mm chisel tip provides the optimal balance of precision and thermal transfer.
4. The IPC-Standard Soldering Sequence
According to the IPC J-STD-001 requirements for soldered electrical assemblies, the correct sequence prevents thermal shock and ensures proper intermetallic compound (IMC) formation:
- Wet the Tip: Melt a microscopic amount of solder on the pen tip to create a thermal bridge.
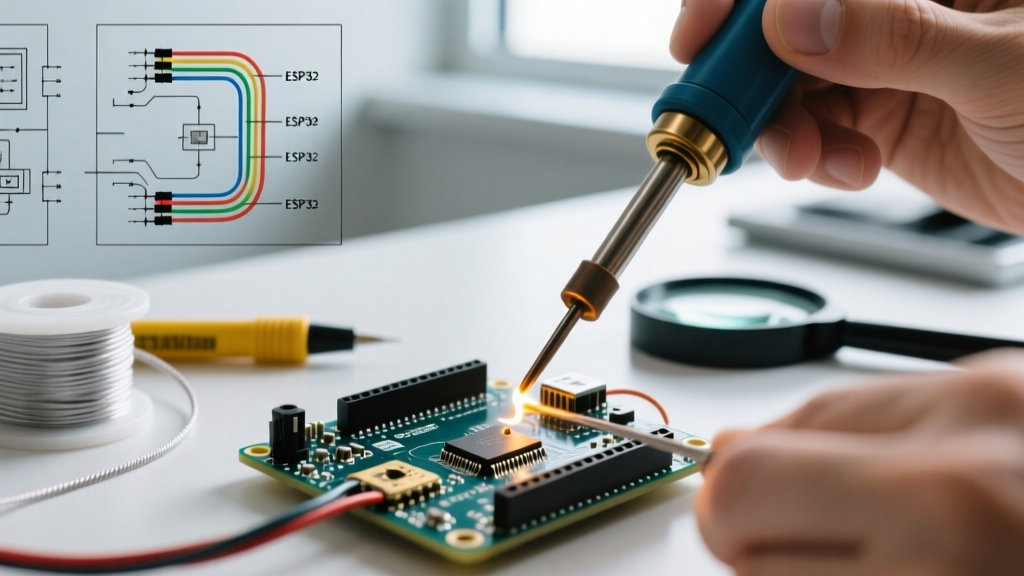
- Apply Heat: Touch the tip to both the PCB pad and the component lead simultaneously for 1 to 1.5 seconds.
- Feed the Alloy: Apply your solder wire to the pad/lead junction, not directly to the iron tip. Capillary action and flux activation will draw the solder into the joint.
- Withdraw: Remove the solder wire, then smoothly slide the pen tip off the joint to allow a clean fillet to form.
Comparative Matrix: The Evolution of Soldering Technology
To understand the sheer advantage of the modern pen, compare it against its predecessors. This matrix highlights why techniques that were impossible in 1995 are standard practice today.
| Era / Tool Type | Heater Technology | Temperature Control | Heat Recovery Time | Typical 2026 Cost (USD) |
|---|---|---|---|---|
| 1970s Transformer Gun | Induction / Resistive | None (Fixed Wattage) | 15+ seconds | $25 (Vintage/Used) |
| 1990s Analog Station | Mica / Ceramic | Bimetallic Thermostat | 5 - 8 seconds | $60 - $90 |
| 2010s Digital Station | Ceramic Core | PID (Basic) | 2 - 4 seconds | $150 - $300 |
| 2026 Smart Soldering Pen | Integrated Cartridge | High-Freq PID + USB-C PD | < 1 second | $25 - $50 |
Advanced Techniques Enabled by Pen-Style Form Factors
The lightweight nature of the modern soldering pen, combined with instant thermal recovery, unlocks advanced assembly techniques that were previously relegated to expensive reflow ovens or hot-air rework stations.
- Drag Soldering (LQFP/QFP ICs): By applying a generous amount of no-clean tacky flux to the pads, you can load a wide bevel tip with solder and literally 'drag' the pen across the 0.5mm pitch pins of a microcontroller. The pen's PID controller instantly compensates for the heat drawn by the massive IC ground pad, preventing bridges.
- Micro-SMD Rework (0201 Components): Components measuring just 0.6mm x 0.3mm require absolute stillness. The pen grip, combined with a micro-chisel tip and a high-quality stereo microscope, allows for surgical precision without the risk of tombstoning caused by uneven heating.
'The shift to lead-free solders like SAC305 forced the industry to abandon high-thermal-mass irons. The higher melting points and rapid oxidation rates of lead-free alloys demanded the rapid-response PID tuning found in today's smart pens.' — Hakko Engineering Archives
Critical Failure Modes and Edge Cases
Even with advanced technology, modern soldering pens introduce specific failure modes that users must actively manage:
- USB-C PD Cable Bottlenecks: A common edge case occurs when a user connects a 100W pen using a standard 3A smartphone charging cable. The cable cannot support 20V/5A negotiation, throttling the pen to 15W or 30W. This results in catastrophic thermal stall when touching large copper pours. Always use an E-marker certified 5A USB-C cable.
- Ceramic Heater Shattering: Unlike old resistive coils, the ceramic heaters inside cartridge tips are brittle. Dropping a modern soldering pen on a hard floor will frequently fracture the internal ceramic substrate, instantly killing the tip. Always use a magnetic or weighted silicone holster.
- Galvanic Tip Corrosion: Lead-free solder is highly aggressive. If you leave a modern pen idling at 380°C for more than five minutes, the SAC305 alloy will eat through the iron plating of the tip, exposing the copper core and destroying the tool. Utilize the pen's built-in 'sleep mode' (accelerometer-based auto-standby) to drop the temperature to 150°C when not in active use.
Conclusion: Respecting the Tool's Lineage
Learning how to use a soldering pen is about more than just melting metal; it is about leveraging a century of thermal engineering. By understanding the transition from brute-force heating to micro-managed PID algorithms, you can adapt your grip, optimize your power delivery, and execute flawless solder joints on the most demanding 2026 PCB layouts. Treat the tool with respect, manage your thermal profiles, and let the precision of the pen elevate your electronics craftsmanship.