
The Metallurgy Behind the "Silver Soldered" Stamp
When scouring estate sales or antique shops for vintage commercial holloware, DIYers and restorers frequently encounter the coveted Reed & Barton silver soldered stamp on the base of teapots, chafing dishes, and heavy-duty hotel silver. To the untrained eye, this might imply the item was repaired with standard tin-lead or rosin-core electronic solder. In reality, this stamp represents a fundamentally different metallurgical process: silver brazing.
Reed & Barton utilized silver brazing for their commercial lines to ensure joints could withstand the brutal mechanical and thermal shocks of industrial dishwashing and daily restaurant use. Unlike soft soldering, which relies on surface adhesion and low-temperature melting, silver brazing involves melting a silver-bearing alloy into a microscopic capillary gap between base metals at temperatures exceeding 1,100°F. For electrical and electronics DIYers, understanding the distinction between these two methods is crucial—not just for restoring vintage silver, but for applying high-integrity joining techniques to high-current electrical busbars, RF shielding, and vintage audio chassis.
Method 1: True Silver Brazing (The OEM Standard)
The original manufacturing method used by Reed & Barton for their heavy-duty holloware is technically classified by the American Welding Society (AWS) as silver brazing. This process creates a joint that is often stronger than the base metals themselves.
Alloys and Flux Chemistry
True silver brazing requires specialized alloys, typically containing between 20% and 56% silver, balanced with copper, zinc, and sometimes tin or nickel. A standard choice for 2026 restoration work is Harris Stay-Silv 45 or Lucas-Milhaupt Easy-Flo 3. These alloys melt in the range of 1,145°F to 1,250°F. Because these temperatures rapidly oxidize copper and brass base metals, a specialized flux is mandatory. White flux (a borax-boric acid mixture) is standard, but for tighter joints or higher-temperature alloys, Black Flux (which includes potassium fluoride) is required to dissolve stubborn oxides. As detailed in the Lucas-Milhaupt Brazing Fundamentals guide, proper fluxing is what allows the molten alloy to be drawn into the joint via capillary action.
Thermal Requirements and Joint Mechanics
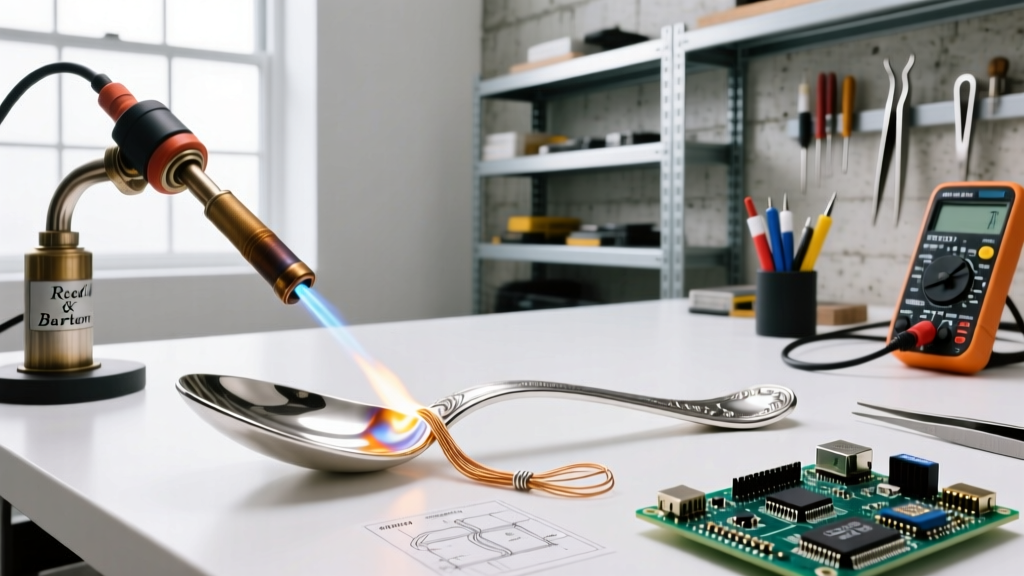
Silver brazing cannot be performed with a standard electronics soldering iron. It requires a high-BTU gas torch, such as an oxy-acetylene setup or a modern high-output MAP-Pro torch (like the Bernzomatic TS8000). The joint must be heated uniformly to the alloy’s flow point, allowing the liquid metal to wick into a precisely engineered gap of 0.002 to 0.005 inches. The resulting joint boasts a tensile strength exceeding 40,000 PSI, making it virtually immune to the shear stresses of a water-filled teapot handle.
Method 2: Soft Soldering (The Electronics & Quick-Fix Approach)
Soft soldering is the domain of the electronics workbench. It relies on low-melting-point alloys (typically below 500°F) and is designed for electrical conductivity and component attachment, not structural load-bearing.
High-Silver Electronic Solders
Many DIYers mistakenly believe that using a "silver-bearing" electronic solder, such as SAC305 (Sn96.5/Ag3.0/Cu0.5) or Indalloy 281, bridges the gap between electronics and silversmithing. While these advanced electronic solders offer slightly better thermal fatigue resistance than standard Sn63/Pb37, they still melt at approximately 430°F. They are fundamentally soft solders.
Failure Modes in Structural Applications
Applying soft solder to a Reed & Barton teapot handle is a guaranteed path to failure. A standard soft solder joint yields at roughly 4,000 PSI. More critically, soft solders suffer from creep—a slow, permanent deformation under sustained mechanical stress. When you pour boiling water (212°F) into a silver-plated teapot, the joint temperature rises. Because 212°F represents a significant fraction of the absolute melting temperature of tin-based alloys (the homologous temperature), the joint loses structural rigidity. The lever-arm force of the handle will eventually cause the soft solder to tear away from the silver-plated brass body.
Comparison Matrix: Brazing vs. Soft Soldering
| Property | Silver Brazing (OEM Method) | Soft Soldering (Electronic/Plumbing) |
|---|---|---|
| Typical Alloys | BAg-7 (56% Ag), BAg-5 (45% Ag) | SAC305, Sn63/Pb37, 95/5 Tin-Antimony |
| Melting Range | 1,145°F – 1,450°F | 361°F – 480°F |
| Tensile Strength | 40,000 – 65,000 PSI | 3,000 – 6,000 PSI |
| Capillary Gap | 0.002" – 0.005" | Fillet joint (surface adhesion) |
| Heat Source | Oxy-Acetylene, MAP-Pro Torch | Soldering Iron (e.g., Hakko FX-601) |
| Best Use Case | Structural handles, spouts, high-current busbars | PCB components, low-stress wire splices |
Step-by-Step: Restoring a Broken Reed & Barton Handle
If you are tasked with repairing a genuine Reed & Barton silver soldered joint, you must replicate the OEM brazing process to maintain the item's structural integrity and value. Here is the professional workflow:
- Mechanical Preparation: Use a fiberglass scratch brush or fine abrasive pad to remove all old solder, oxidation, and silver plating from the joint area. Brazing alloy will not flow over dirty or plated surfaces; it must contact bare brass or copper.
- Chemical Degreasing: Wipe the joint with high-purity isopropyl alcohol or acetone to remove skin oils and polishing compounds.
- Flux Application: Mix powdered AWS Type 3A white flux with distilled water to a creamy paste. Apply it generously to both mating surfaces and the brazing rod itself.
- Thermal Cycling: Using a torch with a neutral flame, heat the base metal, not the rod. Sweep the flame broadly to avoid melting the thin silver-plated walls. Watch the flux: it will bubble, turn clear, and then glass over when the metal reaches approximately 1,100°F.
- Alloy Introduction: Touch the silver brazing rod (e.g., Stay-Silv 45) to the edge of the joint. If the base metal is hot enough, capillary action will instantly draw the liquid alloy deep into the seam.
- Quench and Pickle: Allow the piece to cool until the red glow fades, then quench in water to pop off the glassy flux residue. Submerge in a warm citric acid or commercial pickle solution to clean the oxidation before re-plating.
Expert Warning: Never attempt to silver-braze a piece while it is still fully silver-plated. The extreme heat will alloy the thin silver plating with the brass substrate, causing irreversible blistering and requiring complete re-plating anyway. Always strip the joint area first.
The Electrical DIY Crossover: Chassis Grounding and RF Shielding
Why does a premier electrical and electronics DIY hub care about vintage Reed & Barton holloware? Because the metallurgical principles of the Reed & Barton silver soldered standard directly translate to advanced electrical fabrication.
When building high-power RF amplifiers, vintage tube audio rectifiers, or heavy-duty battery management systems, standard soft solder is a critical point of failure. If a fault condition sends 50 amps through a chassis ground lug attached with Sn63/Pb37 solder, the joint will vaporize, potentially causing a fire or catastrophic component failure. By adopting the silver brazing techniques used in commercial silversmithing—utilizing MAP-Pro torches and 45% silver alloys—electrical engineers can create busbar joints and RF cavity seals that offer ultra-low electrical resistance while maintaining structural integrity at extreme thermal loads.
Whether you are restoring a 1940s hotel silver coffee urn or fabricating a copper busbar for a 2026 solar inverter project, respecting the boundary between soft soldering and silver brazing is the hallmark of true craftsmanship. Choose your alloy based on the mechanical and thermal demands of the joint, not just the convenience of the soldering iron.