
The Great Debate: Battery Terminal Soldering vs. Crimping
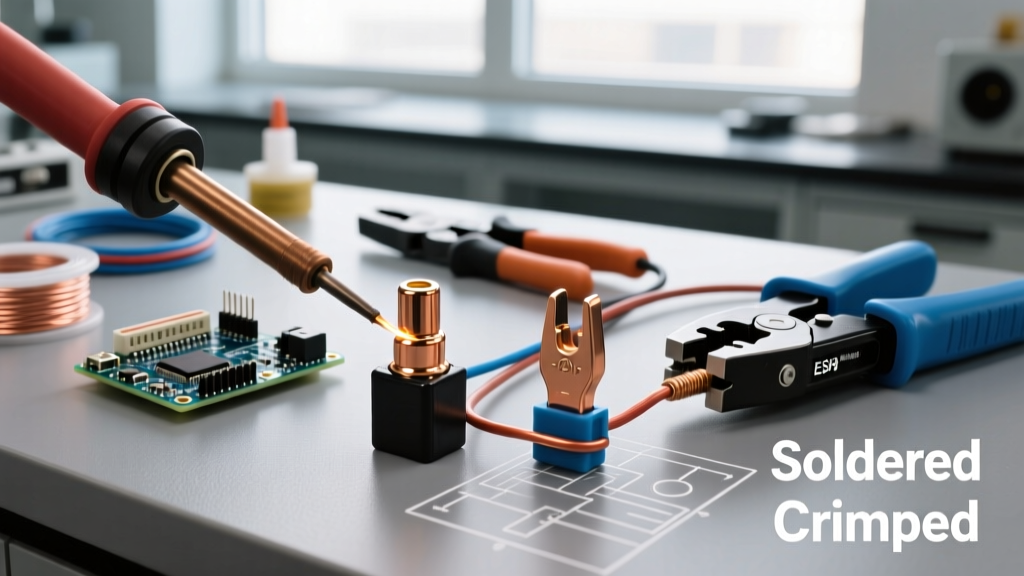
As high-current DC applications like LiFePO4 solar banks, marine house batteries, and EV conversions surge in popularity in 2026, the debate over battery terminal soldering versus mechanical crimping has never been more relevant. When you are pushing 150 amps through 1/0 AWG copper, a poor connection does not just mean a voltage drop; it means a severe fire hazard. Both methods have fiercely loyal advocates, but the physics of high-current DC connections heavily favor one approach in professional environments. This guide breaks down the tooling, failure modes, and industry standards to help you choose the right method for your next build.
Method 1: Battery Terminal Soldering Deep Dive
Soldering creates a metallurgical bond between the copper strands and the terminal lug using a filler metal (usually a tin-lead or lead-free alloy). While it offers excellent electrical conductivity when done perfectly, it introduces significant thermal and mechanical challenges in high-gauge applications.
Tooling and Material Requirements
The biggest hurdle in battery terminal soldering is thermal mass. Heavy-gauge copper wire acts as a massive heatsink, rapidly pulling heat away from your soldering iron. A standard 40W hobby iron is entirely useless for anything thicker than 10 AWG.
- For 8 AWG to 4 AWG: You need a high-wattage, temperature-controlled station. The Hakko FX-951 (approx. $280) or the Weller WE1010-NA (approx. $130) equipped with a massive chisel tip (like the Hakko T12-D52) is mandatory to maintain a stable 350°C (662°F) at the joint.
- For 2 AWG to 1/0 AWG: Even a 100W iron will struggle. Professionals turn to closed-loop butane torches like the Blazer Big Shot PB207 ($85) or dedicated soldering pots to pre-heat the lug barrel.
- Flux and Solder: Acid-core plumbing solder is strictly prohibited for electrical work due to aggressive corrosion. You must use rosin-core solder (e.g., Kester 44) paired with a high-quality no-clean or mildly activated rosin flux like Kester 186 or Amtech NC-559-V2-TF.
Failure Modes and Edge Cases
The most common failure in battery terminal soldering is the cold joint, caused by insufficient heat penetration. The solder flows over the outside of the lug barrel but fails to wick into the copper strands, creating a high-resistance boundary layer that will melt under heavy DC loads. Additionally, excessive heat can easily melt the adhesive lining of dual-wall heat shrink tubing before the solder even flows, ruining the environmental seal.
Method 2: Mechanical Crimping Analysis
Crimping relies on extreme mechanical force to cold-weld the terminal lug to the copper strands. When executed with the correct die and tool, the copper strands deform and interlock, creating a gas-tight seal that prevents oxygen and moisture from causing oxidation.
Tooling and Die Selection
Unlike soldering, where heat is the primary variable, crimping is all about precise mechanical deformation. Using the wrong die profile will either cut the copper strands or leave the connection loose.
- For 16 AWG to 2 AWG: Ratcheting crimpers are mandatory. The Knipex 97 53 14 ($180) is the gold standard for smaller terminals, offering an indentation crimp that guarantees a gas-tight seal. For heavy battery lugs (4 AWG to 2 AWG), the IWISS IWS-16 ($65) provides excellent hex-crimp results.
- For 1 AWG to 4/0 AWG: Manual ratcheting tools require immense hand strength. For 1/0 AWG and above, hydraulic crimpers like the Titin 11100 ($120) or battery-operated electro-hydraulic tools (like the Milwaukee M18 ONE-KEY crimpers, pushing $1,500+) are standard in professional 2026 EV and marine builds.
Failure Modes
The primary risk in crimping is under-crimping (leaving air gaps inside the barrel, leading to oxidation and arcing) or over-crimping (shearing the copper strands and reducing the wire's ampacity). Furthermore, using non-ratcheting pliers to 'smash' a lug is a critical safety violation that will inevitably lead to the cable pulling out under vibration.
Head-to-Head Comparison Matrix
| Feature | Battery Terminal Soldering | Mechanical Crimping |
|---|---|---|
| Initial Tool Cost | $130 - $350 (High-wattage irons/torches) | $65 - $300 (Ratcheting/Hydraulic crimpers) |
| Consumable Cost | High (Solder, premium flux, heat shrink) | Low (Lugs and heat shrink only) |
| Vibration Resistance | Poor (Solder creates rigid stress risers) | Excellent (Strands flex naturally) |
| Moisture Resistance | Excellent (Solder seals out air completely) | Very Good (Relies on adhesive heat shrink) |
| Time per Lug (1/0 AWG) | 3 - 5 minutes (Heating, flowing, cooling) | 30 - 45 seconds (Strip, insert, crimp) |
| Visual Inspection | Difficult (Cannot see inside the barrel) | Easy (Hex indent depth is easily verified) |
The "Hybrid" Myth: Why Crimping AND Soldering is Dangerous
"A common DIY misconception is that crimping a lug and then filling it with solder provides 'double the security.' In reality, this practice actively compromises the integrity of the connection and violates aerospace and marine standards."
When you apply liquid flux and molten solder to a crimped terminal, capillary action wicks the highly corrosive flux deep into the microscopic gaps between the copper strands inside the barrel. Because you cannot flush this flux out, it remains trapped, eventually causing galvanic corrosion and copper embrittlement.
Furthermore, solder is rigid. If a battery cable is subjected to vibration (common in marine and vehicle environments), the flexible copper strands will bend. However, the section of the wire where the solder wicked slightly past the crimp barrel becomes rigid. This creates a stress riser—a sharp transition point between flexible and rigid wire. Under continuous vibration, the copper strands will suffer from metal fatigue and snap exactly at the edge of the solder wicking, leading to catastrophic open-circuit failures.
Industry Standards: What the Experts Mandate
If you look at professional engineering guidelines, the preference for crimping over battery terminal soldering in high-vibration, high-current environments is overwhelming.
- IPC Standards: The IPC (Association Connecting Electronics Industries) J-STD-001 and IPC-A-620 standards heavily favor crimping for heavy-gauge wire terminations, noting that soldered connections on large multi-strand wires are highly susceptible to thermal fatigue and mechanical breakage.
- Aviation Regulations: The FAA Advisory Circulars (specifically AC 43.13-1B) dictate strict protocols for aircraft wiring. Soldering is generally restricted and never used as the sole mechanical support for a wire. Crimping with environmental seals is the mandated standard for power distribution.
- Marine Guidelines: The American Boat & Yacht Council (ABYC) standard E-11 explicitly requires crimped connections for marine DC electrical systems. Soldering alone is prohibited for battery terminals due to the harsh, high-vibration, and high-moisture environment of a boat hull.
For deeper insights into how battery configurations and internal resistance are affected by poor terminations, Battery University provides extensive documentation on how high-resistance connections can trigger premature cell degradation in parallel LiFePO4 banks.
Final Verdict: Which Connection Method Should You Choose?
For 95% of high-current DC applications—including solar battery banks, camper van conversions, and marine house systems—mechanical crimping is the superior, safer, and faster method. A properly executed hex-crimp using a calibrated ratcheting or hydraulic tool provides a gas-tight, vibration-resistant connection that will easily outlast the battery bank itself.
When should you use battery terminal soldering? Soldering is best reserved for rigid, low-vibration environments where the wire will never be bent after termination, such as custom PCB power inputs, stationary DIY powerwall busbars, or when attaching small sense wires to large lugs. If you must solder heavy-gauge battery terminals, ensure you are using a high-wattage temperature-controlled station, rosin-core solder, and strictly avoid letting solder wick past the insulation support barrel.
Ultimately, invest your budget into a high-quality hydraulic crimper and premium adhesive-lined heat shrink (like 3M ITCS or Molex Perma-Seal) rather than a massive soldering iron. Your high-current DC system will be safer, more reliable, and significantly easier to assemble.