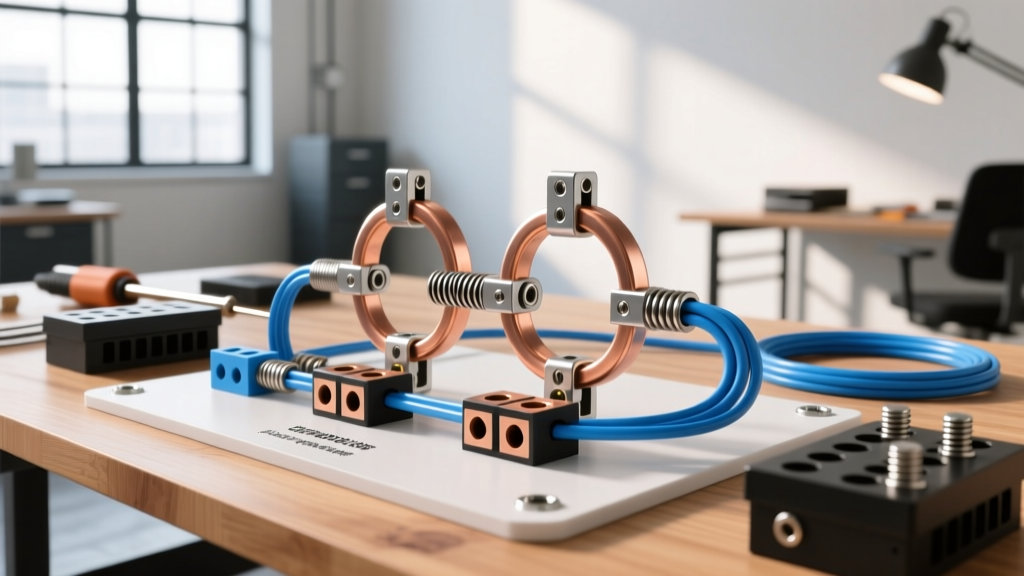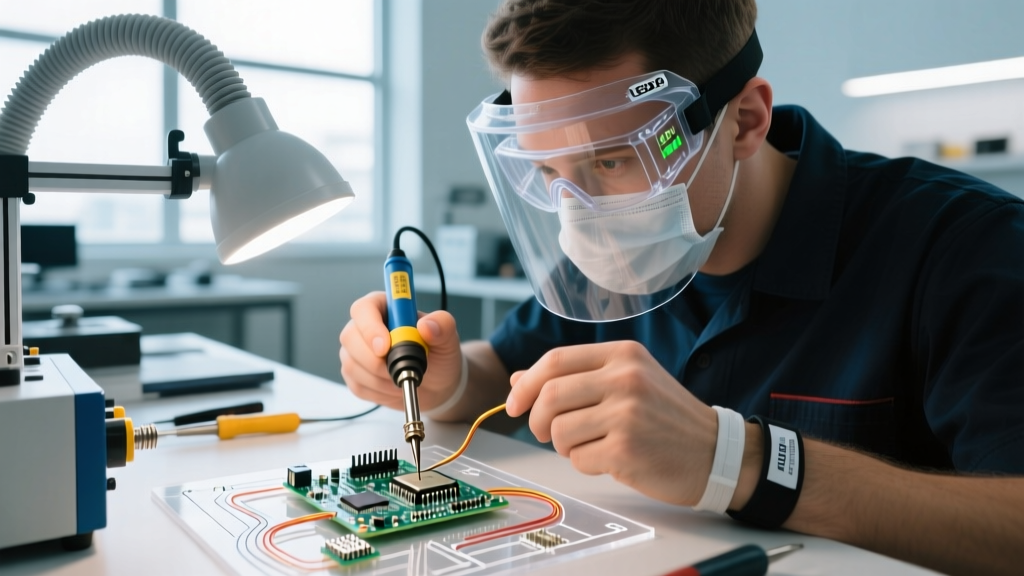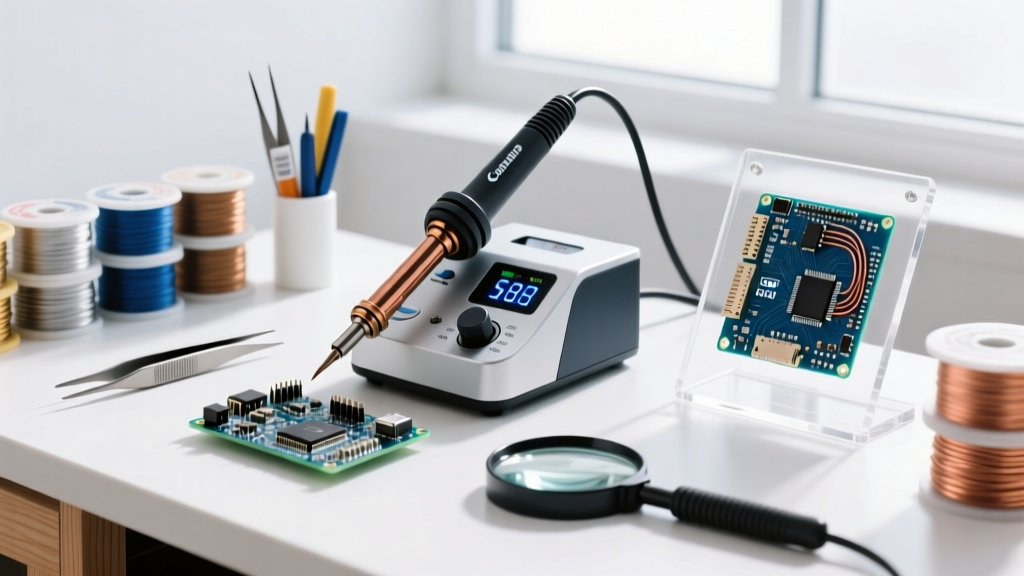

A reliable soldering aid—whether a set of helping hands, a magnetic PCB holder, or a precision vise—is the unsung hero of the electronics workbench. When functioning correctly, these fixtures allow you to achieve IPC-A-610 compliant solder joints by stabilizing the board and freeing both your hands. However, poorly maintained or incorrectly selected soldering aids introduce a host of troubleshooting nightmares: cold joints from heat sinking, micro-fractures from board slippage, and catastrophic electrostatic discharge (ESD) events.
In this comprehensive troubleshooting guide and FAQ, we dive deep into the mechanical and thermal failure modes of common soldering aids, providing actionable, bench-tested fixes to keep your workflow smooth and your components safe.
Thermal Runaway: Why Your Alligator Clips Keep Melting
The most frequent complaint with budget "helping hands" (typically priced between $12 and $25) is the melting of the PVC-coated alligator clips. This is not just a mess; it is a thermal management failure.
The Physics of Clip Meltdown
When you apply a 350°C soldering iron to a pad connected to a large ground plane, the heat travels rapidly through the copper trace. If an alligator clip is attached to that same ground network to hold the board, the steel clip (thermal conductivity of ~50 W/m·K) acts as a massive heat sink. The heat transfers down the steel jaw and into the PVC insulation, which begins to degrade and melt at just 105°C. This results in foul-smelling fumes and a sticky residue that ruins your board's conformal coating preparation.
The Workbench Fix
- Silicone Tubing Sleeves: Purchase 3mm inner-diameter (ID) high-temperature silicone tubing (rated to 300°C). Cut 2-inch segments and slide them over the metal teeth of the clips. This costs roughly $8 for a 10-foot roll and provides a thermal break while increasing grip friction.
- Copper Wire Replacement: For advanced users, remove the alligator clips entirely. Strip 12 AWG bare copper wire, wrap it tightly around the ball-joint arm, and use the wire's natural spring tension to cradle the PCB edges. Copper dissipates heat so efficiently that it rarely reaches melting temperatures for adjacent materials.
Mechanical Creep: Solving the "Sagging Joint" Syndrome
Nothing ruins a delicate 0402 surface-mount soldering job faster than a board that slowly sags under its own weight while the solder is in a semi-liquid state. This "creep" occurs in ball-and-socket soldering aids when the friction holding the joint in place is overcome by the leverage of a heavy, populated PCB.
Tension Adjustment Hacks
Most generic soldering aids use a simple nut-and-bolt tensioner or a friction-fit ball joint. Over time, the plastic or soft metal wears down, creating play.
- The PTFE Tape Trick: Disassemble the loose ball joint. Wrap exactly two layers of PTFE plumber's thread seal tape around the ball. PTFE has a high melting point (327°C) and a low coefficient of friction, but the added thickness creates a tight interference fit inside the socket. This eliminates creep without locking the joint permanently.
- Upgrade to Cam-Lock Arms: If you are frequently soldering heavy multi-layer boards (like ATX motherboards or large LED matrices), abandon friction joints. Upgrade to a fixture with cam-lock or knob-tightened steel arms, such as the Panavise 201 Printed Circuit Board Vise (approx. $38), which uses mechanical screw pressure rather than friction.
ESD and Grounding: The Hidden Danger of Metal Fixtures
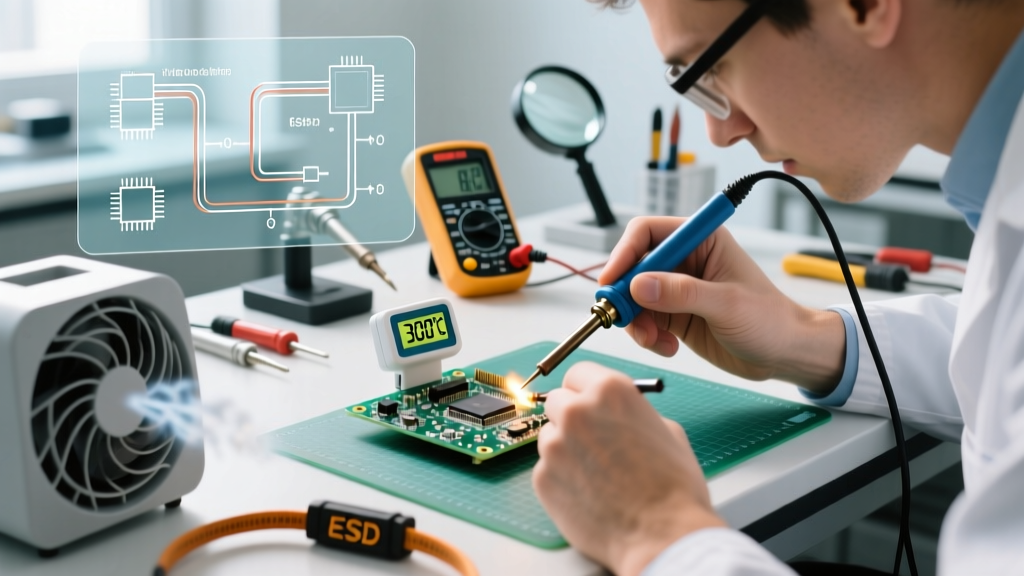
Metal soldering aids can act as antennas or create ground loops if not properly managed. When you slide a sensitive MOSFET or a bare microcontroller across an ungrounded metal vise, the triboelectric effect can generate a static charge. According to the ESD Association, human-body model (HBM) discharges as low as 30 volts can damage modern nanometer-scale logic gates.
How to Ground Your Soldering Aid
Never assume your workbench mat will ground your vise through induction. You must create a hard electrical path.
- Attach a 1-megohm resistor in series with a grounding wire. Connect one end to the metal chassis of your soldering aid and the other to your verified earth-ground bus bar.
- The 1-megohm resistor is critical: it bleeds off static charges safely without creating a shock hazard if the fixture accidentally contacts a live 120V/240V circuit during troubleshooting.
Pro-Tip: If you are using a magnetic soldering aid base on an ESD-safe silicone mat, ensure the magnetic feet do not lift the base above the mat's dissipative surface. Use copper foil tape to bridge the gap between the fixture base and the mat's ground grid.
Soldering Aid FAQ: Choosing and Using the Right Fixture
Q: Are magnetic soldering aids better than traditional alligator clips?
A: It depends on your workflow. Magnetic aids (like the Kotto or Quad Hands magnetic bases, priced around $25 to $139) excel in rapid teardown and reconfiguration. You can snap an arm into place in a fraction of a second. However, magnetic arms rely on neodymium magnets for holding force. If you apply heavy downward pressure while scraping a stubborn via or desoldering a large connector, the magnetic breakaway threshold is often exceeded, and the arm will detach. Alligator clips and mechanical vises are superior for heavy mechanical manipulation.
Q: How do I hold irregular 3D-printed enclosures for wire soldering?
A: Standard PCB clips will crush or slip on curved 3D-printed PLA/PETG parts. The best troubleshooting method is to use low-temperature molding plastic (like Polymorph, which melts at 60°C). Mold a custom cradle around the base of your enclosure, let it harden, and clamp the cradle in your vise. This distributes the clamping force evenly and prevents marring the plastic.
Q: My silicone helping-hands mat keeps melting when I drop solder on it.
A: While silicone is heat resistant, cheap "soldering mats" often use filler materials that degrade at 200°C. Furthermore, molten solder (typically 220°C for lead-free SAC305) can pool and burn through thin silicone. Place a small piece of Kapton (polyimide) tape over the specific area where you are working, or use a dedicated ceramic soldering tile (approx. $12) as a localized heat shield on top of the silicone mat.
Q: Why does my PCB slip out of the clips when I heat the board?
A: Thermal expansion. As the FR4 fiberglass and copper layers heat up, the board expands slightly (CTE of FR4 is roughly 14-17 ppm/°C in the Z-axis, but lateral expansion still occurs). If your clips are clamped at the absolute maximum edge of the board with no inward pressure, this microscopic expansion is enough to break the static friction grip. Always clamp the board at least 3mm inward from the edge, and use a small piece of high-tack Kapton tape under the clip teeth for added grip.
Troubleshooting Matrix: Fixture Type vs. Failure Mode
| Soldering Aid Type | Best Application | Common Failure Mode | Quick Workbench Fix | Avg. Cost (2026) |
|---|---|---|---|---|
| Generic Alligator Hands | Basic through-hole, wire splicing | PVC melting, board scratching | Add 3mm silicone tubing sleeves | $12 - $18 |
| Magnetic Base Arms | Rapid prototyping, light SMD | Arm detachment under pressure | Use dual-magnet base plates | $25 - $65 |
| Precision PCB Vise | Heavy desoldering, multi-layer boards | Jaw marring, overtightening | Line jaws with high-temp felt | $35 - $80 |
| Silicone Peg Mats | Large flat boards, drone frames | Pegs melting, static buildup | Use ceramic tile underlay | $15 - $25 |
| Articulated Friction Arms | Micro-soldering, jewelry | Joint creep and sagging | Wrap joints in PTFE tape | $40 - $150 |
Final Thoughts on Workbench Optimization
Troubleshooting your soldering aid is just as important as maintaining your soldering iron's tip. A fixture that slips, melts, or generates static will compromise your joint integrity and cost you far more in ruined components than the price of an upgrade. By implementing simple fixes like PTFE tape for joint creep, silicone tubing for thermal isolation, and proper 1-megohm grounding for ESD protection, you can transform a frustrating $15 Amazon purchase into a highly capable workstation tool. For those regularly tackling complex SMD rework or heavy automotive electronics, investing in a cam-lock vise or a premium articulated arm system remains the most reliable long-term solution.