
Why Look Beyond the Soldering Iron?
While soldering remains the bedrock of electronics assembly, it is not a universal solution. Thermal shock can crack sensitive ceramic capacitors, flux residues require costly cleaning to prevent electromigration, and field repairs in extreme environments often make heating a joint to 350°C impractical or dangerous. In 2026, as the industry pushes further into halogen-free and strict RoHS-compliant manufacturing, engineers and DIYers are increasingly turning to reliable alternatives to soldering.
This comprehensive guide breaks down the most effective solderless connection methods, analyzing their mechanical properties, tooling costs, and specific failure modes to help you choose the right technique for your next project.
1. Mechanical Crimping: The Industrial Standard
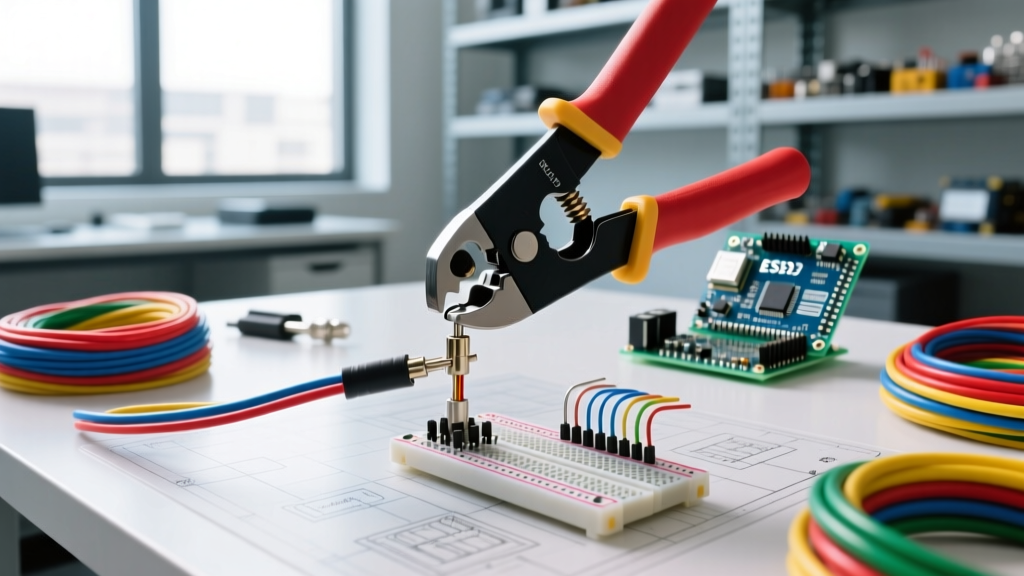
Crimping relies on extreme localized pressure to deform a metal terminal around a wire, creating a gas-tight, cold-welded connection. When executed correctly, a crimped joint is actually more resistant to vibration and thermal cycling than a soldered joint because the wire strands are not subjected to the embrittlement caused by solder wicking.
Tooling and Economics
The barrier to entry for crimping is the tooling. A generic hardware store crimper will ruin open-barrel terminals. For reliable results, you need ratcheting crimpers matched to specific terminal families:
- Entry-Level DIY: The Engineer PA-09 (approx. $25) handles standard JST and Dupont terminals reasonably well for hobbyists.
- Prosumer: IWISS SN-28B or SN-01BM (approx. $45) offer interchangeable dies for precise open-barrel crimps.
- OEM/Industrial: Molex Hand Crimper 63811-1000 series (approx. $450+) or TE Connectivity SDE tools ensure perfect calibration for high-volume harness manufacturing.
Failure Mode Analysis
According to extensive testing documented in Adafruit's Crimping Guide, the two most common failure modes are:
- Under-crimping: The terminal does not deform enough, leaving voids. This leads to high electrical resistance, arcing, and eventual pull-out under tension.
- Over-crimping: Excessive force cuts into the copper strands or crushes the insulation crimp too tightly, creating a stress riser that causes the wire to snap under vibration.
2. Press-Fit Technology: Solderless PCB Assembly
Press-fit technology eliminates wave or reflow soldering entirely for through-hole components. It utilizes specialized 'compliance pins'—often shaped like the eye of a needle—that are pressed into plated through-holes (PTH) on a printed circuit board. The pin deforms elastically while the PCB barrel deforms plastically, creating a massive surface-area gas-tight connection.
Where Press-Fit Shines
Press-fit is the undisputed king of heavy backplanes, telecom racks, and high-reliability automotive control units. Because it requires no heat, it completely eliminates the risk of lifting PCB pads or damaging adjacent surface-mount components. Furthermore, it avoids the 'shadowing effect' where thick connector bodies block heat during wave soldering.
Expert Insight: Press-fit requires precise insertion force control. A standard 1mm pitch connector might require 150N to 200N per pin. For a 100-pin connector, you are applying over 15,000 Newtons of force. This mandates the use of calibrated arbor presses or servo-driven insertion machines, not a manual bench vise.
3. Wire Wrapping: Aerospace and Prototyping
Wire wrapping involves tightly coiling bare, solid-core wire around a square or rectangular metal post. The sharp corners of the post bite into the wire, creating up to 24 redundant gas-tight connection points per wrap. This method is heavily governed by aerospace standards, such as NASA-STD-8739.3, and is prized for its extreme reliability in high-vibration environments like satellites and fighter jets.
Specifications and Tooling
- Wire: Typically 30 AWG or 24 AWG solid core with Kynar (PVDF) insulation, which resists melting from the friction of the wrapping tool.
- Tooling: Manual hand tools like the Milward wire wrap tool cost around $15, while motorized pneumatic tools from OK Industries (now Jonard) can exceed $300.
- Posts: Must be square or rectangular with sharp corners. Round headers will not bite into the wire and will result in catastrophic connection failure.
For a deep dive into how these mechanical connections interface with various housings, SparkFun's Connector Basics provides excellent visual references for terminal mating.
4. Conductive Epoxies and Adhesives
When you need to attach components to heat-sensitive substrates like flexible polyimide (Kapton), PET, or glass, conductive adhesives are the premier alternative to soldering. These are typically two-part epoxies or single-part heat-cured resins loaded with metallic particulates.
Material Breakdown
| Adhesive Type | Filler Material | Volume Resistivity | Typical Cost (50g) | Best Application |
|---|---|---|---|---|
| Isotropic Conductive | Silver Flakes | 0.0001 to 0.0006 ohm-cm | $60 - $90 | Die attach, flexible circuits, EMI shielding |
| Isotropic Conductive | Carbon / Graphite | 0.01 to 0.05 ohm-cm | $20 - $35 | Static dissipation, low-current grounding |
| Anisotropic (ACF) | Nickel/Gold Polymer Spheres | Z-axis only | $150+ (Specialty) | LCD glass-to-PCB bonding, ultra-fine pitch |
Pro-Tip: Silver-filled epoxies like MG Chemicals 8331D require meticulous mixing to ensure the silver flakes align. Curing at 80°C for 15 minutes yields vastly superior conductivity compared to a 24-hour room-temperature cure, as the heat helps the epoxy matrix shrink and compress the silver particles together.
5. Spring-Cage Terminal Blocks
For industrial wiring, chassis grounding, and heavy-gauge power distribution, soldering is entirely obsolete. Spring-cage terminal blocks, pioneered by companies like WAGO, use a hardened steel spring to clamp the wire against a tin-plated copper busbar.
The WAGO 221 series (e.g., the 221-413 LEVA) utilizes a lever-actuated spring that requires zero tools to insert or remove wires. The spring maintains constant clamping pressure regardless of thermal expansion, wire creep, or severe vibration. These blocks are rated for 32A at 450V and are certified to UL and IEC standards, making them the default choice for modern electrical panels and lighting installations. For broader regulatory compliance context, the IPC Standards body continuously updates guidelines on mechanical vs. soldered connections in harsh environments.
Comparative Decision Matrix
Use the following matrix to select the optimal alternative based on your specific engineering constraints:
| Method | Tooling Cost | Reversibility | Vibration Resistance | Current Capacity |
|---|---|---|---|---|
| Mechanical Crimping | Medium ($50 - $500) | Low (Destructive removal) | Excellent | Up to 200A+ |
| Press-Fit PCB | High ($1,000+ Press) | Very Low (Rework is difficult) | Excellent | Signal to 50A |
| Wire Wrapping | Low to Medium ($15 - $300) | Medium (Unwrapping tool required) | Excellent | Low (Signal only, < 3A) |
| Conductive Epoxy | Very Low ($10 dispensers) | None (Permanent) | Poor to Fair (Brittle) | Low to Medium (< 10A) |
| Spring-Cage Blocks | None (Toolless) | High (Lever release) | Excellent | Up to 76A+ |
Frequently Asked Questions
Can I use superglue mixed with graphite as a conductive adhesive?
While this is a popular internet hack, cyanoacrylate (superglue) is highly brittle and shrinks significantly upon curing. The resulting joint has extremely high electrical resistance (often exceeding 100 ohms) and will fracture under minimal mechanical stress. Always use purpose-formulated silver or carbon-filled epoxies for reliable electrical connections.
Is wire wrapping still relevant in 2026?
Absolutely. While surface-mount reflow soldering dominates consumer electronics, wire wrapping remains a critical skill in aerospace, defense, and high-end audio prototyping. It allows for point-to-point wiring without the risk of heat damage to expensive vacuum tubes or sensitive RF components.
How do I test the quality of a crimped connection without a pull-tester?
If you lack a calibrated tensile pull-tester, perform a visual and tactile inspection. The wire strands should be visible at the front of the conductor crimp but should not protrude past the insulation crimp. The joint should not bend or twist easily by hand. For critical applications, cross-sectioning a sacrificial crimp and examining it under a microscope to check for void percentages is the industry gold standard.