
The Hidden Cost of Uncalibrated pH Sensors
Out of the box, a glass pH electrode is essentially an uncalibrated electrochemical battery. When hobbyists and researchers plug a new probe into an analog-to-digital converter (ADC) and upload a basic Arduino sketch, they are often met with readings that drift by 0.5 to 1.0 pH within a matter of days. In applications like hydroponics, aquaculture, and water quality monitoring, a variance of 0.5 pH can mean the difference between optimal nutrient uptake and catastrophic toxicity.
As of 2026, the market for pH sensor Arduino integration has matured significantly. While cheap analog modules remain popular for entry-level projects, achieving true lab-grade accuracy requires a rigorous understanding of the Nernst equation, precise buffer chemistry, and proper temperature compensation. This guide bypasses the generic tutorials and dives deep into the exact protocols required to calibrate and maintain your pH setup for long-term stability.
Hardware Matrix: Analog vs. Digital I2C pH Circuits
Before writing a single line of calibration code, you must understand the limitations of your signal conditioning hardware. The raw millivolt signal from a pH probe is notoriously high-impedance and susceptible to electromagnetic interference (EMI). You cannot wire a raw BNC probe directly to an Arduino's analog pin; you need an op-amp conditioning circuit.
| Feature | DFRobot Gravity Analog (SEN0161) | Atlas Scientific EZO pH Circuit | Generic I2C Probes (2026 Market) |
|---|---|---|---|
| Interface | Analog Voltage (0-5V) | I2C / UART / RX/TX | I2C (Often unbranded) |
| Avg. Price (USD) | $35 - $45 | $120 - $150 | $25 - $40 |
| Calibration Storage | Manual Potentiometer / Code | Onboard Non-Volatile EEPROM | Requires MCU Code Mapping |
| Temp Compensation | External (Requires DS18B20) | Internal / External I2C | External (Requires DS18B20) |
| Best Use Case | Educational / Basic Monitoring | Commercial / Lab / Hydroponics | Budget IoT Data Logging |
The Chemistry: Why Buffer Solutions and Temperature Matter
A common and critical mistake is attempting to calibrate a pH probe using household items like vinegar, baking soda, or tap water. According to the USGS Water Science School, pH is a logarithmic measure of hydrogen ion activity, not just concentration. Household liquids lack the chemical buffering capacity to resist changes in pH when exposed to air (CO2 absorption) or the probe's own reference junction leakage.
You must use NIST-traceable buffer solutions. For a standard 2-point calibration, you need:
- pH 7.00 Buffer (Phosphate): Used to set the zero-point (offset) of the electrode.
- pH 4.01 Buffer (Phthalate) or pH 10.01 Buffer (Borate): Used to set the slope of the electrode. Choose 4.01 if you are measuring acidic environments (like hydroponics or blackwater aquariums); choose 10.01 for alkaline environments (like marine reefs or pools).
Expert Warning: Never reuse buffer solutions. Once a probe is submerged, it introduces trace ions and potential contaminants that permanently alter the buffer's precise chemical balance. Pour only what you need into small, clean shot glasses and discard immediately after calibration.
The Nernst Equation in Practice
The theoretical output of an ideal pH electrode is governed by the Nernst equation. At 25°C (77°F), the probe generates a slope of exactly -59.16 mV per pH unit. At pH 7.00, the ideal output is 0 mV. However, manufacturing variances mean your probe's actual offset might be +15 mV or -10 mV at pH 7.00, and the slope might degrade to -55 mV/pH as the glass membrane ages. Calibration is simply the mathematical process of measuring your specific probe's actual offset and slope, then applying a linear regression to map the raw voltage to accurate pH units.
Step-by-Step 2-Point Calibration Protocol
Follow this exact physical procedure to ensure the chemical interface of the probe is stable before taking your Arduino readings.
- Inspection and Hydration: Remove the probe from its storage solution. Inspect the glass bulb for micro-fractures and ensure the reference junction (the ceramic or Teflon wick near the base) is moist. If the probe has dried out, soak it in 3M KCl (Potassium Chloride) solution for 24 hours before attempting calibration.
- The Neutral Offset (pH 7.00): Submerge the probe in the pH 7.00 buffer. Stir gently for 10 seconds to dislodge any trapped air bubbles near the junction. Wait 60 to 120 seconds for the millivolt reading to stabilize. Record the stable voltage (or trigger your Arduino's calibration command if using an I2C module like the Atlas EZO).
- Rinsing Protocol: Remove the probe and rinse it with deionized (DI) or distilled water. Crucial: Gently blot the bulb with a lint-free lab wipe (like a Kimwipe). Never rub the glass bulb; rubbing creates a static charge that causes severe reading drift that can take minutes to dissipate.
- The Slope Calibration (pH 4.01): Submerge the probe in the pH 4.01 buffer. Stir gently, wait 120 seconds for stabilization, and record the second voltage point.
Arduino Code Logic: Mapping Voltage to pH
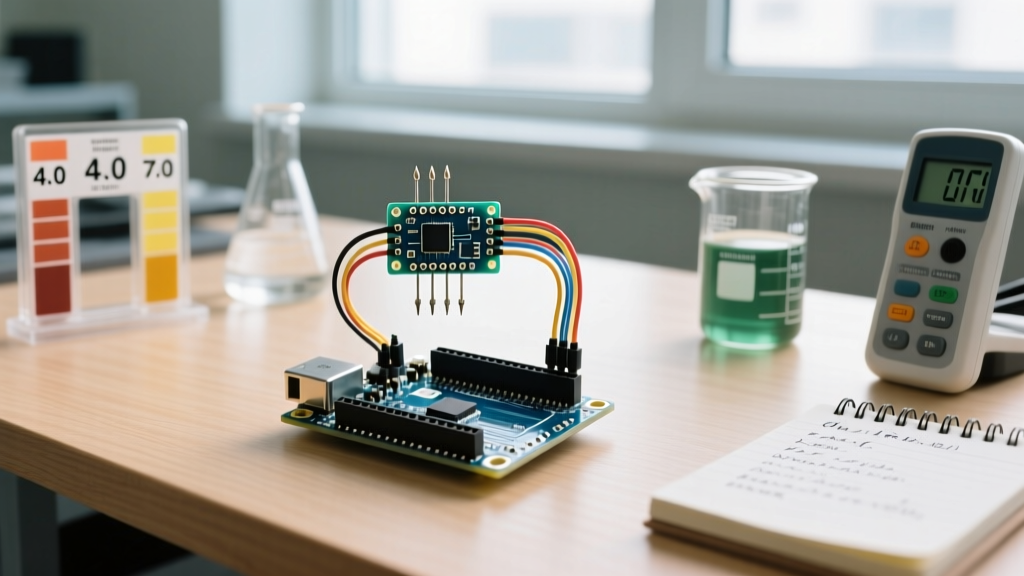
If you are using an analog module like the DFRobot SEN0161, the module's onboard potentiometer is often pre-tuned to output exactly 2.5V (or 512 on a 10-bit ADC) at pH 7.00. However, relying on a physical potentiometer introduces mechanical drift. The superior method is to bypass the physical tuning, read the raw millivolts, and handle the math in your Arduino code.
Assuming a 5V Arduino reference and a 10-bit ADC (1024 steps), here is the exact mathematical framework to calculate pH using your two calibration points:
// Calibration Constants (Derived from your 2-point test)
float voltage_pH7 = 2.52; // Measured voltage in pH 7.00 buffer
float voltage_pH4 = 3.58; // Measured voltage in pH 4.01 buffer

// Calculate the actual slope of your specific probe
float slope = (voltage_pH7 - voltage_pH4) / (7.00 - 4.01);

void setup() {
  Serial.begin(9600);
  analogReference(DEFAULT); // Ensure stable 5V reference
}

void loop() {
  int raw_adc = analogRead(A0);
  float voltage = raw_adc * (5.0 / 1024.0);

  // Apply the linear regression formula: y = mx + b
  float current_pH = 7.00 + ((voltage_pH7 - voltage) / slope);

  Serial.print("Calculated pH: ");
  Serial.println(current_pH, 2);
  delay(1000);
}
For advanced users utilizing the Atlas Scientific EZO circuit, this math is handled internally. You simply send the I2C string commands Cal,mid,7.00 and Cal,low,4.01, and the chip's internal EEPROM stores the calibration curve permanently, surviving power cycles without requiring the Arduino to recalculate the slope on boot.
Temperature Compensation: The Missing Link
According to NIST calibration guidelines, the Nernst slope is highly temperature-dependent. At 0°C, the slope is -54.2 mV/pH; at 60°C, it is -66.1 mV/pH. If you calibrate your probe at 20°C and then measure a hydroponic reservoir at 30°C without temperature compensation, your readings will inherently drift.
To achieve lab-grade accuracy, you must integrate a waterproof DS18B20 digital temperature sensor wired to the same Arduino. Your code must read the temperature in real-time and dynamically adjust the slope variable in the Nernst equation before calculating the final pH value. In 2026, many premium I2C probes feature built-in thermistors that automatically apply this compensation on the silicon level, but for analog setups, the DS18B20 remains a mandatory $4 upgrade.
Failure Modes and Electrode Maintenance
Even perfectly calibrated probes will fail if maintained incorrectly. Glass pH electrodes have a finite lifespan, typically 12 to 18 months in continuous use. Watch for these specific failure modes:
- Sluggish Response Time: If the probe takes more than 3 minutes to stabilize in a buffer, the reference junction is clogged. Soak the probe in warm tap water or a specialized junction-cleaning solution (like KCl saturated with AgCl) to dissolve precipitates.
- The Distilled Water Trap: Never store a pH probe in distilled or deionized water. The lack of ions in pure water causes the internal reference electrolyte (KCl) to leach out through the porous junction via osmosis, permanently destroying the electrode's internal chemistry. Always store in 3M or 4M KCl storage solution.
- Coated Bulbs: In wastewater or nutrient-heavy hydroponics, biofilms and oils coat the glass bulb, insulating it from the hydrogen ions. Clean the bulb periodically with a mild enzymatic cleaner or a 0.1M HCl (hydrochloric acid) bath for 15 minutes, followed by a thorough DI water rinse.
By treating your pH sensor as a precision chemical instrument rather than a simple plug-and-play peripheral, and by rigorously applying 2-point NIST-traceable calibration protocols, your Arduino-based monitoring system will deliver data that rivals benchtop laboratory meters costing ten times as much.