
Mastering the Arduino Stepper Motor Library: A Diagnostic Approach
Integrating stepper motors like the ubiquitous NEMA 17 (e.g., model 17HS4401) into your microcontroller projects requires more than just wiring up an A4988 or DRV8825 driver. The real bottleneck often lies in the firmware. Whether you are using the built-in Arduino Stepper library, the industry-standard AccelStepper, or the timer-based MobaTools, misconfigurations lead to missed steps, audible resonance, and stalled rotors.
This troubleshooting guide bypasses generic advice and dives deep into the specific timing conflicts, interrupt blocks, and hardware-software mismatches that cause stepper motor failures in 2026. Grab your multimeter and oscilloscope; it is time to debug.
The Library Matrix: Choosing the Right Engine
Before troubleshooting, you must understand the architectural limitations of the library you have chosen. Not all libraries handle step pulses equally.
| Library | Step Generation | Max Reliable Step Rate (Uno) | Acceleration Support | Best Use Case |
|---|---|---|---|---|
| Stepper.h | Blocking (Delay-based) | ~500 steps/sec | No | Simple, single-motor positioning where timing is irrelevant. |
| AccelStepper | Non-blocking (Polling) | ~1,000 steps/sec | Yes (Trapezoidal) | Multi-motor coordination, CNC plotters, basic robotics. |
| MobaTools | Non-blocking (Hardware Timer) | ~2,500+ steps/sec | Yes (S-Curve/Trapezoidal) | High-speed applications, 3D printers, systems with heavy loop() loads. |
Symptom 1: Motor Vibrates but Refuses to Rotate
This is the most common failure mode when first deploying an arduino stepper motor library. The motor hums aggressively, gets hot, but the shaft remains locked or jitters in place.
Phase Wiring Mismatch
Stepper motors require precise coil pair sequencing. If you mix the A and B coils, the magnetic fields will fight each other. Use a multimeter in continuity mode to identify the pairs. Pins 1 and 3 usually form Coil A, while 2 and 4 form Coil B. If your driver outputs are labeled 1A, 1B, 2A, 2B, ensure Coil A goes to 1A/1B and Coil B goes to 2A/2B.
Vref Miscalculation on the Driver
Software cannot fix a hardware current limit that is too low. If you are using a DRV8825 driver board (typically priced around $2.50 to $4.00), you must set the reference voltage (Vref) correctly. For a standard 1.5A NEMA 17 motor with 0.1Ω sense resistors, the formula is:
Vref = Imax × 8 × Rsense / 2
Vref = 1.5 × 8 × 0.1 / 2 = 0.6V
Measure the Vref pin with a multimeter while turning the tiny brass potentiometer. If Vref is below 0.4V, the driver will not supply enough holding torque to overcome the motor's internal detent torque, resulting in vibration.
AccelStepper Max Speed Trap
If your hardware is verified, check your setMaxSpeed() parameter. The built-in Stepper.h library blocks the MCU until the move is complete, but AccelStepper requires you to set a speed that the MCU can actually poll. If you set setMaxSpeed(5000) on an Arduino Uno running a standard loop, the MCU cannot call stepper.run() fast enough to generate 5000 pulses per second. The resulting pulse train is erratic, causing the driver to stall. Cap AccelStepper max speeds at 800-1000 for an Uno, or upgrade to an ESP32.
Symptom 2: Stuttering, Jitter, and Missed Steps
Your motor moves, but it sounds like it is grinding, and the final position is inaccurate. This is almost always a software timing violation.
The Blocking Code Conflict
AccelStepper relies on the run() or runSpeed() function being called continuously in the loop(). If you introduce blocking functions, the step pulse width drops below the minimum required by the driver. According to the Texas Instruments DRV8825 datasheet, the minimum step pulse width is 2µs. However, software jitter caused by blocking code can stretch the interval between pulses, causing the driver to miss the step edge entirely.
The Wrong Way:
void loop() {
  stepper.run();
  Serial.println("Moving..."); // Blocking serial output ruins timing!
  delay(10); // Fatal error for AccelStepper
}
The Right Way:
void loop() {
  stepper.run();
  // Use millis() for non-blocking periodic serial updates
  if (millis() - lastPrint > 500) {
    Serial.println(stepper.currentPosition());
    lastPrint = millis();
  }
}
Interrupt Collisions
If you are reading from a rotary encoder or using a software-based PWM library, hardware interrupts might be temporarily disabling the global interrupt flag (using cli()). While global interrupts are disabled, AccelStepper cannot generate the next step pulse. If you require high-speed encoders alongside steppers, switch to the MobaTools library, which utilizes hardware timers (like Timer1 on the ATmega328P) to generate step pulses independently of the main loop() execution.
Symptom 3: TMC2209 UART Conflicts and StallGuard Failures
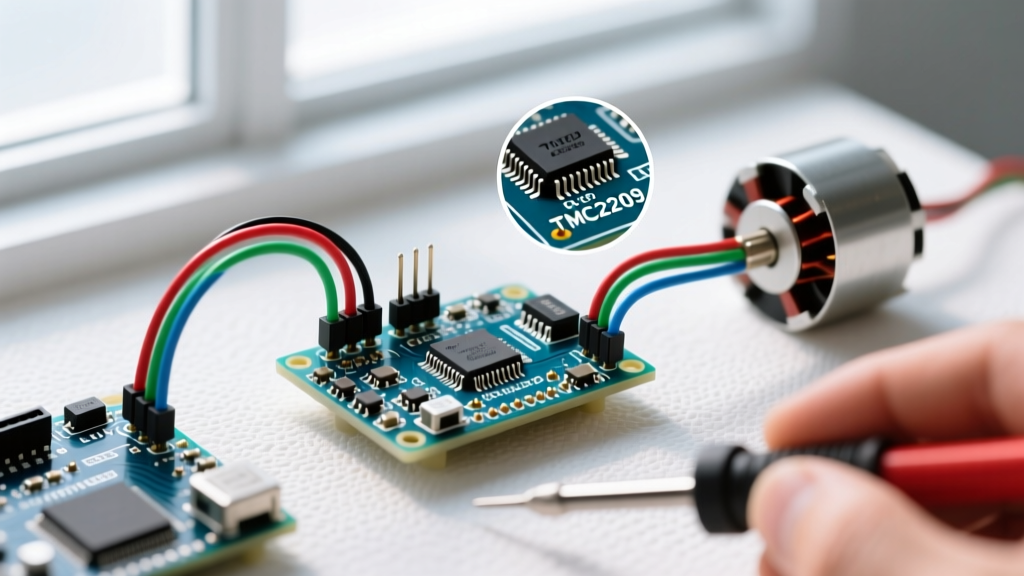
In 2026, silent stepper drivers like the TMC2209 (approx. $5.50 per module) are the standard for 3D printers and quiet robotics. These drivers use a single-wire UART interface to configure microstepping, current limits, and StallGuard (sensorless homing). However, integrating them with an arduino stepper motor library often causes catastrophic stuttering.
SoftwareSerial is the Enemy
Many tutorials recommend using the SoftwareSerial library to communicate with the TMC2209 on an Arduino Uno. Do not do this. SoftwareSerial disables global interrupts for the entire duration of byte transmission and reception at 115200 baud. This completely halts AccelStepper's pulse generation, causing the motor to violently jerk or stall every time the MCU queries the driver's status.
The Hardware Serial Solution
To fix this, you must use HardwareSerial. On an Arduino Uno, this means using pins 0 and 1 (which conflicts with the USB Serial monitor). The professional workaround is to upgrade your microcontroller:
- Arduino Mega 2560: Use Serial1, Serial2, or Serial3 for the TMC UART, leaving Serial0 for debugging.
- ESP32: Utilize HardwareSerial(1) or HardwareSerial(2) mapped to free GPIO pins. The ESP32's dual-core architecture allows you to run AccelStepper on Core 1 while handling UART and Wi-Fi on Core 0.
Step-by-Step Diagnostic Flowchart
When your stepper system fails, follow this isolation sequence to identify the root cause without wasting time rewriting code:
- Disconnect the MCU: Power the driver board (VDD and VMOT) but disconnect the STEP and DIR pins. Manually tap the STEP pin to 5V via a pushbutton. If the motor steps, your hardware and Vref are correct. The fault is in the Arduino code.
- Verify Pulse Width: If using AccelStepper, insert
stepper.setMinPulseWidth(5);in your setup. This forces a 5-microsecond pulse, which cures edge-detection failures on opto-isolated driver boards (common in industrial TB6600 drivers). - Check Microstepping Jumpers: If the motor moves exactly 1/16th or 1/32nd of the expected distance, your library is sending full-step commands while the hardware jumpers are set to microstepping. Ensure your physical MS1/MS2/MS3 jumper states match your library initialization.
- Monitor Current Draw: Use an inline ammeter. If the motor draws peak current but doesn't move, you have a mechanical bind or a severe phase-wiring error. If it draws near-zero current, your ENABLE pin is pulled HIGH (disabled), or the driver is in thermal shutdown.
Final Thoughts on Peripheral Interfacing
Troubleshooting an arduino stepper motor library is rarely about the library itself being broken; it is about the physical and temporal constraints of the microcontroller environment. By respecting the non-blocking nature of polling libraries, calculating exact Vref thresholds, and avoiding interrupt-heavy peripherals like SoftwareSerial, you can achieve smooth, silent, and highly accurate motion control. Always match your library's architectural strengths to your hardware's physical requirements, and your stepper systems will perform flawlessly.