
The Reality of the MG811 CO2 Sensor Arduino Ecosystem
When makers and engineering students begin exploring indoor air quality (IAQ) monitoring, the MG811 CO2 sensor is often the first component they encounter. Priced between $9 and $14 on most electronics marketplaces in 2026, it presents an alluring entry point into environmental sensing. However, integrating the mg811 co2 sensor arduino workflow is notoriously fraught with hidden hardware traps, signal conditioning nightmares, and severe cross-sensitivity issues that rarely appear in basic tutorial sketches.
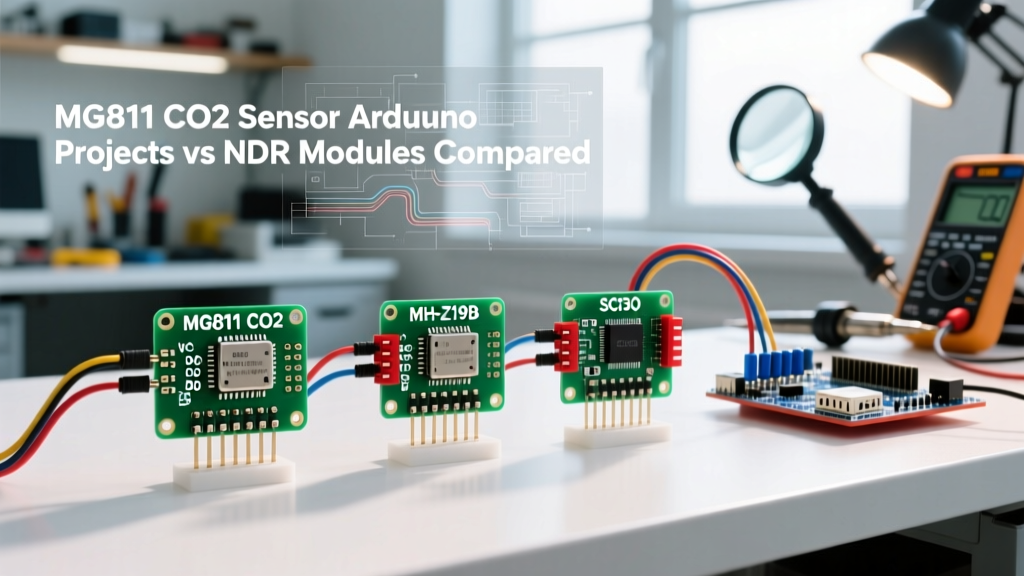
To build a reliable environmental monitor, you must understand exactly where the MG811 fits in the modern sensor landscape. This guide provides a deep-dive component comparison between the electrochemical MG811 and modern Non-Dispersive Infrared (NDIR) alternatives like the Winsen MH-Z19B and Sensirion SCD30, detailing the exact circuit modifications required to make the MG811 viable for precision Arduino projects.
Electrochemical vs. NDIR: The Core Technology Divide
The MG811 relies on a solid-state electrochemical cell utilizing a NASICON (Sodium Super Ionic Conductor) solid electrolyte. When CO2 molecules interact with the sensing electrode, a chemical reaction generates a minute electromotive force (EMF). This voltage drops logarithmically as CO2 concentration increases. While fascinating from a materials science perspective, this chemistry introduces massive temperature and humidity dependencies.
Conversely, NDIR sensors measure CO2 by passing infrared light through a gas chamber and measuring the absorption at a specific wavelength (typically 4.26 µm). According to the U.S. Environmental Protection Agency, accurate IAQ monitoring requires tools that do not suffer from chemical cross-sensitivity. NDIR sensors are entirely immune to the volatile organic compounds (VOCs), carbon monoxide, and hydrogen gases that routinely poison the MG811's electrochemical readings.
2026 Sensor Comparison Matrix
| Feature | MG811 (Electrochemical) | MH-Z19B (NDIR) | SCD30 (Sensirion NDIR) | CCS811 (MOX eCO2) |
|---|---|---|---|---|
| Average Cost (2026) | $9 - $14 | $22 - $28 | $35 - $45 | $10 - $15 |
| Measurement Principle | Solid Electrolyte EMF | Infrared Absorption | Dual-Channel IR + SHT | Metal Oxide VOC Proxy |
| Arduino Interface | Analog (Requires Amplification) | UART / PWM | I2C | I2C |
| Heater Power Draw | ~200mA @ 6V | ~150mA peak (pulsed) | ~19mA average | ~30mA (pulsed heater) |
| Warm-Up Time | 2-3 mins (24h initial burn-in) | 3 minutes | 2 seconds (continuous) | 20 minutes (algorithm training) |
| Cross-Sensitivity | High (CO, H2, Ethanol) | None | None | Extreme (All VOCs) |
MG811 CO2 Sensor Arduino Wiring: The Heater Current Trap
The most common point of failure in mg811 co2 sensor arduino tutorials is the power supply routing. The MG811 module contains a built-in thermistor and a heating element that requires a continuous 6V supply drawing approximately 200mA to maintain the electrochemical cell at its optimal operating temperature.
Critical Hardware Warning: Never power the MG811 heater directly from the Arduino Uno's 5V pin if the Arduino is powered via the barrel jack. As detailed in the official Arduino Uno Rev3 documentation, the onboard NCP1117 linear regulator will rapidly overheat and trigger thermal shutdown when asked to dissipate the voltage drop for a 200mA load. Always use a dedicated 6V buck converter or a separate regulated power supply for the sensor's VCC and GND pins, tying only the GND and Analog Out to the Arduino.
Step-by-Step Power and Signal Routing
- Heater Power: Connect an external 6V DC supply to the module's VCC and GND pins.
- Common Ground: Connect a jumper wire from the external 6V supply's GND to the Arduino's GND pin. This is mandatory for the analog reference to function correctly.
- Analog Signal: Connect the module's AOUT pin to Arduino Analog Pin A0.
- Digital Trigger (Optional): The DOUT pin relies on an onboard LM393 comparator. You can adjust the threshold potentiometer on the module to trigger a digital HIGH/LOW alarm, but this bypasses actual concentration measurement.
The ADC Resolution Problem: Signal Conditioning
Raw integration of the MG811 yields incredibly poor data resolution. In fresh air (approximately 425 ppm CO2 in 2026), the sensor outputs roughly 300mV to 350mV. As CO2 rises to 2000 ppm, the voltage drops to around 150mV. This total swing of ~150mV to 200mV is disastrous for the Arduino's default 10-bit ADC configuration.
With the default 5V reference, each ADC step represents 4.88mV (5000mV / 1024). A 150mV total swing gives you a mere 30 discrete steps across the entire human-occupied IAQ range. This results in jittery, quantized data that is useless for logging or PID fan control.
Software Fix: Internal Reference
Before adding external hardware, you can improve resolution by switching the Arduino's analog reference to the internal 1.1V bandgap reference using the analogReference(INTERNAL) function in your setup loop. This changes the step size to ~1.07mV, increasing your usable steps from 30 to roughly 140. While better, it still introduces significant noise.
Hardware Fix: Non-Inverting Op-Amp Circuit
For professional-grade data logging, you must amplify the signal. Using a dual operational amplifier like the LM358 or a rail-to-rail MCP6001, configure a non-inverting amplifier circuit. By setting the gain to 10 (using a 10kΩ feedback resistor and a 1.1kΩ ground resistor), the 300mV clean-air signal becomes 3.0V, and the 150mV high-CO2 signal becomes 1.5V. This perfectly maps the sensor's operational range to the Arduino's 0-5V ADC window, yielding over 300 discrete, highly stable steps for precise logarithmic curve fitting.
Calibration and Baseline Drift: The Hidden Maintenance Cost
Unlike NDIR modules that feature automatic baseline correction (ABC) algorithms, the MG811 requires rigorous manual calibration. According to Sensirion's technical application notes on CO2 monitoring, sensor drift is the primary enemy of long-term IAQ deployments. The MG811 suffers from severe baseline drift due to electrolyte degradation and ambient humidity fluctuations.
- Initial Burn-In: Out of the box, the MG811 requires a continuous 24-to-48-hour powered burn-in period to stabilize the chemical electrode. Skipping this will result in readings that are artificially high by thousands of PPM.
- Fresh Air Calibration: To establish your
V0(baseline voltage), the sensor must be placed outdoors or in a heavily ventilated area away from combustion sources. You must record the stabilized analog read value and hardcode this into your Arduino sketch's logarithmic calculation formula. - Humidity Compensation: The NASICON electrolyte is hygroscopic. If your project moves from a 30% RH winter environment to an 80% RH summer environment, the baseline voltage will shift. Advanced implementations require pairing the MG811 with a digital humidity sensor (like the DHT22 or SHT31) and applying a software compensation matrix.
When to Choose the MG811 Over NDIR Alternatives
Given the hardware hurdles, why use the MG811 at all? The answer lies in specific educational and industrial edge cases.
Pros of the MG811
- High-Range Tolerance: NDIR sensors like the MH-Z19B typically max out at 5,000 or 10,000 ppm. The MG811 can reliably detect concentrations up to 10,000+ ppm, making it useful for industrial safety alarms, brewery fermentation monitoring, or controlled agricultural environments where CO2 levels are intentionally pushed to 1,500 - 3,000 ppm.
- Educational Value: For university-level electronics courses, the MG811 forces students to confront real-world signal conditioning, op-amp circuit design, and logarithmic data mapping—skills that are entirely bypassed when plugging in an I2C digital sensor.
- Cost at Scale: If you are manufacturing a basic high-level alarm (not a precision monitor) and need to keep the BOM cost under $12, the MG811 remains viable.
Cons and Dealbreakers
- Unsuitable for Smart Home HVAC: If your goal is to trigger an ERV (Energy Recovery Ventilator) when a bedroom hits 1,000 ppm, the MG811's cross-sensitivity to human VOCs and ethanol (from hand sanitizers or cleaning supplies) will cause phantom triggers.
- Power Budget: The continuous 200mA draw at 6V (1.2 Watts) makes the MG811 entirely unsuitable for battery-operated or solar-powered IoT nodes. Compare this to the Sensirion SCD30, which averages roughly 19mA and can be pulsed to sleep between readings.
Final Verdict for Arduino Engineers
The mg811 co2 sensor arduino integration is a brilliant exercise in analog circuit design and electrochemical theory, but it is fundamentally obsolete for modern, precision indoor air quality monitoring. If your project demands accurate, low-maintenance tracking of human occupancy and ventilation rates, bypass the MG811 entirely and invest the extra $15 into a Winsen MH-Z19B or a Sensirion SCD30. However, if you are building a high-concentration industrial safety alarm, a greenhouse controller, or an educational lab kit, the MG811 remains a capable tool—provided you respect its power requirements and implement proper op-amp signal conditioning.