
Introduction: Beyond the Copy-Paste Code
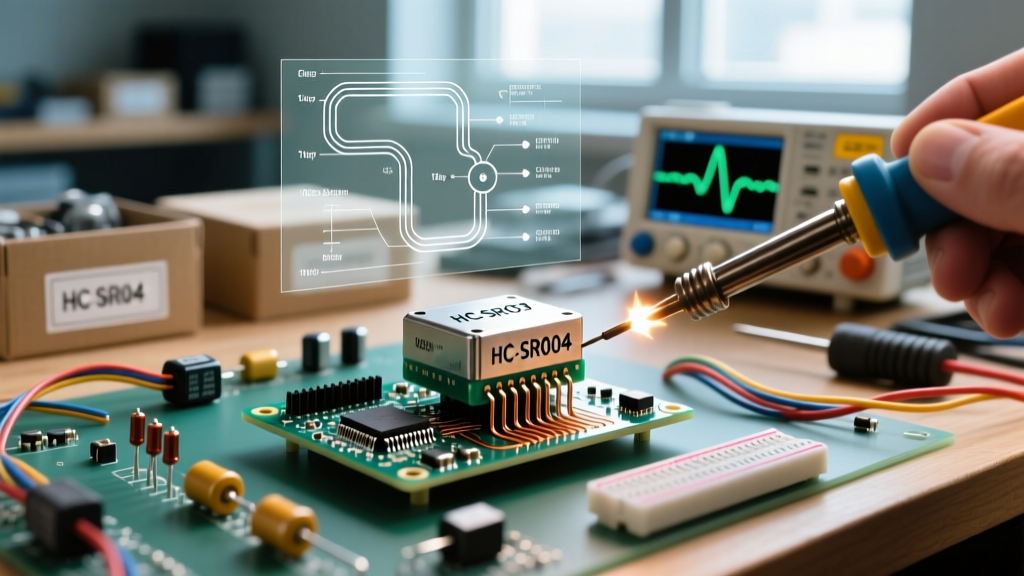
When integrating an arduino sonar sensor into a robotics or IoT project, most developers rely on copy-pasted code snippets utilizing the pulseIn() function. However, treating these ultrasonic modules as simple black boxes inevitably leads to edge-case failures, GPIO burnouts, and erratic readings in production environments. To build robust hardware, we must look past the basic tutorials and decode the actual datasheets of the two most ubiquitous modules on the market: the standard HC-SR04 and the waterproof JSN-SR04T.
In this deep dive, we dissect the electrical characteristics, timing diagrams, acoustic physics, and logic-level hazards associated with these 40kHz ultrasonic transceivers. Whether you are designing a custom PCB for an ESP32-S3 or wiring a rugged outdoor rover, understanding the silicon-level behavior of your sonar module is non-negotiable.
Core Electrical Characteristics: HC-SR04 vs. JSN-SR04T
While both modules operate on the same fundamental principle of ultrasonic time-of-flight (ToF), their physical construction dictates vastly different electrical and acoustic profiles. The JSN-SR04T separates the transducer from the control board via a 2.5-meter shielded cable, making it ideal for wet environments, but it introduces unique parasitic capacitance and ring-down challenges.
| Specification | HC-SR04 (Standard) | JSN-SR04T V2.0 (Waterproof) |
|---|---|---|
| Operating Voltage | 5.0V DC (Strict) | 3.3V to 5.0V DC |
| Quiescent Current | 2 mA | 5 mA |
| Working Current (Burst) | 15 mA | 30 mA |
| Acoustic Frequency | 40 kHz | 40 kHz |
| Blind Zone (Minimum Range) | 2 cm | 20 cm |
| Maximum Theoretical Range | 400 cm | 600 cm |
| Hardware Timeout | None (Requires MCU timeout) | 32 ms (Built-in V2.0 ASIC) |
Decoding the Timing Diagram: The 10µs Rule
The communication protocol for an arduino sonar sensor is entirely unilateral and time-based. There is no I2C or SPI bus; the microcontroller and the sensor communicate purely through pulse widths.
The Trigger Phase
To initiate a measurement, the MCU must pull the TRIG pin HIGH for a minimum of 10 microseconds (µs). If the pulse is shorter (e.g., 5µs), the internal ASIC may fail to register the trigger command. If the pulse is excessively long (e.g., >100µs), it will not damage the module, but it wastes execution time and delays the subsequent echo phase. Upon detecting the 10µs rising edge, the module's internal oscillator automatically generates an 8-cycle burst of 40kHz square waves to drive the piezoelectric transducer.
The Echo Phase and Distance Calculation
Immediately after transmitting the 8-cycle burst, the module pulls the ECHO pin HIGH. This pin remains HIGH until the receiver transducer detects the reflected acoustic wave, or until a timeout occurs. The width of this HIGH pulse is directly proportional to the round-trip distance of the sound wave.
According to the Arduino pulseIn() reference documentation, the function measures the duration of the pulse in microseconds. To convert this to centimeters, we divide the duration by 58. This constant is derived from the speed of sound in air at 20°C (343 meters per second), meaning sound travels 1 cm in approximately 29.15µs. Since the pulse represents the round trip, we multiply by 2, yielding the divisor of 58.3.
Expert Insight: Never usepulseIn(echoPin, HIGH)without a timeout parameter. If the ultrasonic wave scatters into an anechoic void and never returns, the HC-SR04 will hold the ECHO pin HIGH indefinitely, causing your microcontroller to hang. Always usepulseIn(echoPin, HIGH, 30000)to enforce a 30ms timeout, which corresponds to the maximum 400cm range limit.
The 3.3V Logic Trap: Level Shifting the Echo Pin
One of the most catastrophic mistakes made when migrating from a 5V Arduino Uno to modern 3.3V microcontrollers (like the ESP32, Raspberry Pi Pico, or Teensy 4.1) is ignoring the logic level output of the HC-SR04. The HC-SR04 is powered by 5V, and consequently, its ECHO pin outputs a 5V HIGH signal when an object is detected.
Designing the Voltage Divider
Feeding a 5V signal into a 3.3V GPIO pin violates the absolute maximum ratings of the MCU, which typically cap at VDD + 0.3V. Over time, this overvoltage condition will degrade the silicon and cause erratic behavior or permanent GPIO failure. As detailed in SparkFun's guide to logic levels, you must step down the voltage. The most reliable, low-cost method is a resistive voltage divider.
- R1 (Series Resistor): 1kΩ connected between the HC-SR04 ECHO pin and the MCU GPIO.
- R2 (Pull-down Resistor): 2kΩ connected between the MCU GPIO and GND.
This configuration yields an output voltage of 5V * (2000 / (1000 + 2000)) = 3.33V, which is perfectly safe for 3.3V logic inputs while maintaining fast enough rise times for microsecond-accurate timing.
Acoustic Physics: Temperature Compensation and Blind Zones
The datasheet's assumption that sound travels at exactly 343 m/s is only true at 20°C (68°F). In reality, the speed of sound in dry air is highly dependent on ambient temperature. According to data from the Engineering Toolbox, the speed of sound drops to 331 m/s at 0°C and rises to 354 m/s at 40°C. If your arduino sonar sensor is deployed in an unheated warehouse or an outdoor rover, failing to compensate for temperature will introduce a measurement error of up to 4%.
Implementing Software Compensation
To achieve millimeter-level accuracy, integrate a digital temperature sensor (like the BME280 or DS18B20) and apply the linear approximation formula in your firmware:
Speed_of_Sound (m/s) = 331.3 + (0.606 * Temperature_in_Celsius)
Update your distance divisor dynamically based on this calculated speed rather than relying on the hardcoded value of 58.
Understanding the Blind Zone
Every ultrasonic sensor has a "blind zone"—a minimum distance within which it cannot accurately detect objects. For the HC-SR04, this is roughly 2cm. However, the JSN-SR04T has a massive blind zone of 20cm. Why? When the 40kHz burst ends, the heavy, waterproof mesh covering the JSN-SR04T transducer continues to physically vibrate (ring-down). The receiver ASIC blanks out the input for several milliseconds to prevent this residual mechanical ringing from being misinterpreted as an immediate echo. If your robot requires close-proximity obstacle avoidance (<15cm), the JSN-SR04T is physically incapable of performing the task, regardless of software tweaks.
Power Management and PCB Layout Best Practices
When transitioning from a breadboard to a custom printed circuit board (PCB), power integrity becomes critical. During the 8-cycle transmission burst, the HC-SR04 draws a transient current spike of 15mA to 30mA. If your power traces are too thin or excessively long, this sudden current demand will cause a localized voltage sag (brownout) on the sensor's VCC rail, potentially resetting the internal ASIC mid-measurement and resulting in a phantom zero-distance reading.
Decoupling Strategy
To mitigate this, always place local decoupling capacitors as close to the sensor's VCC and GND pins as physically possible on your PCB:
- A 100nF (0.1µF) X7R ceramic capacitor to handle high-frequency transient spikes.
- A 10µF to 47µF electrolytic or tantalum capacitor to provide a local reservoir of charge for the duration of the acoustic burst.
Furthermore, ensure your ground plane is continuous beneath the sensor traces to minimize loop inductance. By respecting the electrical realities outlined in the datasheet, your arduino sonar sensor integration will transition from a fragile prototype to a robust, production-ready subsystem.